
Hello crafty friends,
Christmas is quietly but steadily drawing closer, and I think my cardmaking is almost under control. All cards traveling beyond the borders of the Netherlands were sent at the end of November — such a good feeling. The cards staying closer to home are ready too… well, almost. They still need to be written 🫣
I hope you are feeling a bit ahead of the season as well.
This card is for a dear friend of mine (I mentioned her here earlier). She gives these cards to her children, which is why this one doesn’t have a sentiment. Sometimes images and details say more than words ever could. The cards have all safely arrived at her home.
This card was created entirely with Altenew products. I used:
- Tiny Bubbles Stencil
- Shimmer Relief Paste - Mayan gold
- Berry Branch Layering Die Set
- Zero-Waste: Berries and Branches Die
- Creative Cuts: Houseplants Layering Die Set
- Poinsettia 3D Die Set
- 3D Star Die
- Brushed Gold Metallic Cardstock
- Instant Dimension Foam Tape - 1/16'' x 1/2'' x 33m
The background came together slowly, layer by layer, using sprays until the colors and subtle shine felt just right. Once dry, I added the Tiny Bubbles Stencil with Shimmer Relief Paste – Mayan Gold, stenciling two corners for a soft touch of texture. After that, the background was set aside once more to dry.
For the Poinsettia 3D Die Set, I die cut all layers from white cardstock, except for the heart. That piece was cut from cardstock treated with the same Shimmer Relief Paste, giving it a gentle shimmer that catches the light beautifully.

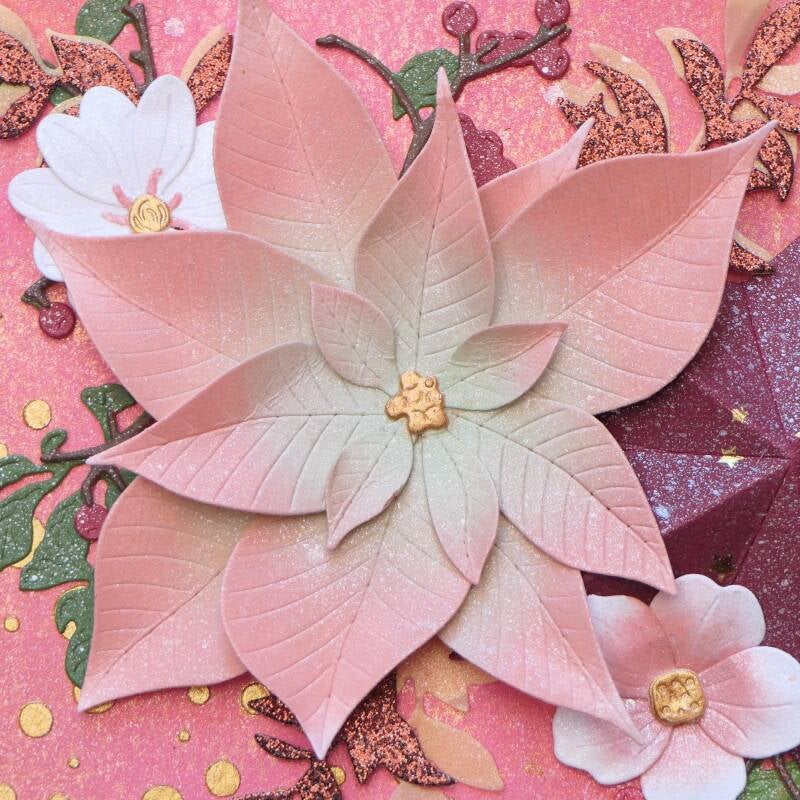
The 3D Star Die was cut from dark red design paper with tiny gold stars and carefully folded.
Using the Berry Branch Layering Die Set, I cut the layers twice from colored cardstock.
The Zero-Waste: Berries and Branches Die was also cut twice — once from gold vellum and once from dark brown/red glitter paper — adding warmth and contrast.
And finally, I die cut the three flowers from the Creative Cuts: Houseplants Layering Die Set.
After all the die cutting, it was time to bring everything to life with ink blending.
The poinsettia was softly blended with pink tones from the tips of the petals inward, while gentle green shades were added from the base toward the center.
For the small flowers, I kept things light and delicate. One flower has soft pink at the base of the petals, fading into white. The other two have white petals, with the tiny strings beneath the heart ink-blended pink. All three hearts were cut from that same shimmer-treated cardstock, tying everything together.
Once all elements were ready, I played with the arrangement until everything felt balanced and calm. When I was happy, I adhered everything using glue only — this card already has plenty of natural dimension.
The finished panel was backed with Brushed Gold Metallic Cardstock and mounted onto a white 5 × 7 inch card base using thin foam tape.
Lastly, I sprayed a little of my homemade shimmerspray over the card for some extra sparkle, after all it is a Christmas card. 😄
And that’s it for this card. I hope it brings you a bit of inspiration if you’re still creating Christmas cards this season. After this one, I think I’ve made two Christmas cards — and that will be all for this year. I place them here later.
If you’d like me to create a Christmas card (or any other themed card) for you, feel free to send me an email and we can see what’s possible.
Thank you so much for spending a moment here with me — it truly means more than you know. ❤️
Challenge I'm entering:
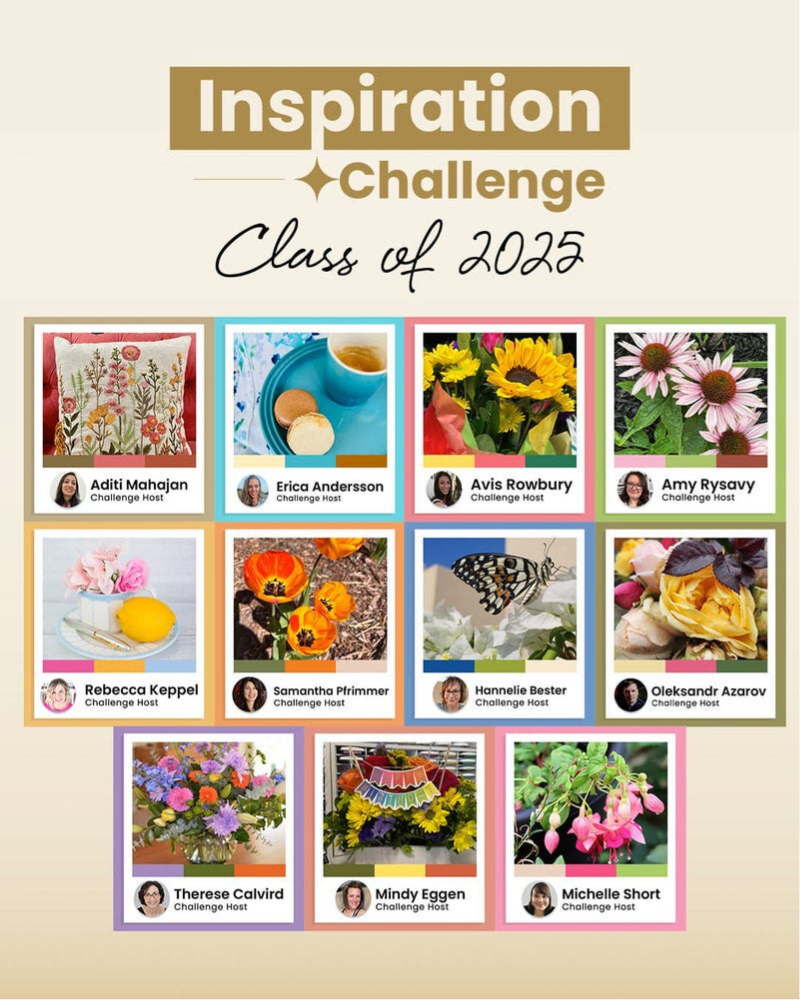
2025 Ultimate Inspiration Challenge (A Year In Review 2025!) – Altenew:
I chose my inspiration from the gorgeous color palette of the talented challenge host Amy Rysave! I love the pink and deep dark red with green. These warm colors are so welcome in these cold and dark months at the end of this year.

🛍️ Crafty shopping at Altenew?
If you’d like to use my affiliate links, it would mean so much to me. It supports my crafting journey at no extra cost to you, and helps me continue sharing inspiration. Thank you! 💛
https://altenew.com/?sca_ref=8524261.LWqb93Zfmh
With love,
Angelique 🫶

Add comment
Comments