Hello my lovely crafty friends!
Today I’m so excited to share my very first gatefold card for the Kat Scrappiness blog — and I went for something extra sweet… a soft baby card with the adorable Rolly Polly Pandas!
I always love trying different card folds, and this one was such a joy to make. It looks a bit fancy, but once you break it down, it’s actually very doable. And that’s exactly what I love — a card that looks special, but is still fun and relaxing to create.
For this card I used the baby stamps from the new release, combined with the sweetest Rolly Polly Pandas, beautiful papers from a lovely Kat Scrappiness paperpad and soft colors to create a gentle, dreamy baby theme.
So let's get crafting!


✂️ Card Measurements
This card measures 5 by 7 inch.
Card Base & Layers (Gatefold):
For the cardbase you need a piece of cardstock, white of 7 x 10".
Layers:
- Lilac cardstock:
1 piece: 6 7/8" x 4 7/8"
4 pieces: 6 7/8" x 2 3/8"
- Soft yellow cardstock:
1 piece: 6 3/4" x 4 3/4"
4 pieces: 6 3/4" x 2 1/4"
- Patterned paper:
1 piece: 6" x 4"
4 pieces: 6" x 1 1/2"
Circles:
- 2 open circles (using size 2 & 3 dies together) *
- 1 closed circle (size 3) from the same patterned paper
- 2 circles (size 4) for sentiments from the lilac cardstock
* Tip: Cut the open circle twice (glitter cardstock + scrappaper) and glue them together for extra strength.

🛍️ Kat Scrappiness Products Used
- Stitched Rope Nested Circle Craft Dies
- Love Doodles Gold 6x6 Paper
- Sentiment Shoppe – Within the Fold: Hello Sweet Baby (NEW!)
- Rolly Polly Pandas Stamp Set
- Rolly Polly Pandas Coordinating Craft Dies
- Pretty Pink Jewel mix
- Glossy Accents
- Tsukineko VersaMark Ink Pad
Step-by-Step Card Tutorial
1. Create the Gatefold Base
Score your card base so both sides fold inward to meet in the center. For this you score on the long side of the card base at 2 1/2 and 7 1/2". This creates the classic gatefold look.

Layer all panels (lilac →then yellow → and last the patterned paper) on both flaps on both sides and the inside of the cardbase.
2. Build the Circle Closure
You have the next pieces for this element:
- One glitter open circle and one open circle of scrappaper
- One full circle patterned paper
- One full circle lilac cardstock for the sentiment


Glue the open circles together for strength. This will be the closure element on the front.
Attach this open circle so it overlaps both flaps even — so in the middle, but only put glue on half the open circle. The glue side you stick on the left front panel. Be careful that there will not stick any glue by accident on the right panel.
Next, you take the closed patterned paper circle, this one fits perfectly in the open circle. Again put glue no further then half the circle. This time the glued side goes on the right panel. Be careful that there is no glue on the other panel. The front of your card now looks like this picture.
You have created this beautiful interactive opening! When the card is closed, the patterned paper circle fits perfectly in the open circle. Because of this closure, you don't need a belly band around the card.

3. Stamp & Color the Pandas and baby elements
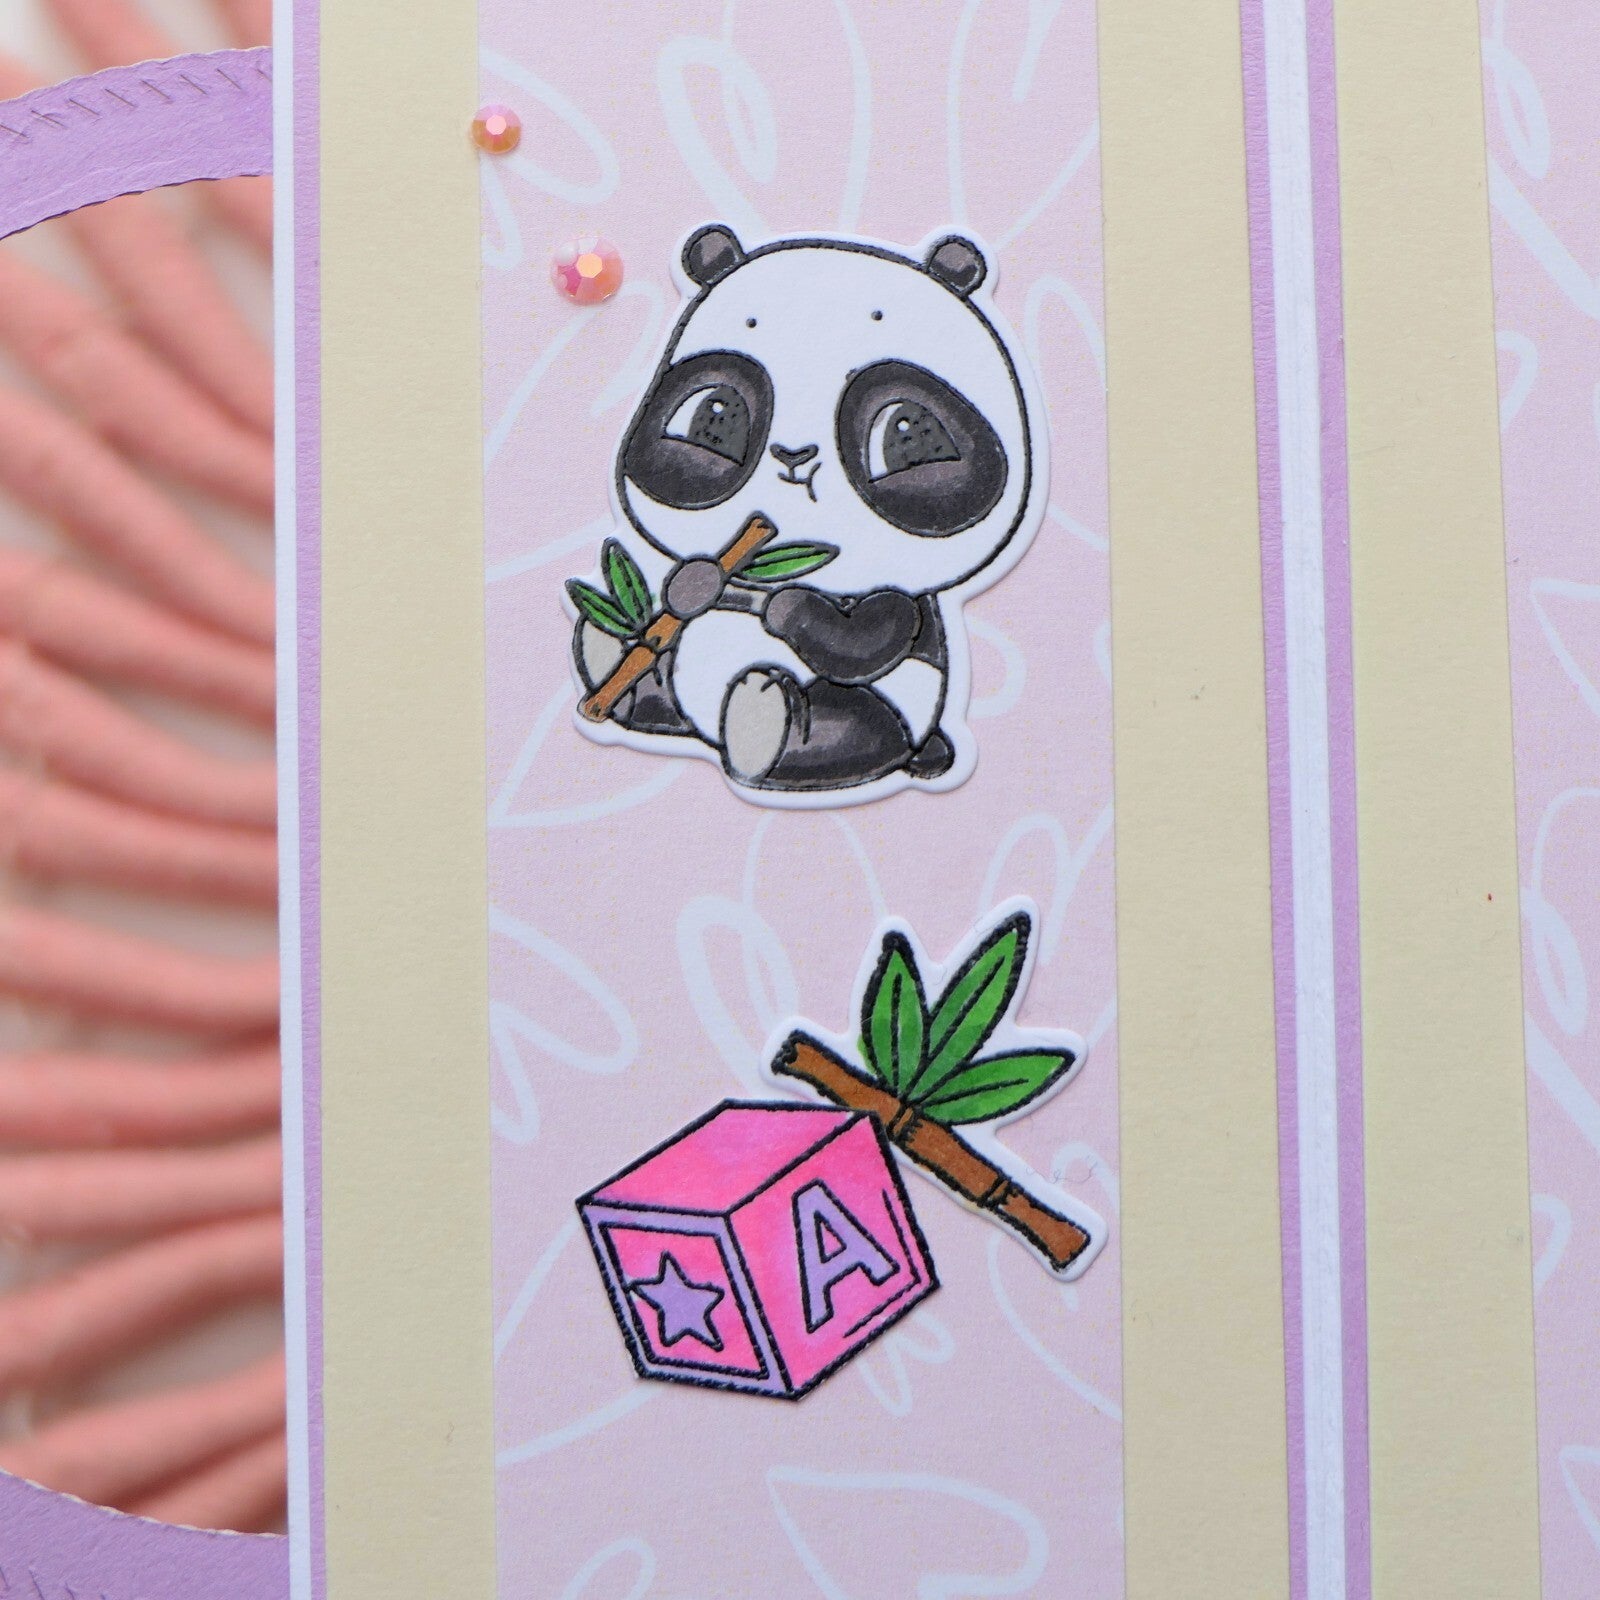
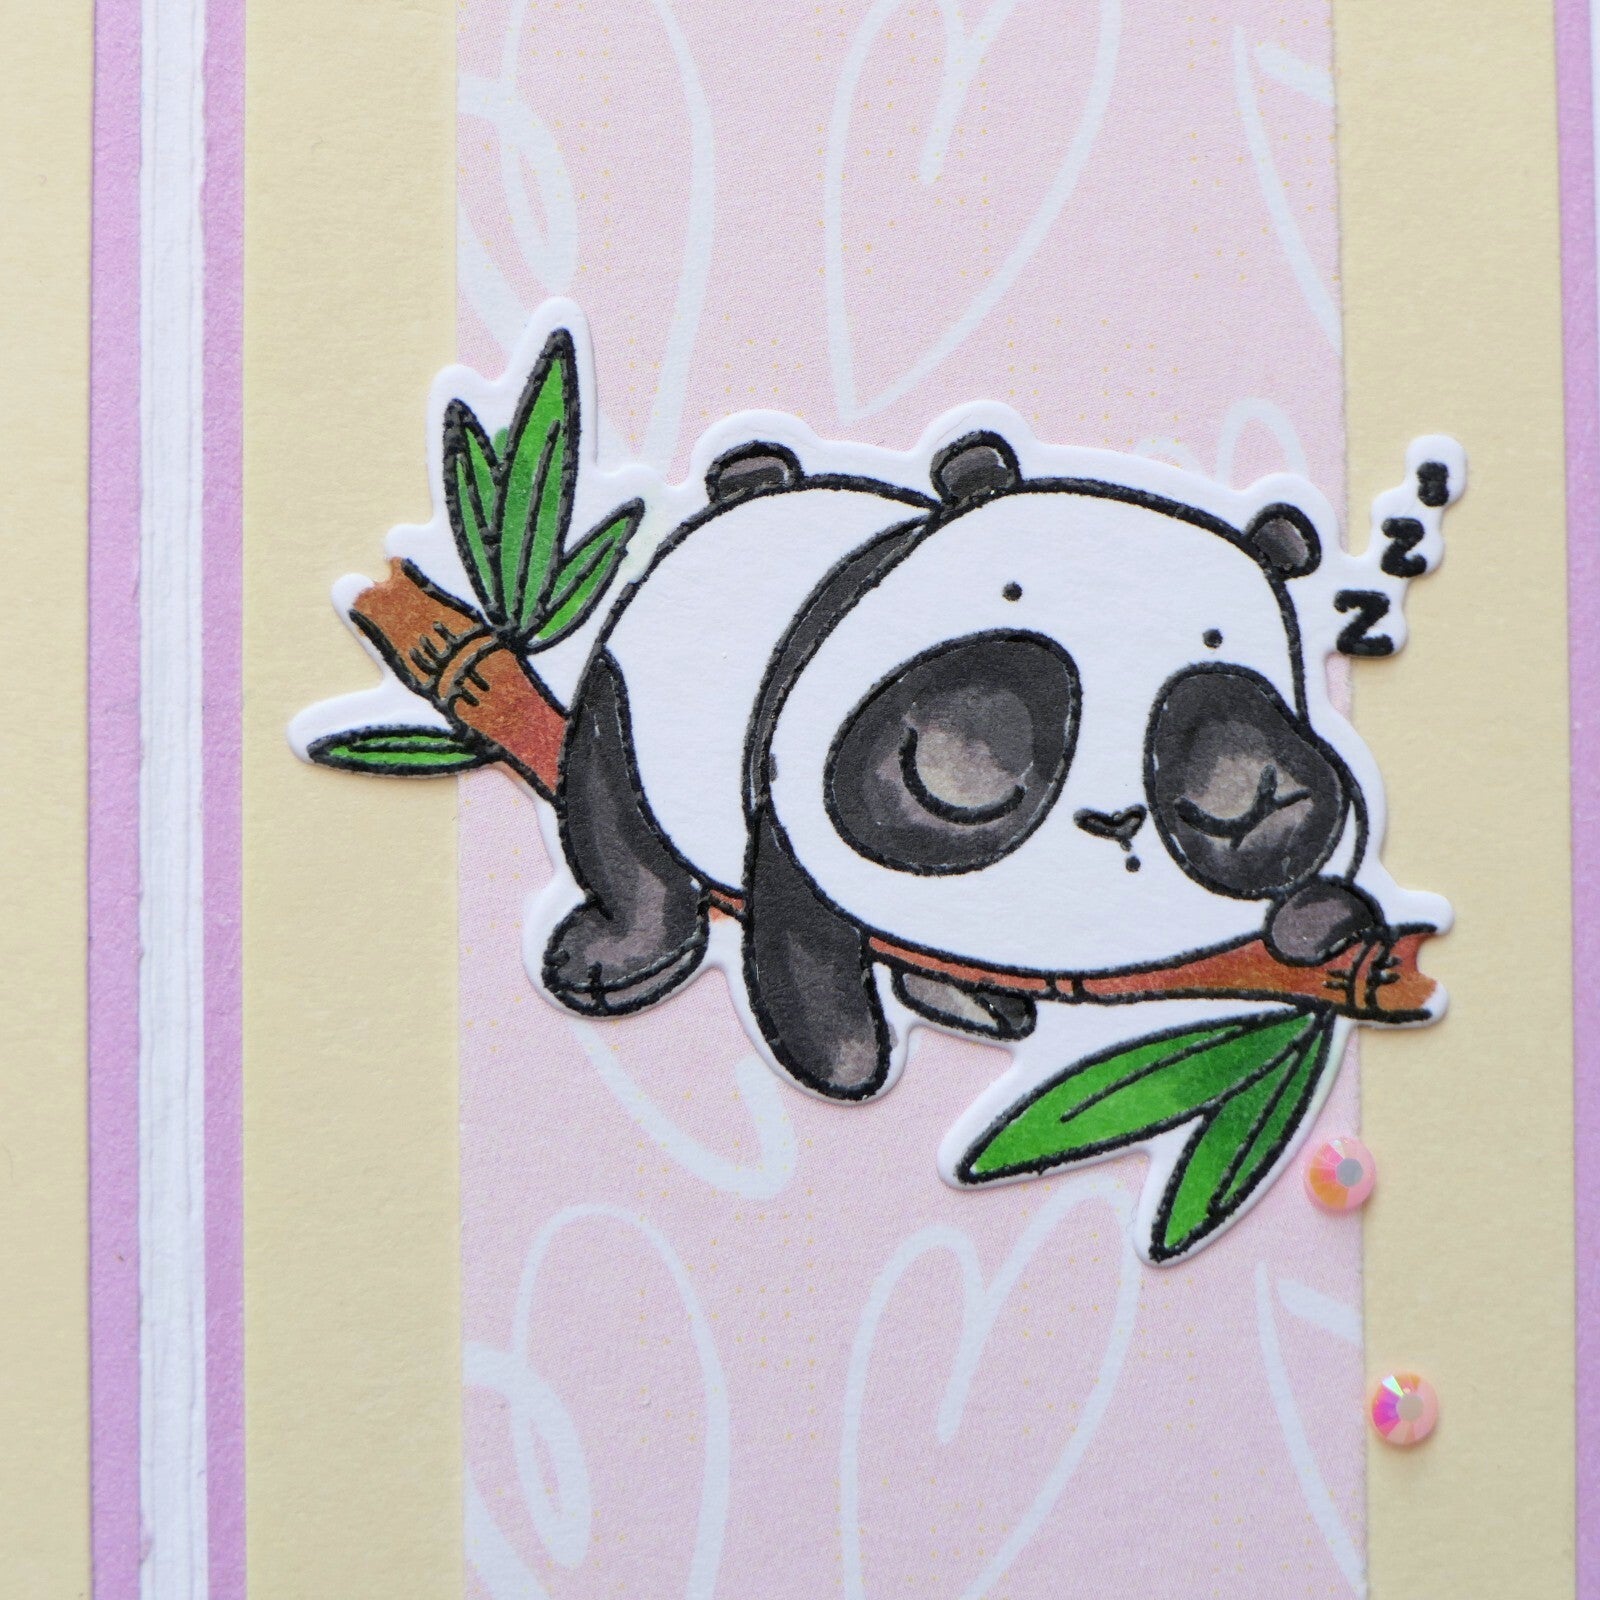
From the Rolly Polly Pandas Stamp Set, stamp four of those adorable pandas you like. I also did that little piece of bamboo. I stamped everything in black ink and embossed it with clear embossingpowder. This gives that nice finished look.
Take the Sentiment Shoppe – Within the Fold: Hello Sweet Baby stamp set. I know that I might be a bit biased but isn't this a fabulous and versatile set?! I stamped the block twice and the bear and the ball once. I also stamped the sentiments right away, now I had everything near me. So one lilac circle with a beautiful sentiment for the front. And one shorter sentiment for the inside. For this last one, take a moment on how you want to assemble the inside, so where you can place the sentiment.
Now the relaxing part, color all these pieces with soft, cute tones. When finished, die cut the Pandas with the Rolly Polly Pandas Coordinating Craft Dies. The cute baby elements have to be fuzzy cut.
Add a little Glossy Accents to details like the ball, the bear and the blocks. This gives such a playful and beautiful shine. You can do this now, but it takes of a long time to dry, do I did this when the card was finished.

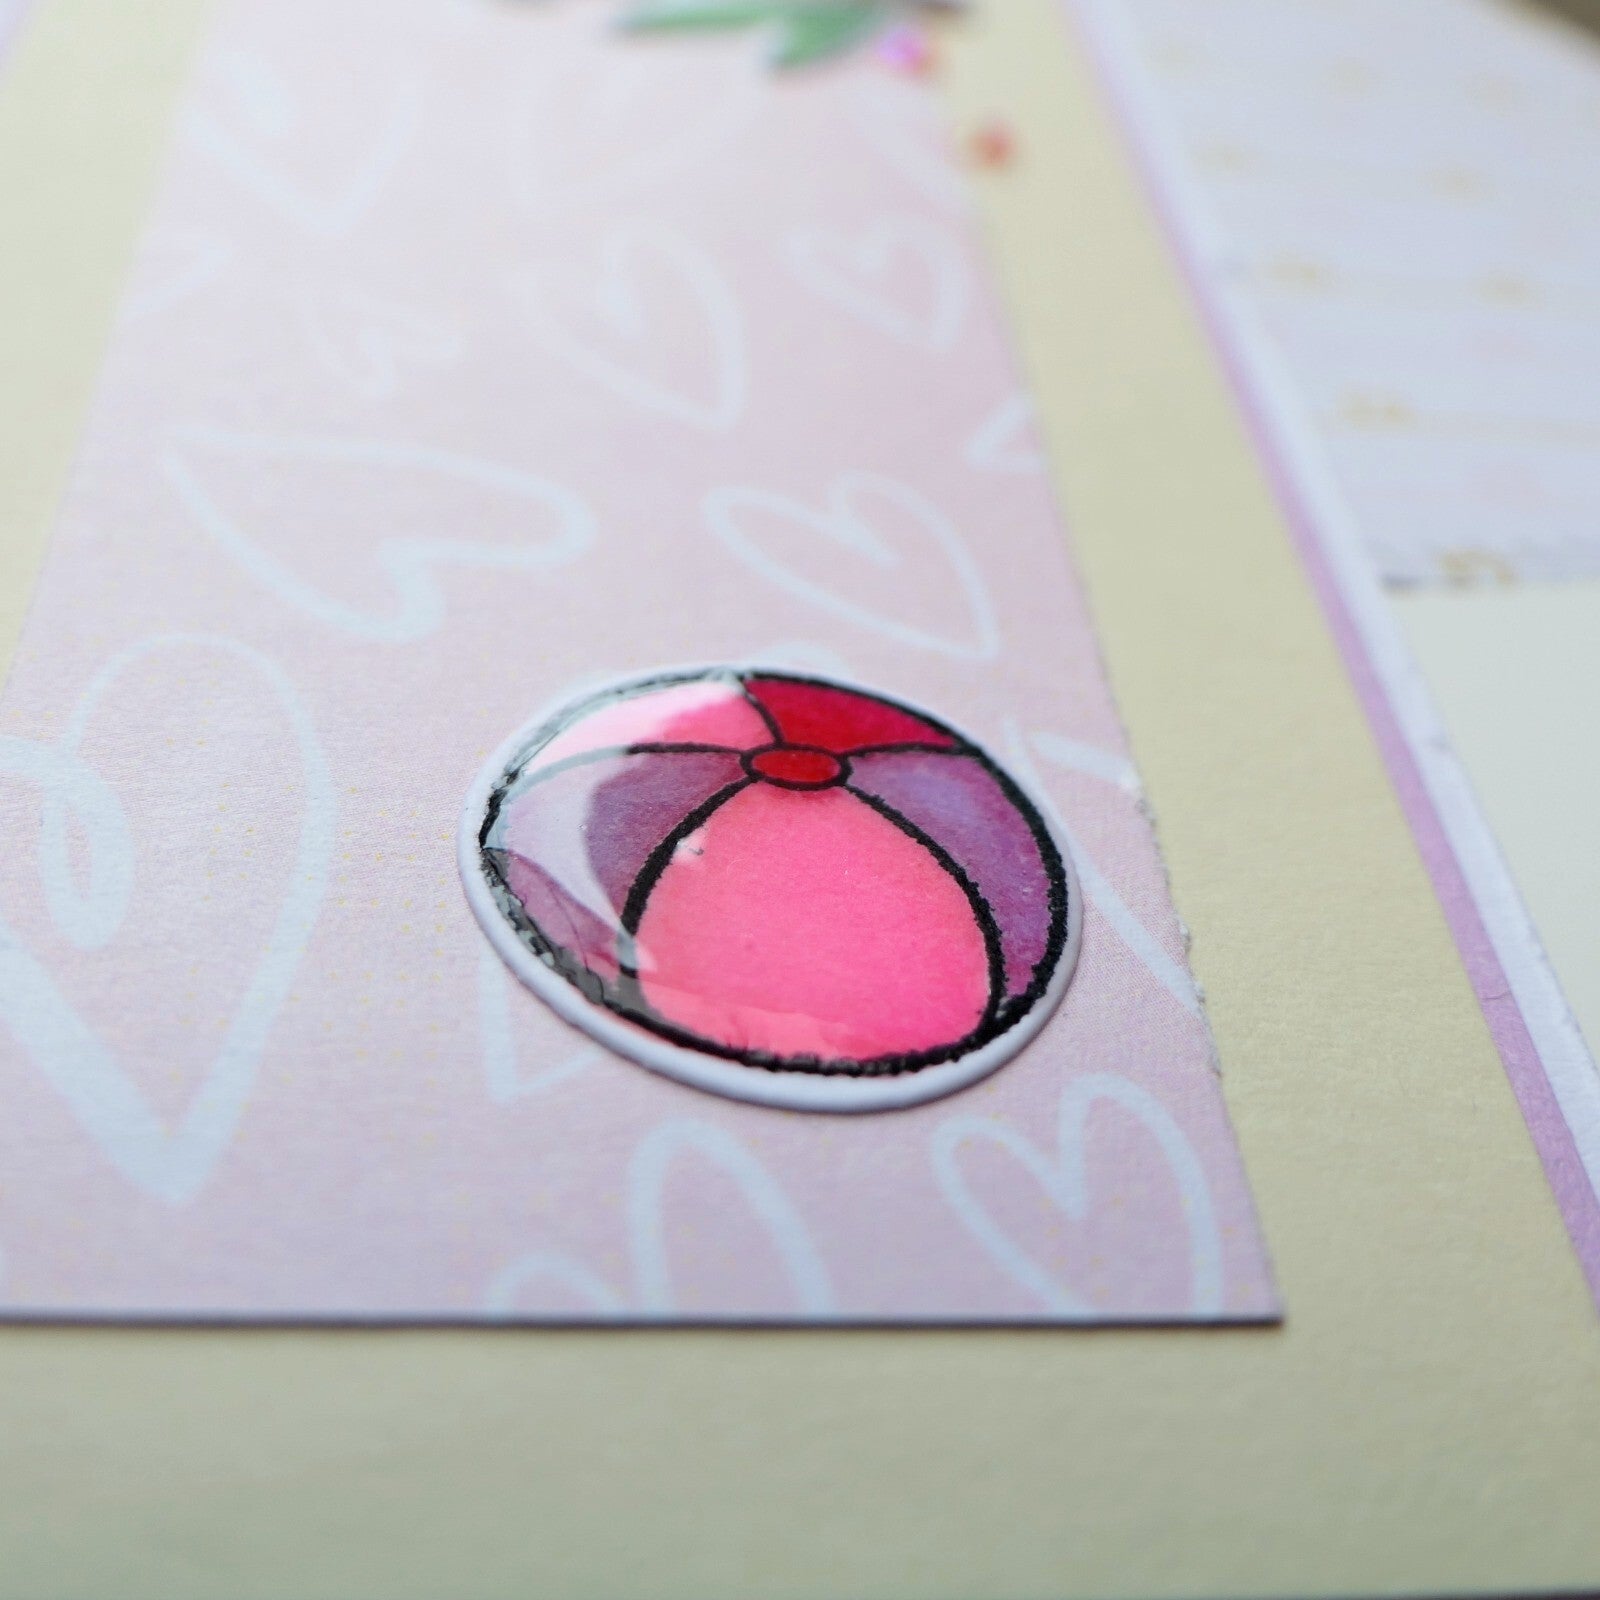
4. Decorate the Front
Add your main sentiment circle on top of the patterned paper circle, using foam tape for dimension. I added that cute little bear also on the front.

5. Decorate the Inside
Use the saved glitter circle and the second lilac circle with the small sentiment to create a soft focal point inside the card. Decorate the inside with the Pandas and the rest of the baby elements to complete this design.

6. Finishing Touches
Add Pretty Pink Jewels for a bit of sparkle and softness.
And that’s it — your sweet baby gatefold card is ready!
Final Thoughts
This card was such a joy to make. I love how one design can feel both playful and elegant at the same time.
Fun fold cards like this are a perfect way to surprise someone — and honestly… they are just as fun to make as they are to give.
I hope I’ve inspired you to try a gatefold card yourself and maybe even play with these adorable pandas.
Thank you so much for stopping by, and don’t forget to check out What’s New at Kat Scrappiness for even more crafty inspiration!
Until next time and happy crafting!
With love and creative joy,
Angelique 🫶
Add comment
Comments