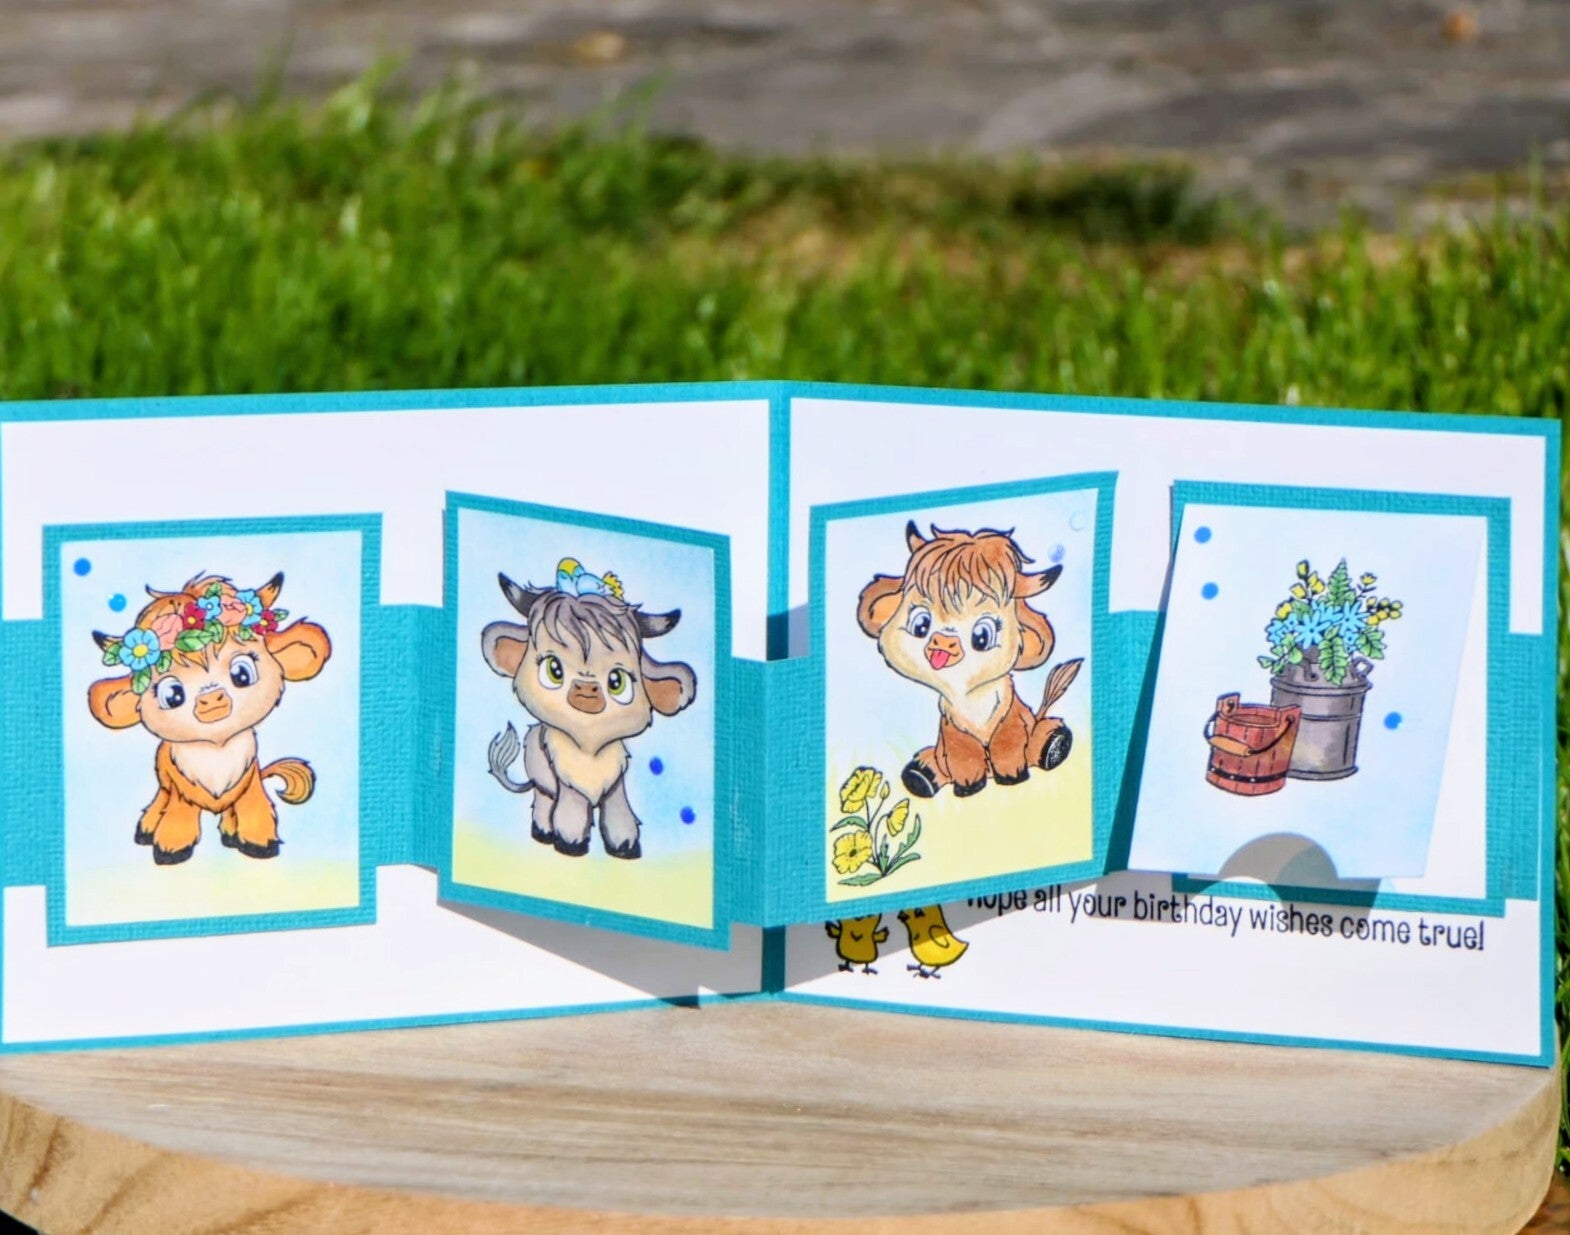
Today I’m so happy to share a new card with you, featuring the adorable new Highland Mini Moos Release from Kat Scrappiness!
This time I created another fold card — but don’t worry, this one is much easier to make and such a joy to decorate. It looks playful and interactive, and I just love how the little panels bring the sweet Mini Moos to life.
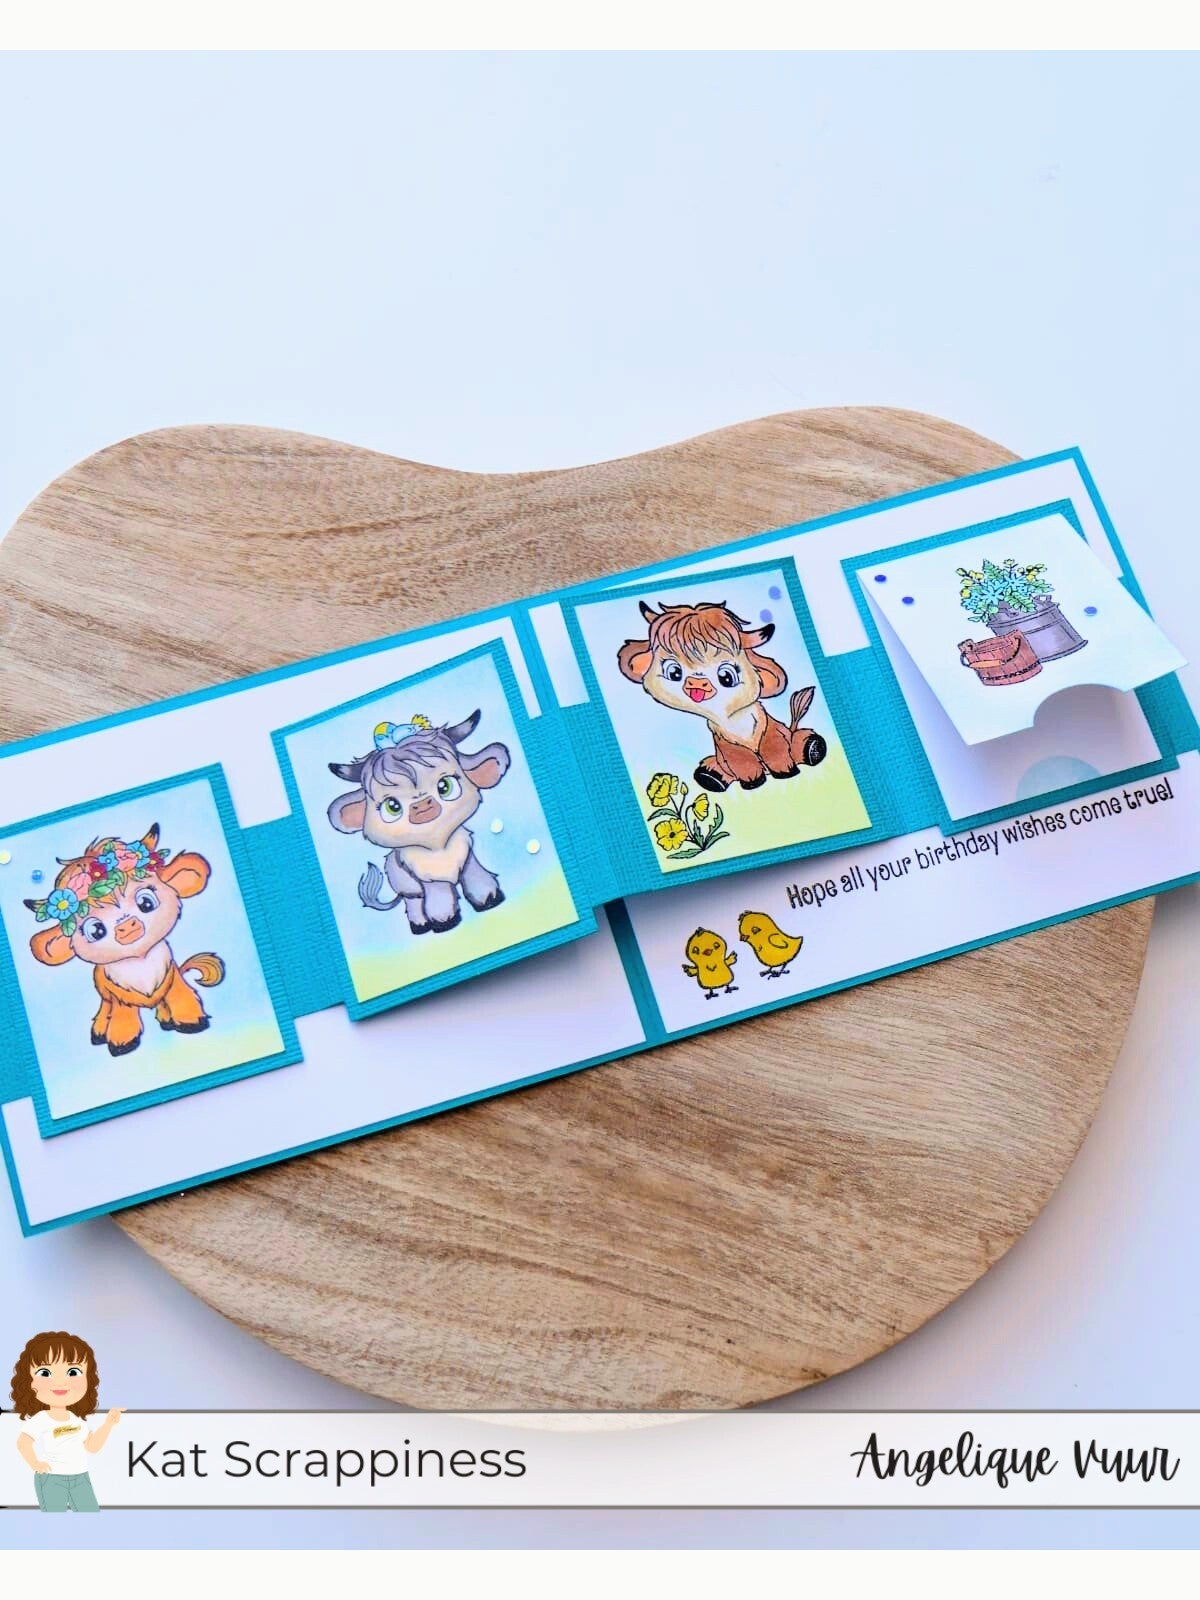
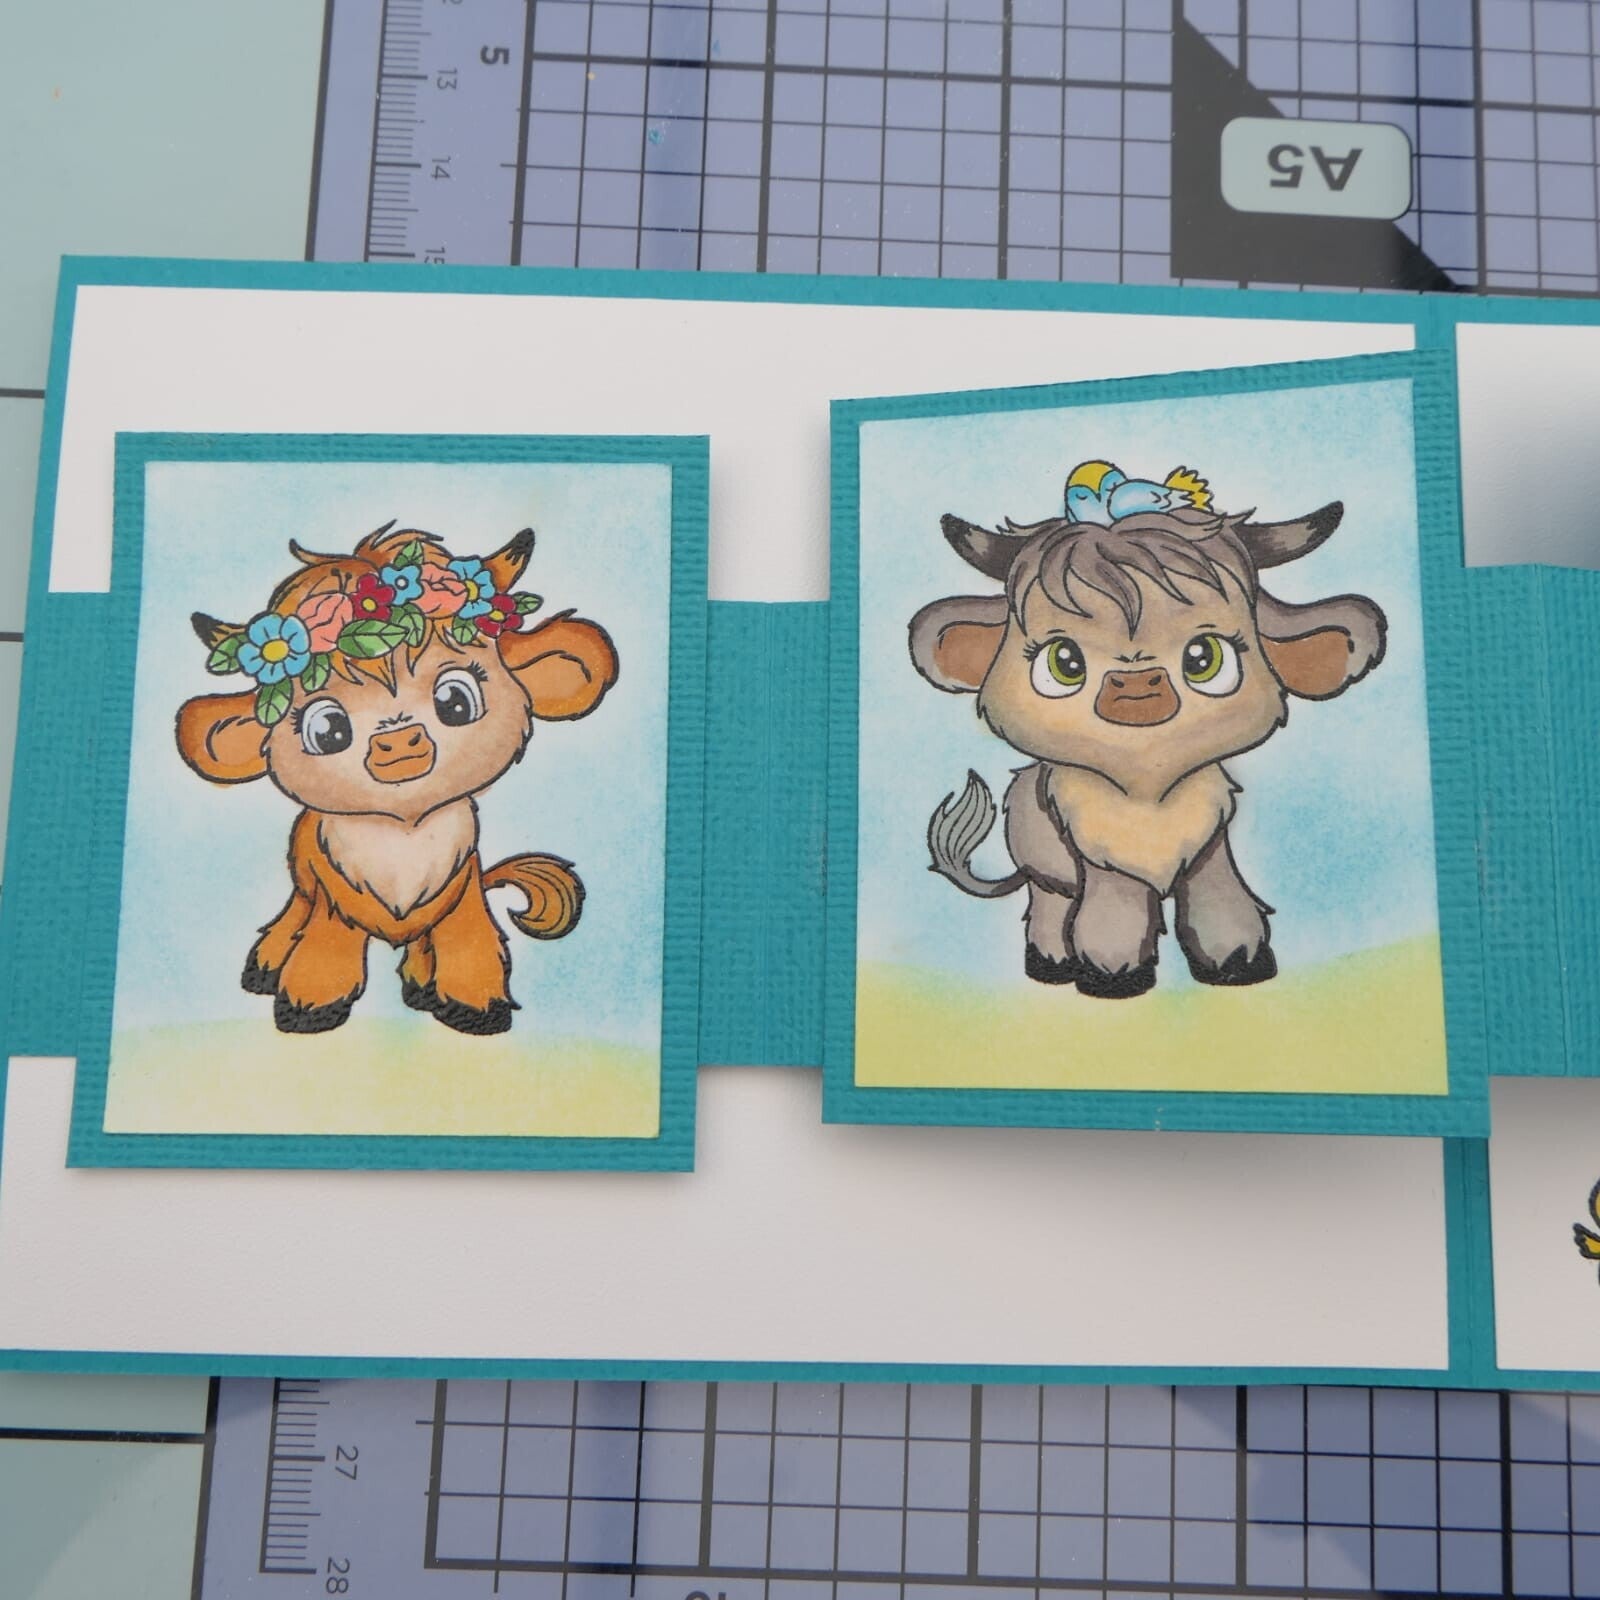
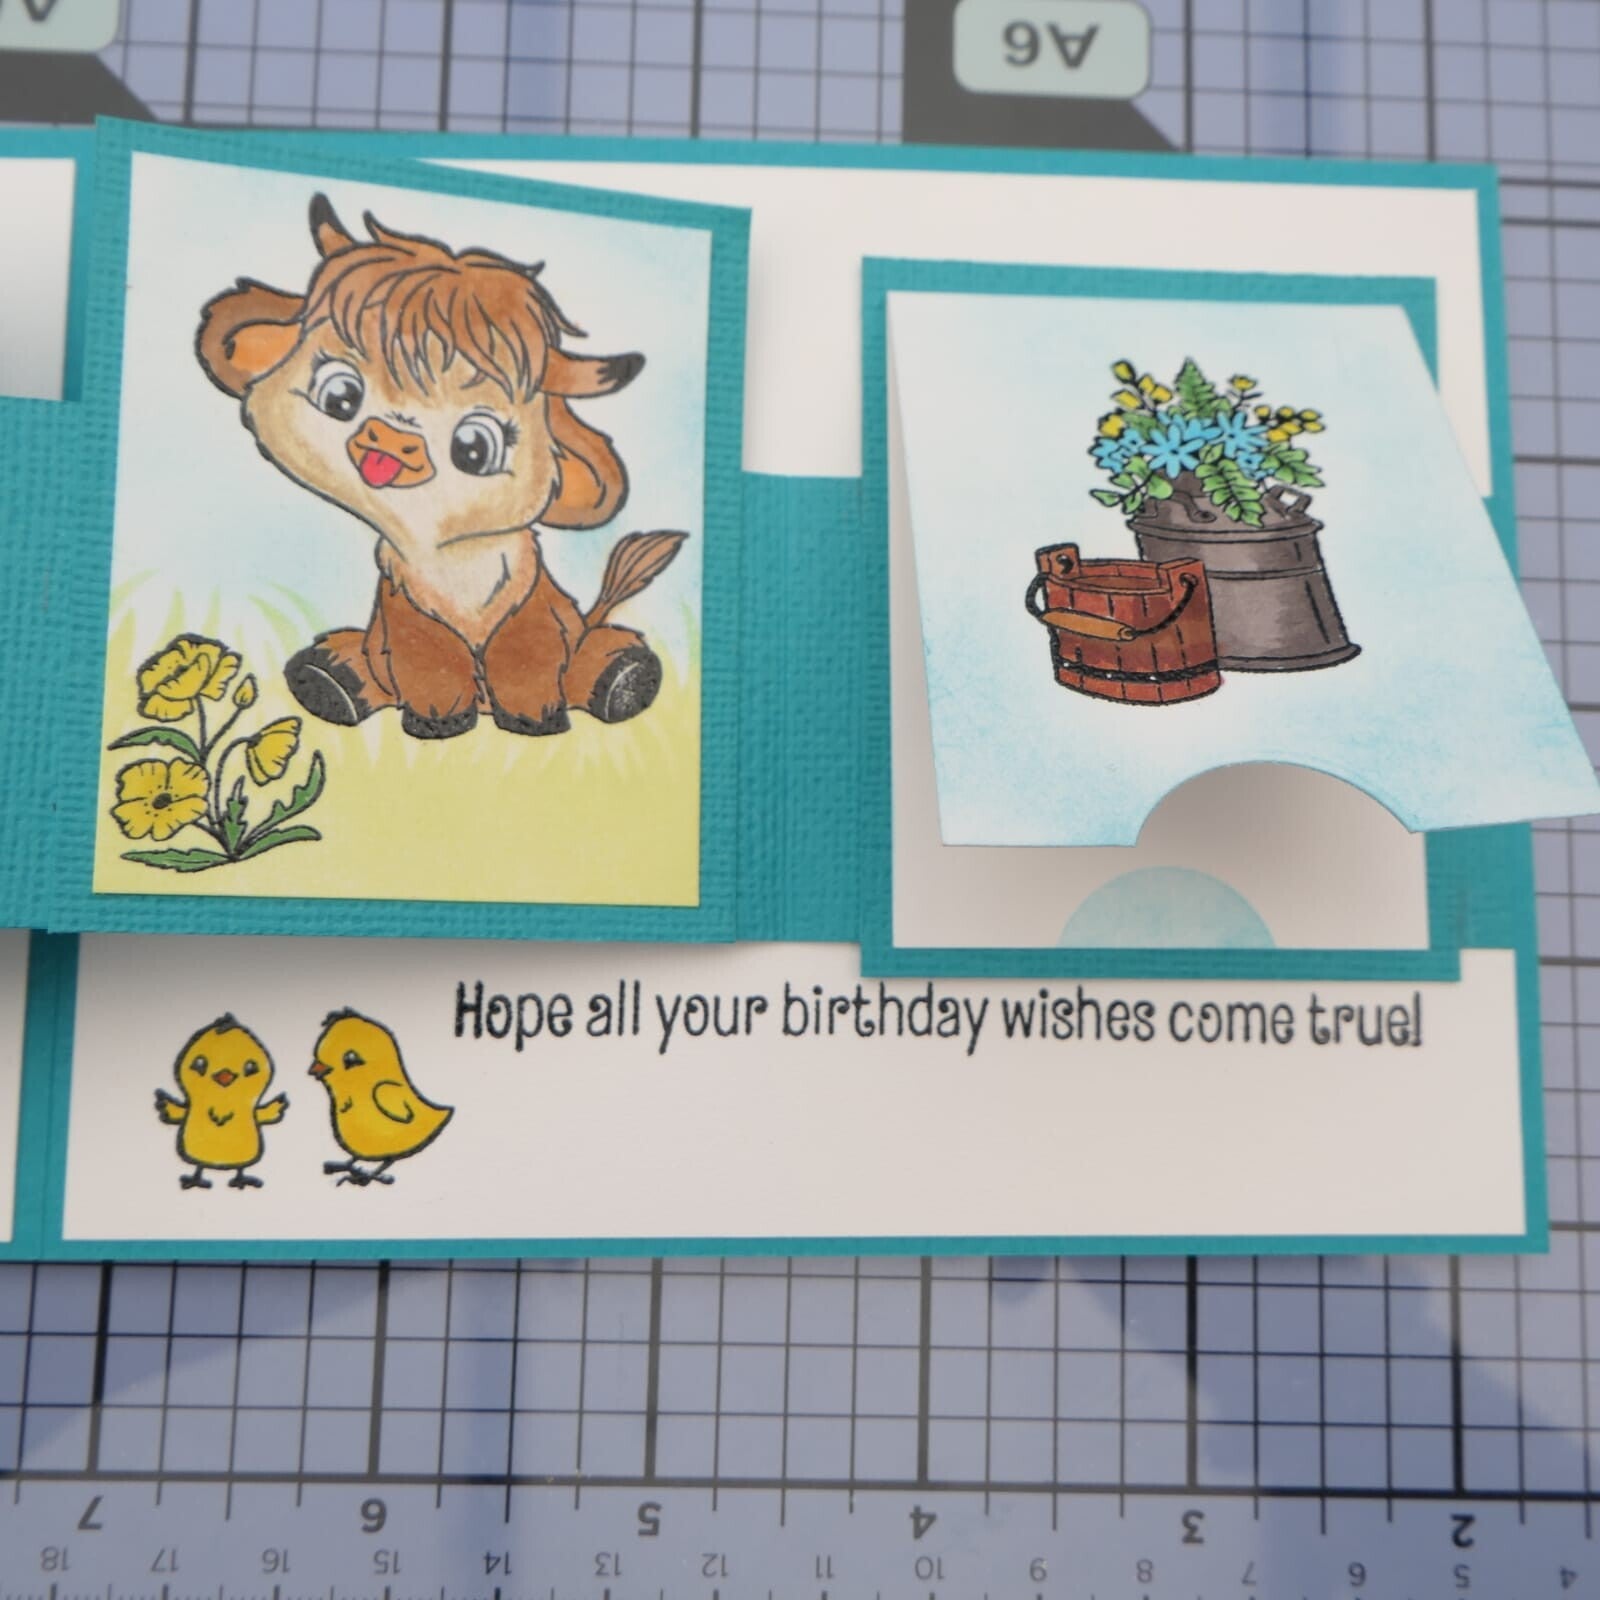
What I really enjoyed while making this card is how each little “window” tells its own tiny story.
The Mini Moos, the soft ink blended backgrounds and the playful layout make this card feel light, happy and full of movement.
And even better… it looks more complicated than it actually is 😉
Card Measurements (in inches)
Card base (aqua blue):
4 1/4 x 11 – score at 5 1/2
Fold strip (aqua blue):
1 3/4 x 11 – score at 2 3/4, 5 1/2 and 8 1/4
Small panels (aqua blue):
4 pieces – 2 1/4 x 2 3/4
White layers for panels:
3 pieces – 2 x 2 1/2
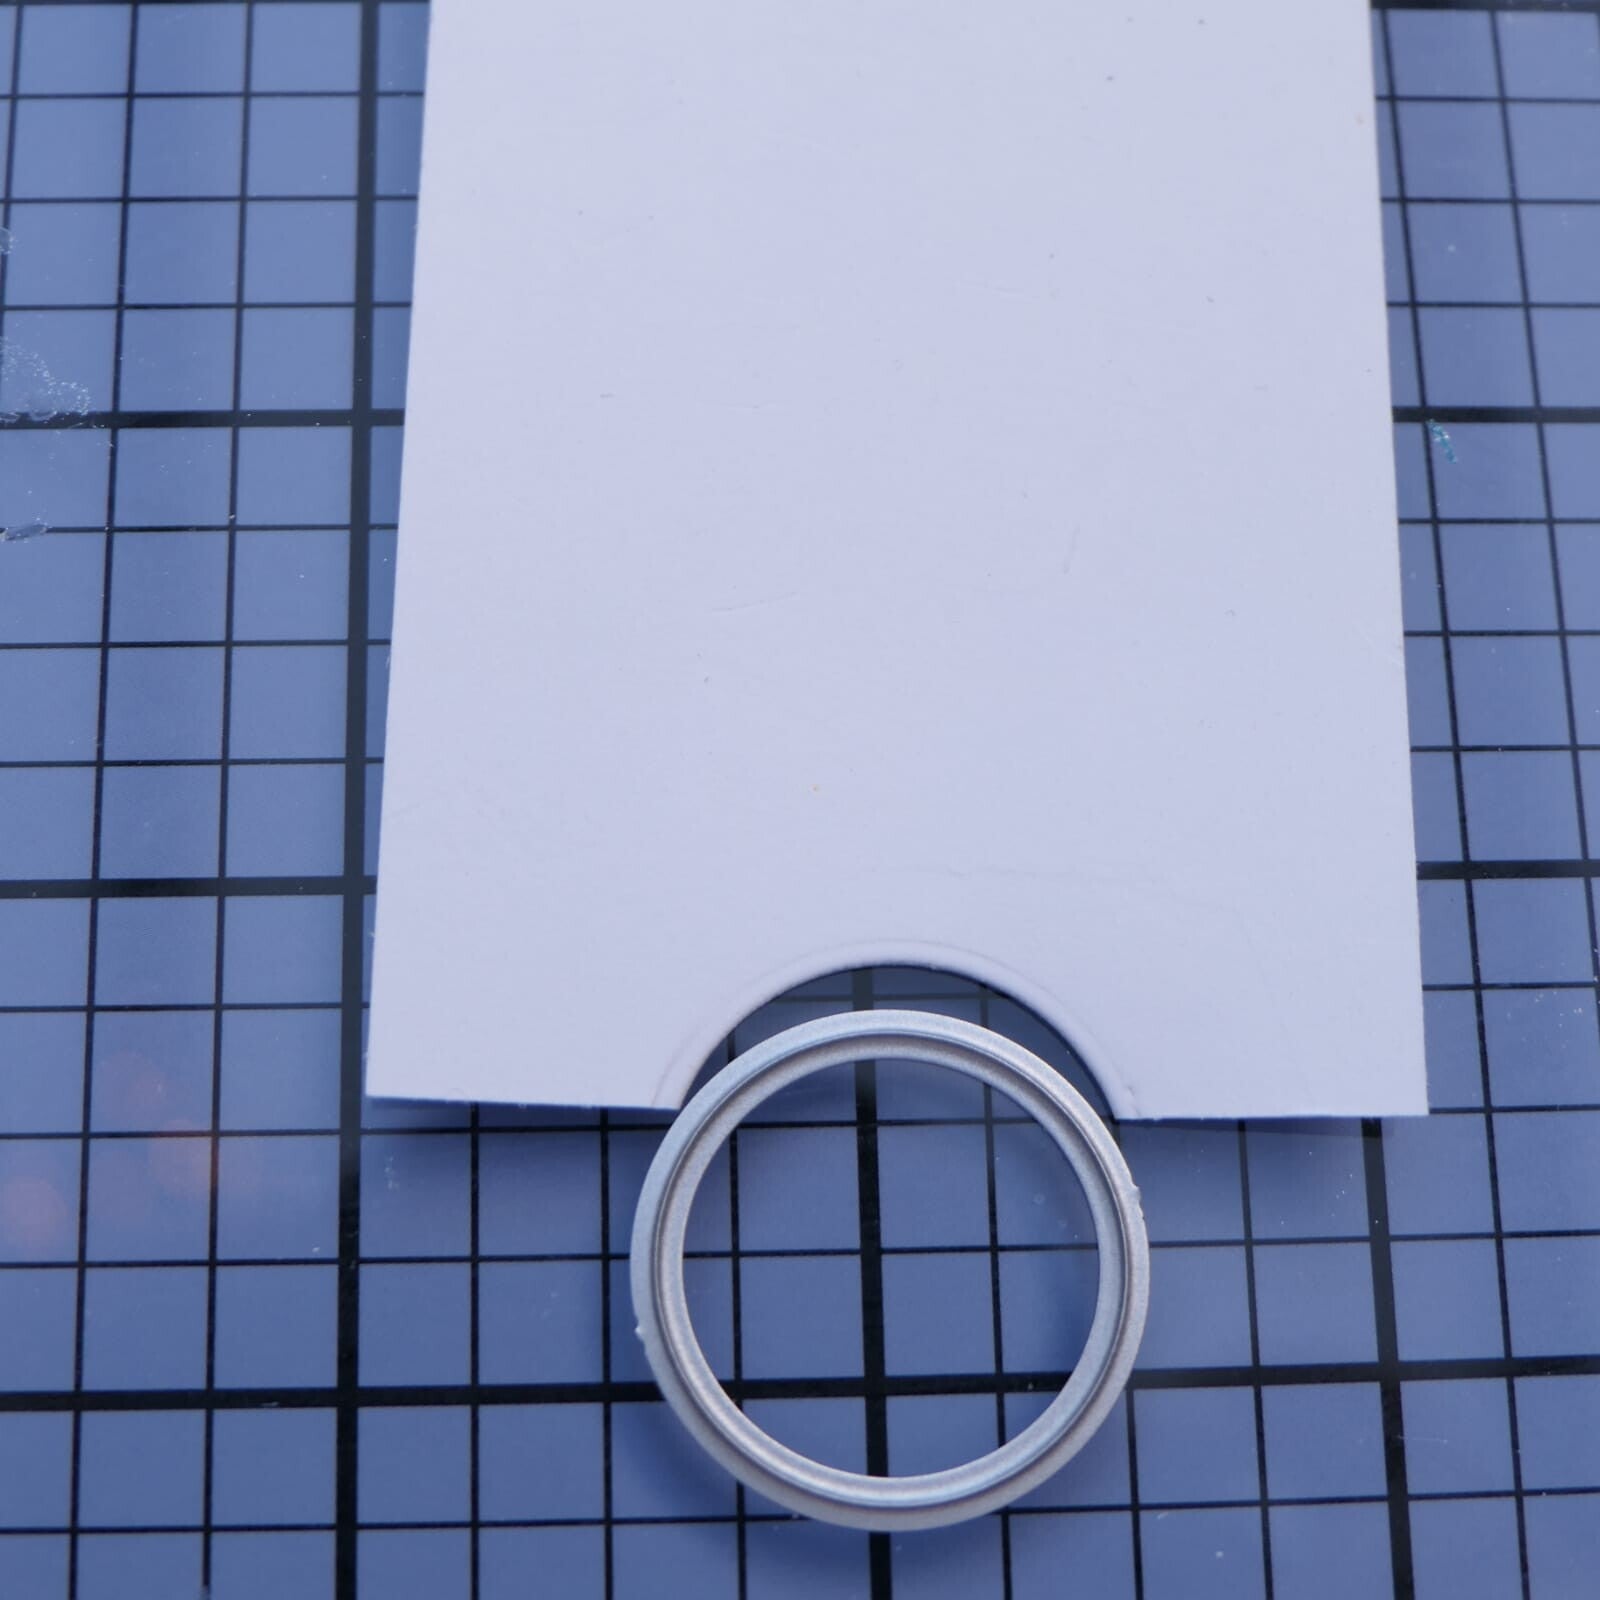
1 piece – 2 x 5 (score at 2 1/2 → mini card) with a small circle I made a half round cut at the bottom so the mini card can easily be opened.
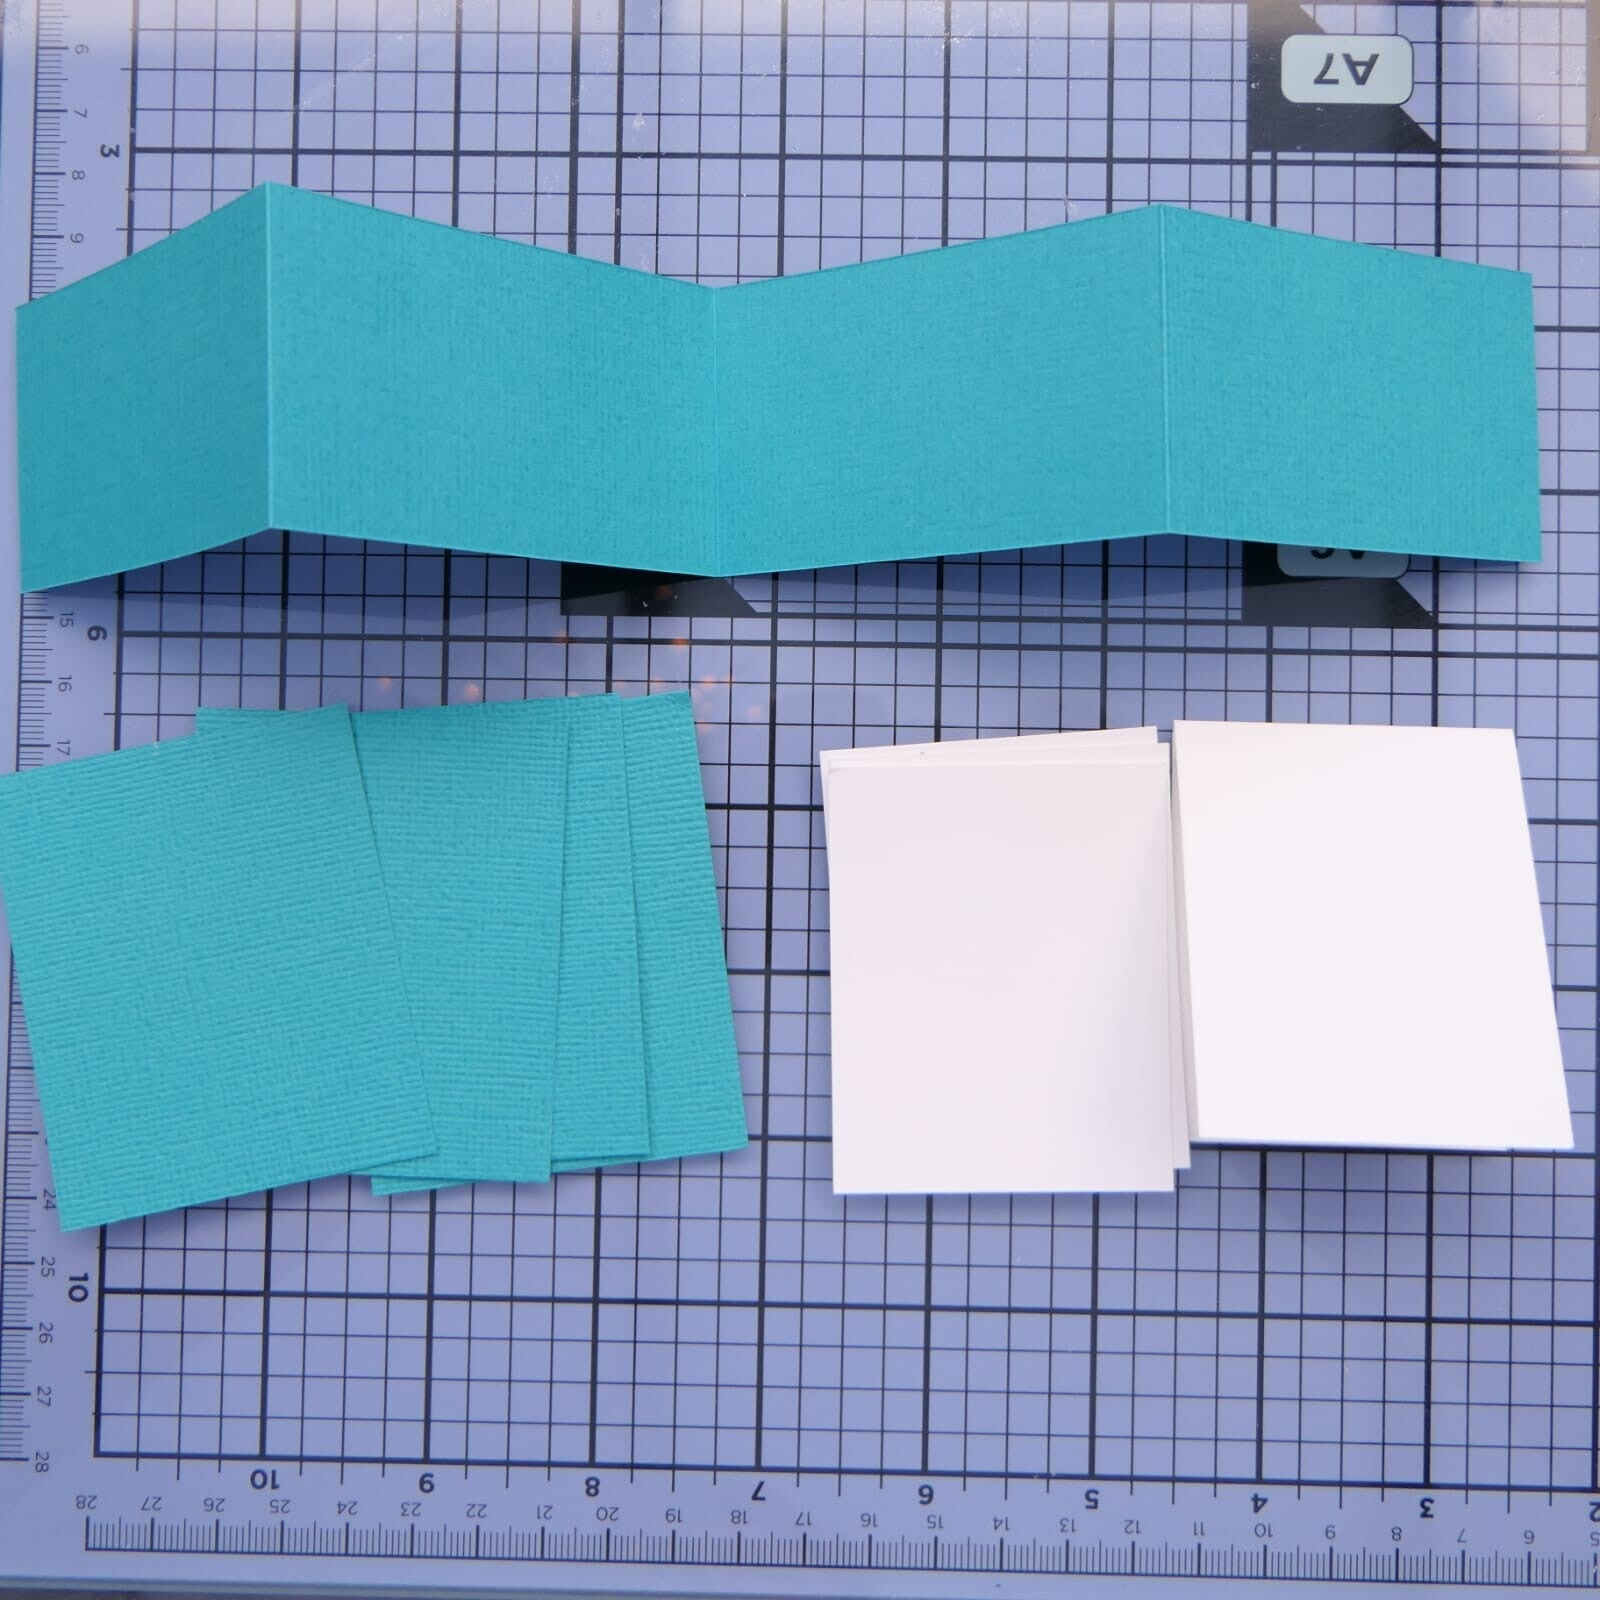
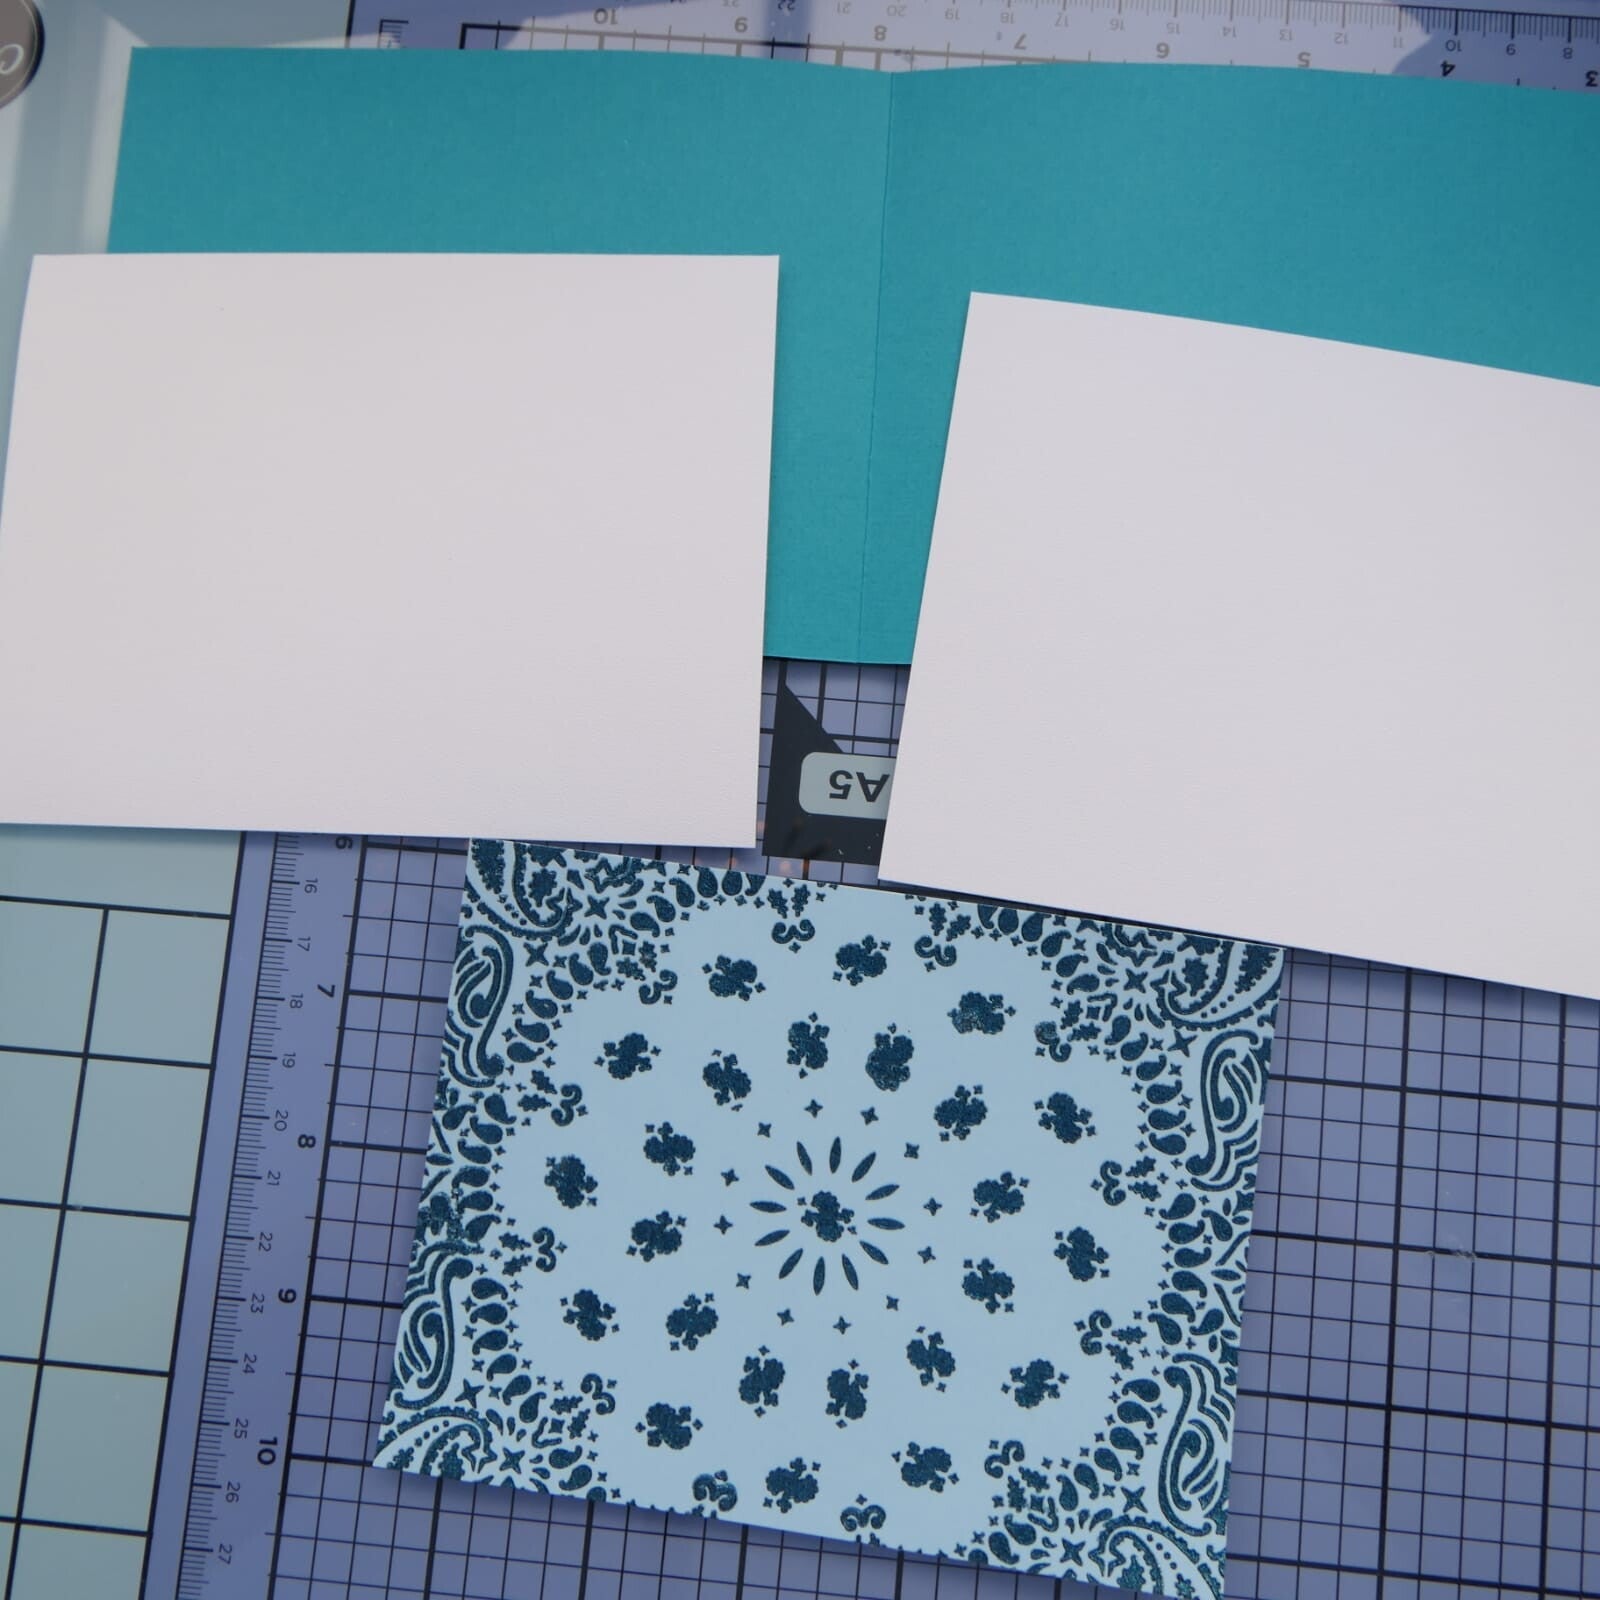
Inside layers (white):
2 pieces – 4 x 5 1/4
Front layer (light blue):
4 x 5 1/4
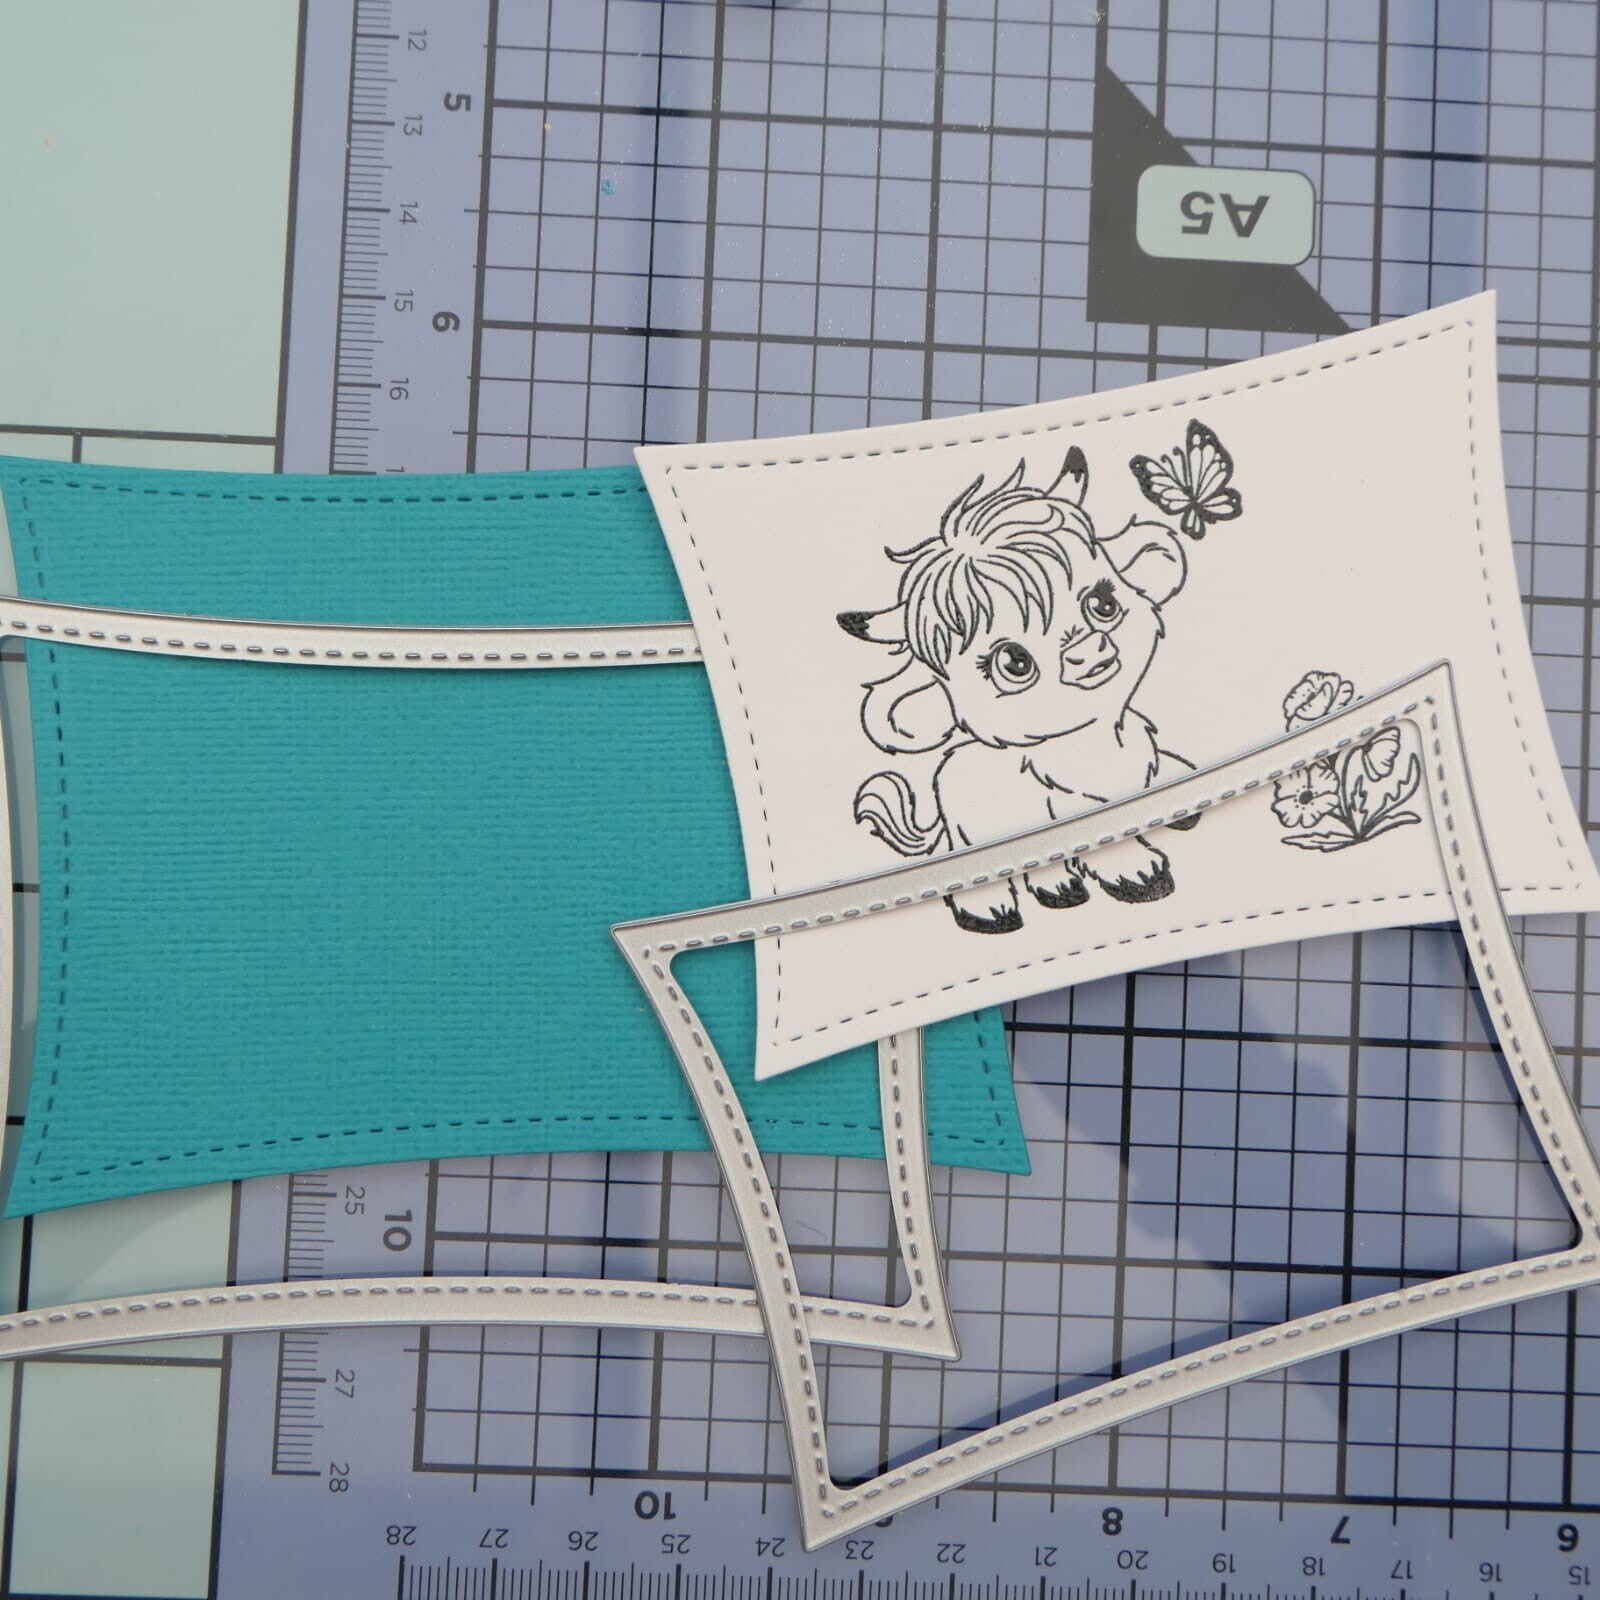
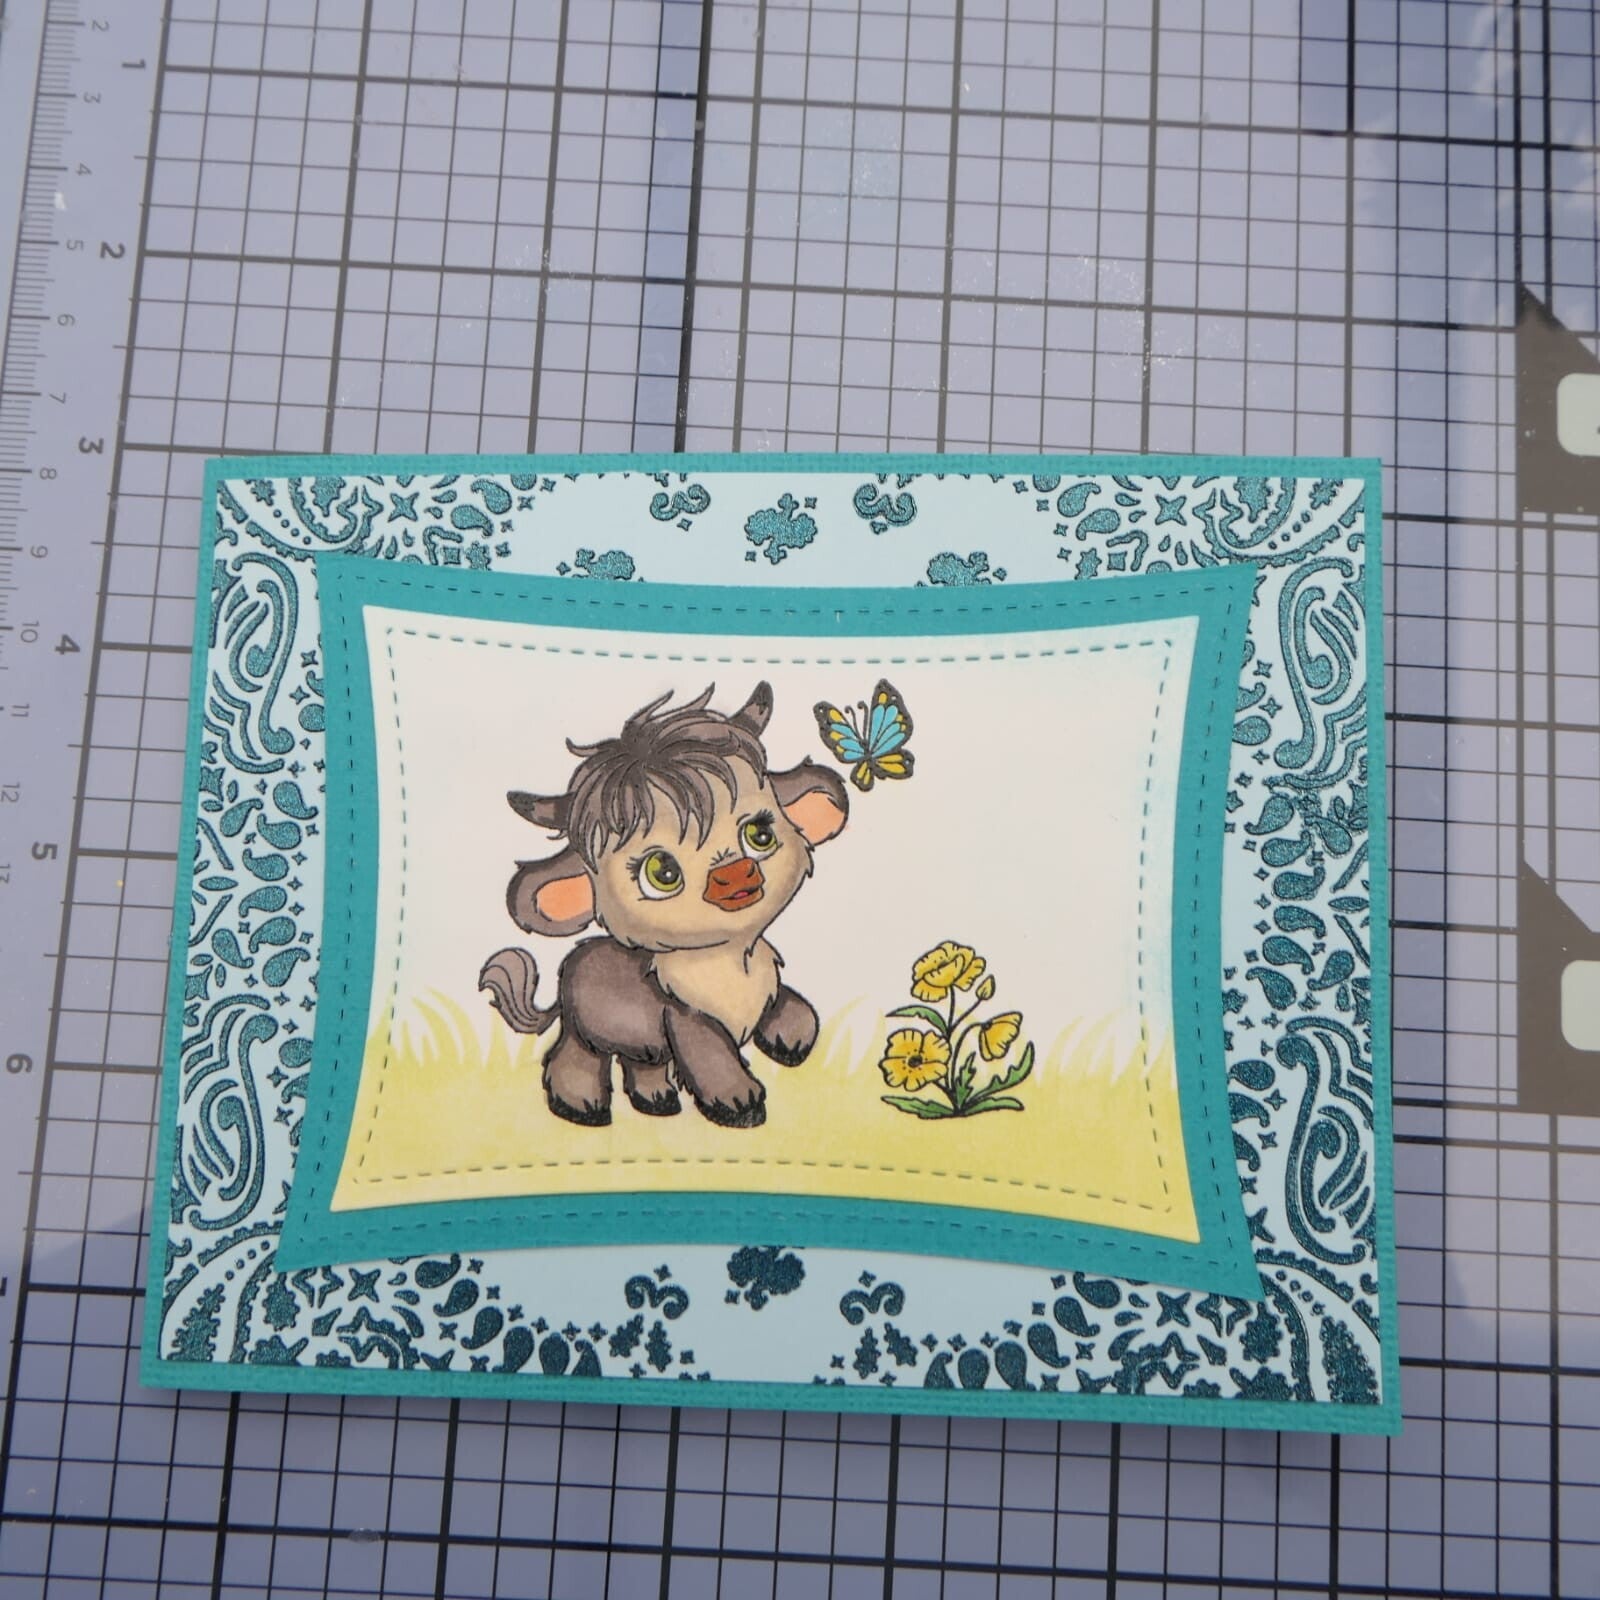
Decorative front layers (Stitched Wacky Frame):
Die 2 aqua + die 3 white (layered) (measured from large to small)
Products Used
- Highland Mini Moos Stamp Set
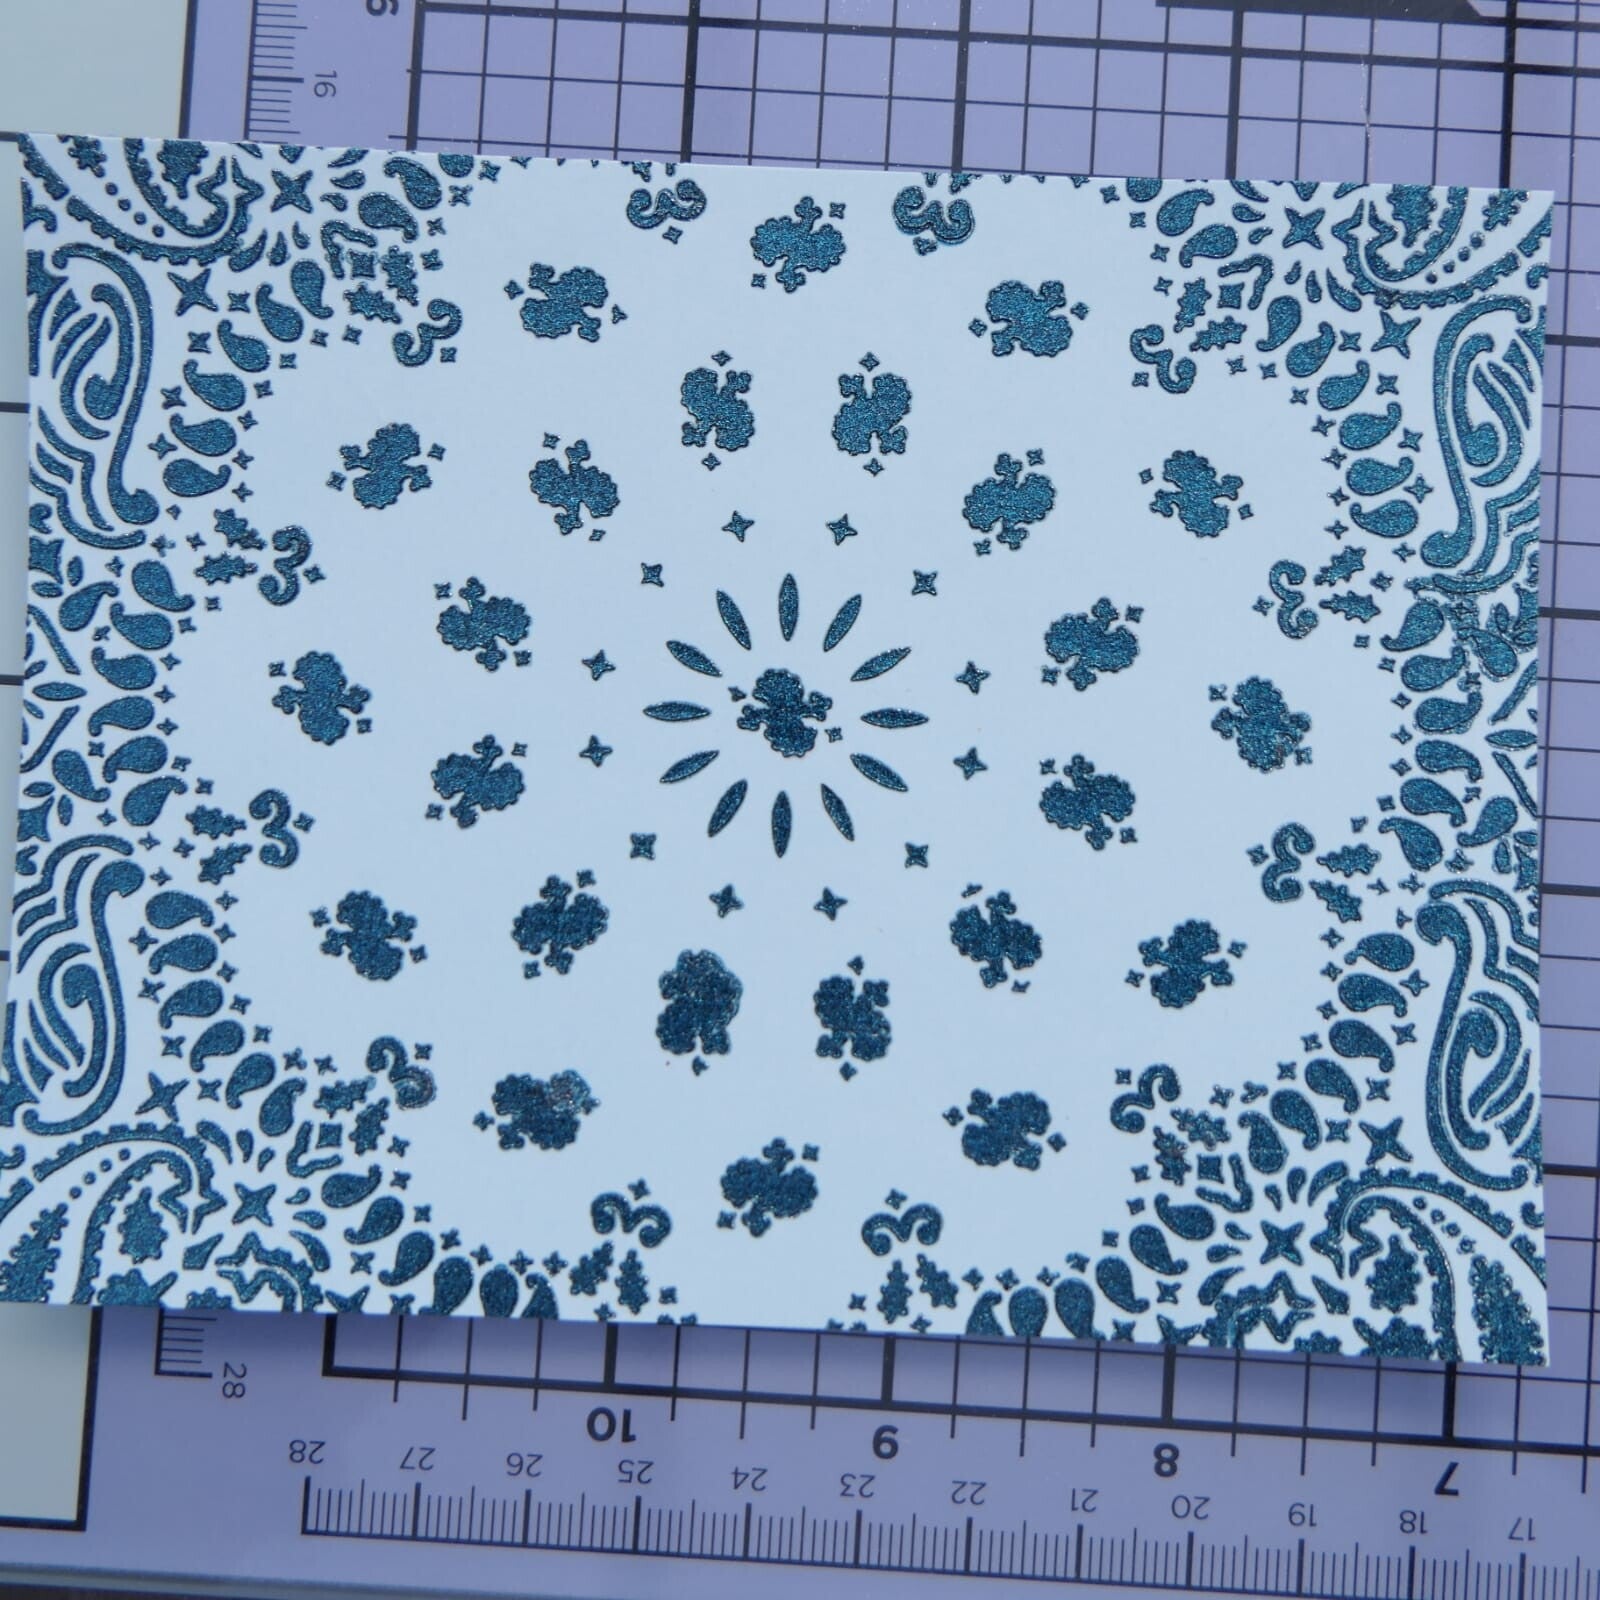
- Bandana Background 6x6 Stencil
- Scene Builder 6x6 Stencil
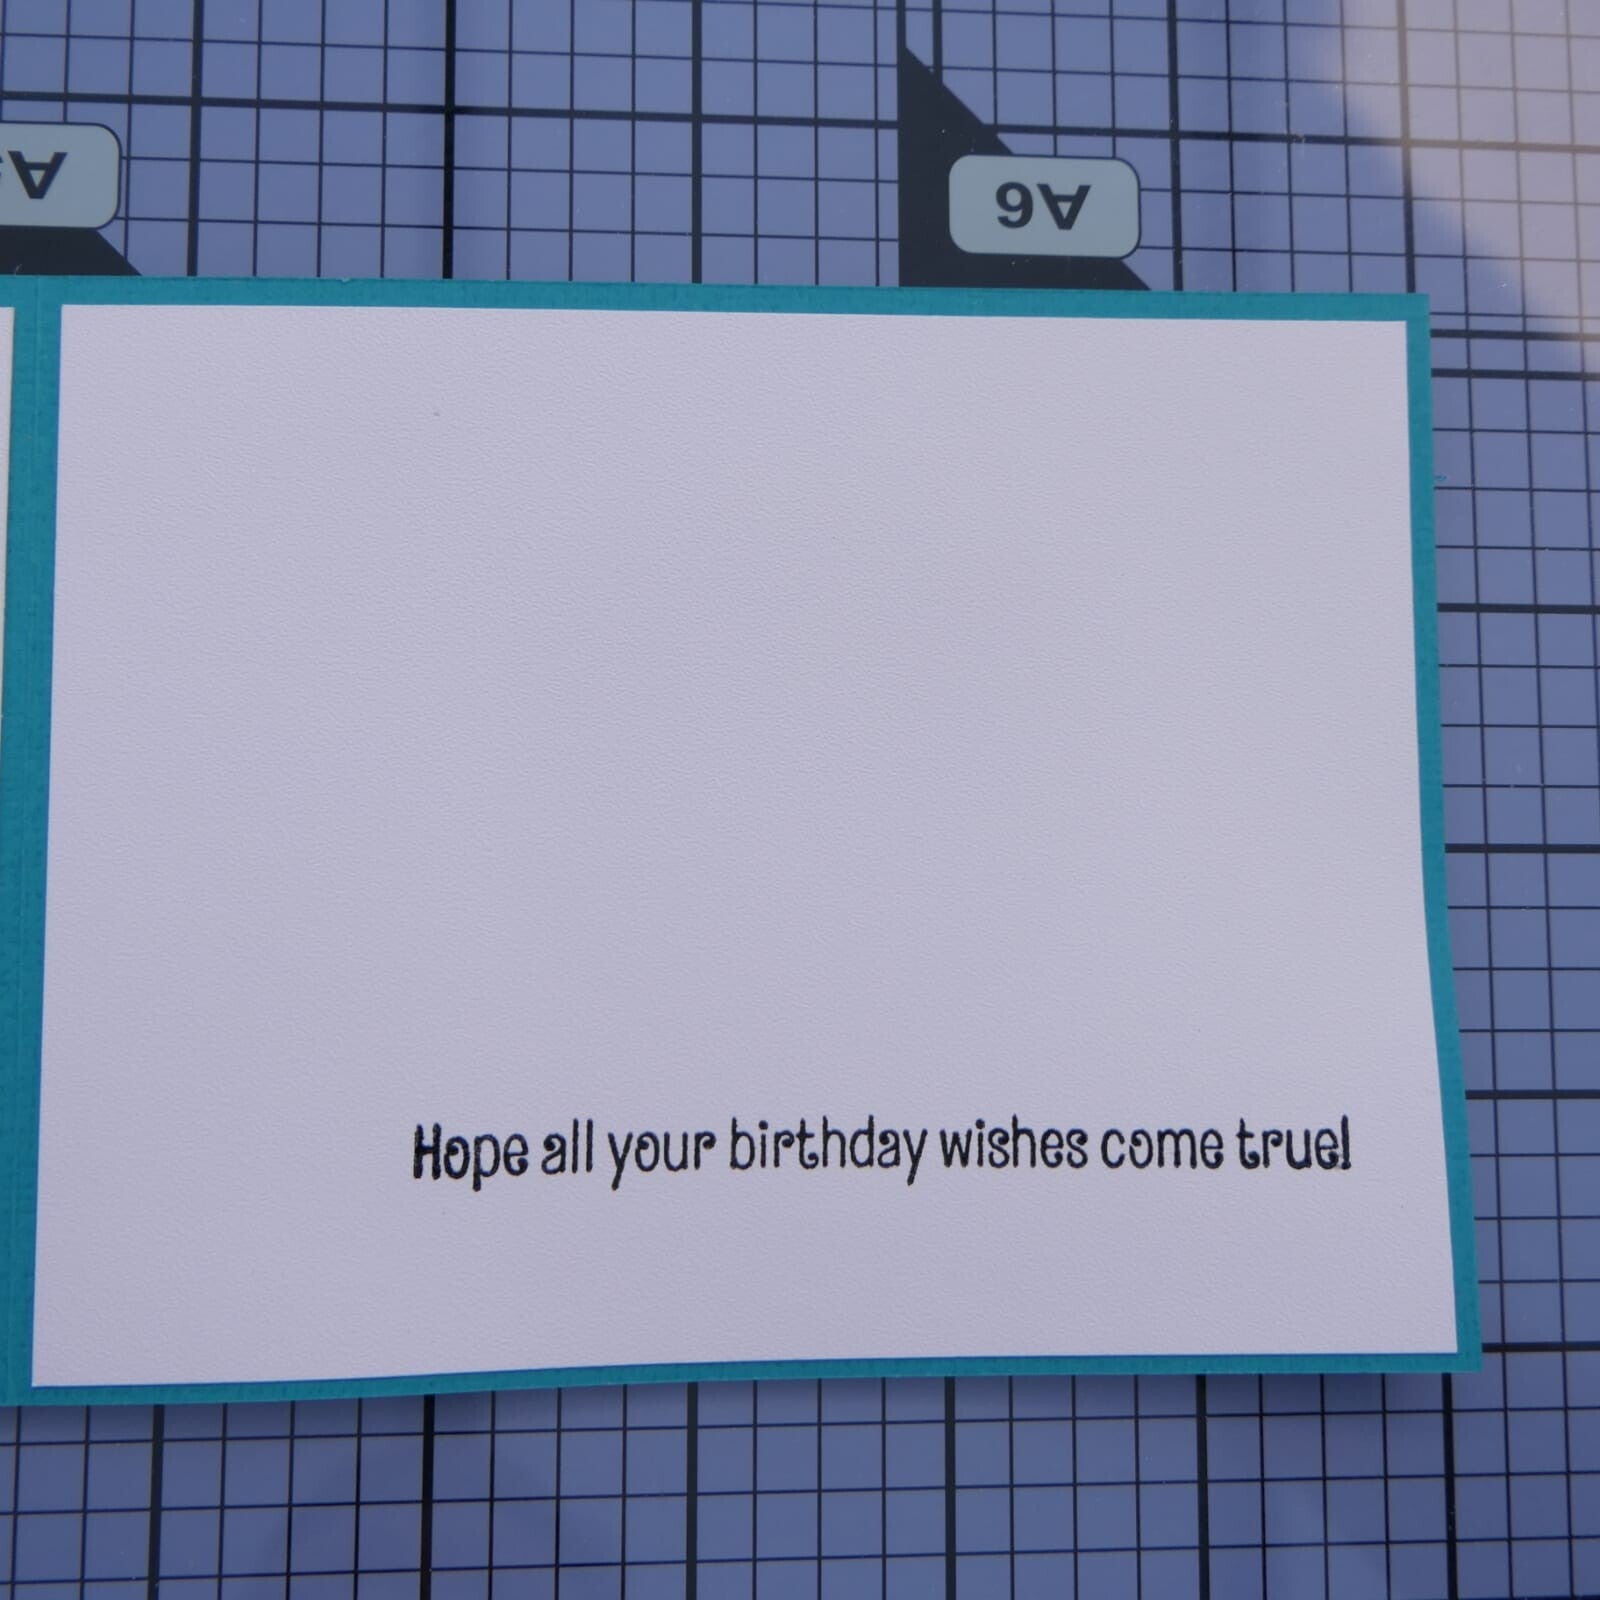
- Sentiment Shoppe – Within the Fold: Sentiment Sampler
- Stitched Wacky Frame Craft Dies
- Brilliant Sky Blue Confetti Dot Sequins
- Ink Blending Brushes
Step-by-Step Card Tutorial
1. Create the backgrounds
Start with the light blue front panel and stencil it using the Bandana Background stencil with a darker blue paste.
Tip: You can always take white paste and color it with your inks untill you have the color you want!
Set this aside to dry.
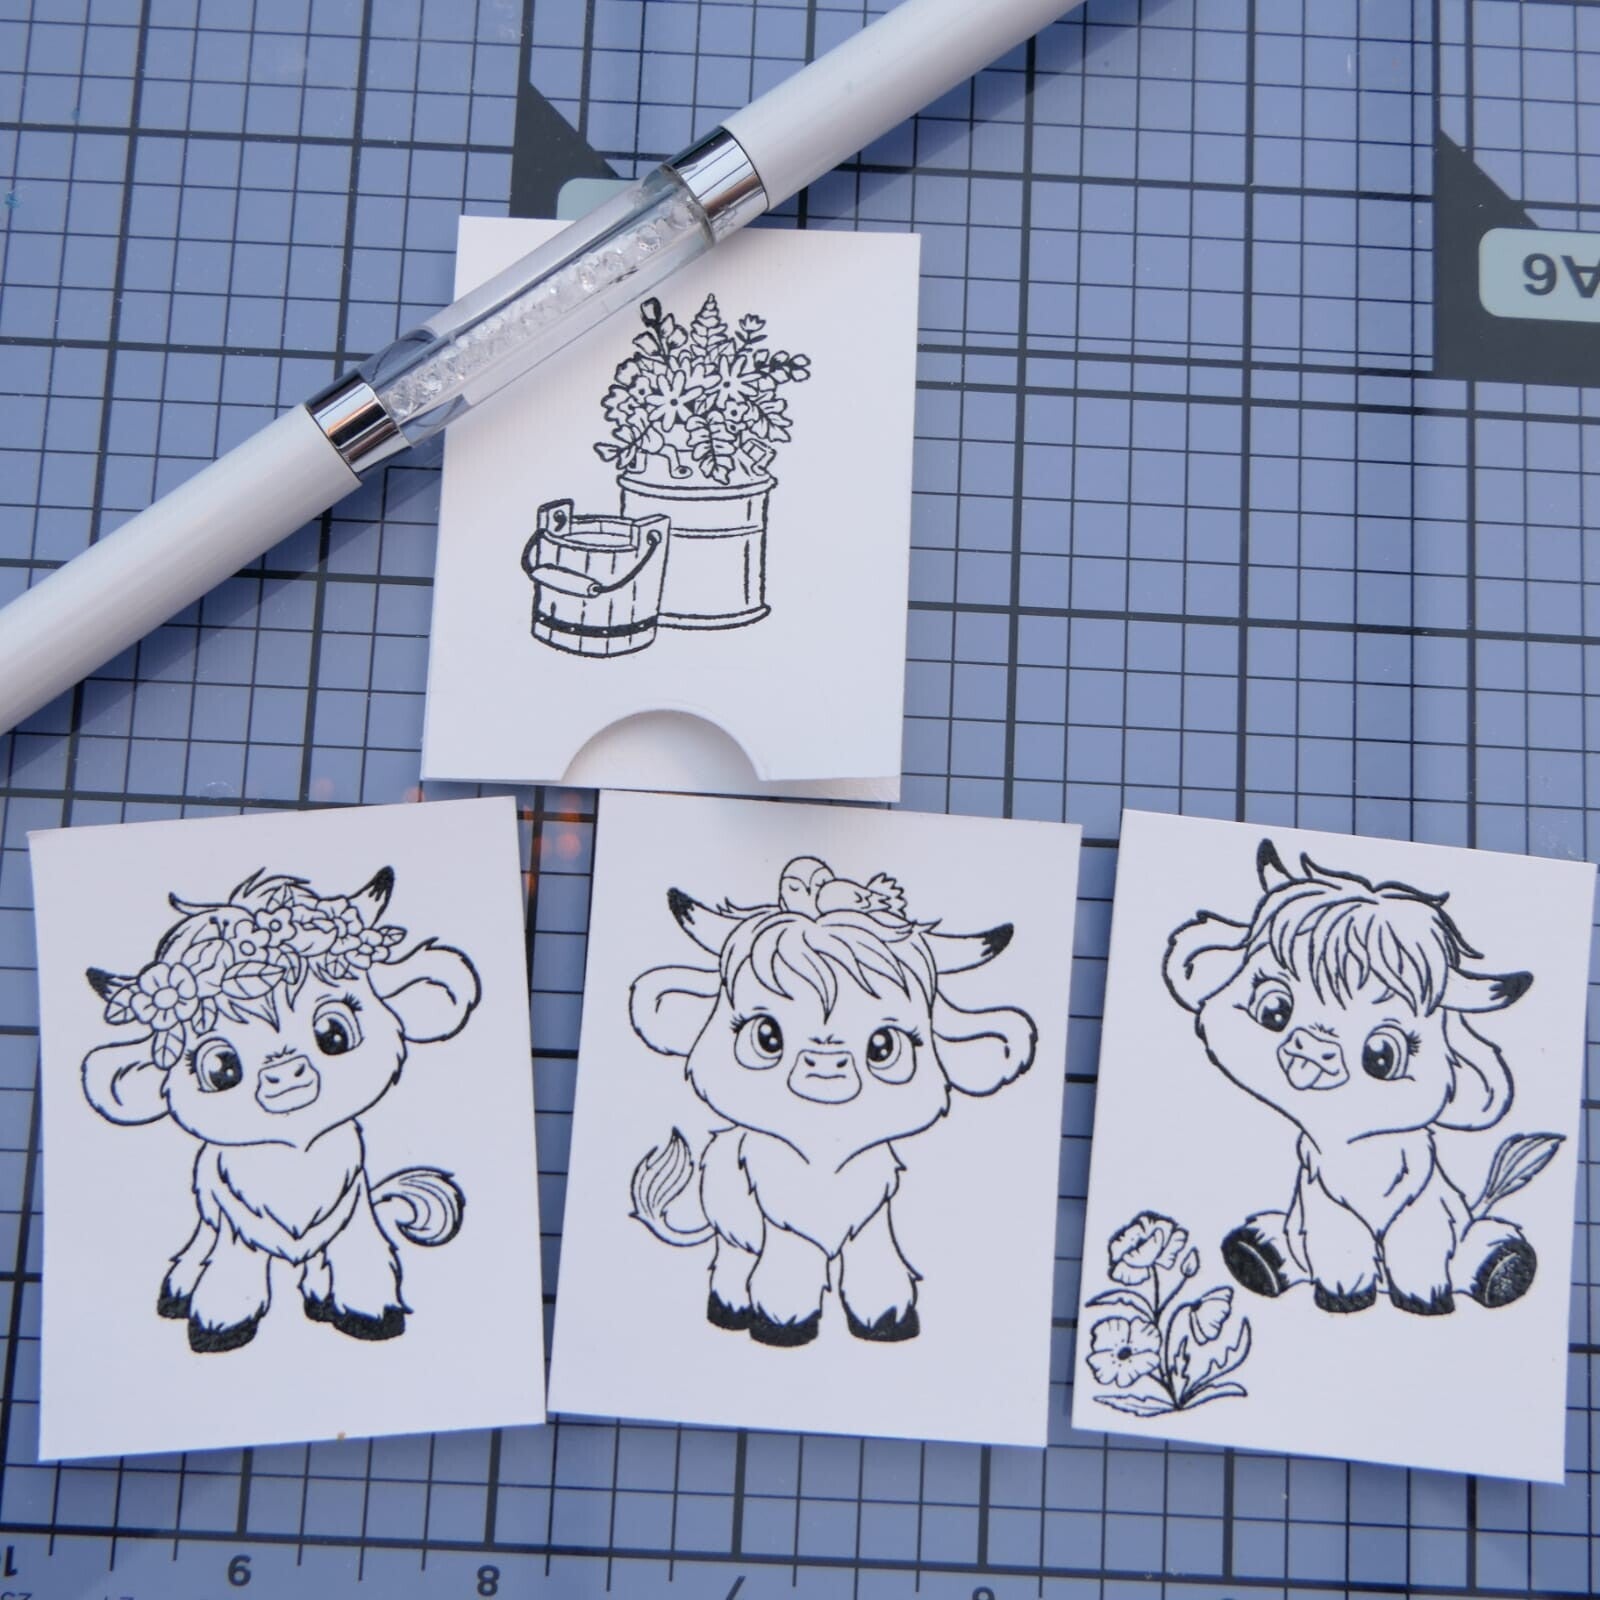
For the small white panels:
- Stamp the Highland Mini Moos stamps
- Color them with alcohol markers
- Add soft clouds and grass using the Scene Builder stencil
For the mini card:
- Stamp the bucket with flowers
- Color it and softly ink blend around it
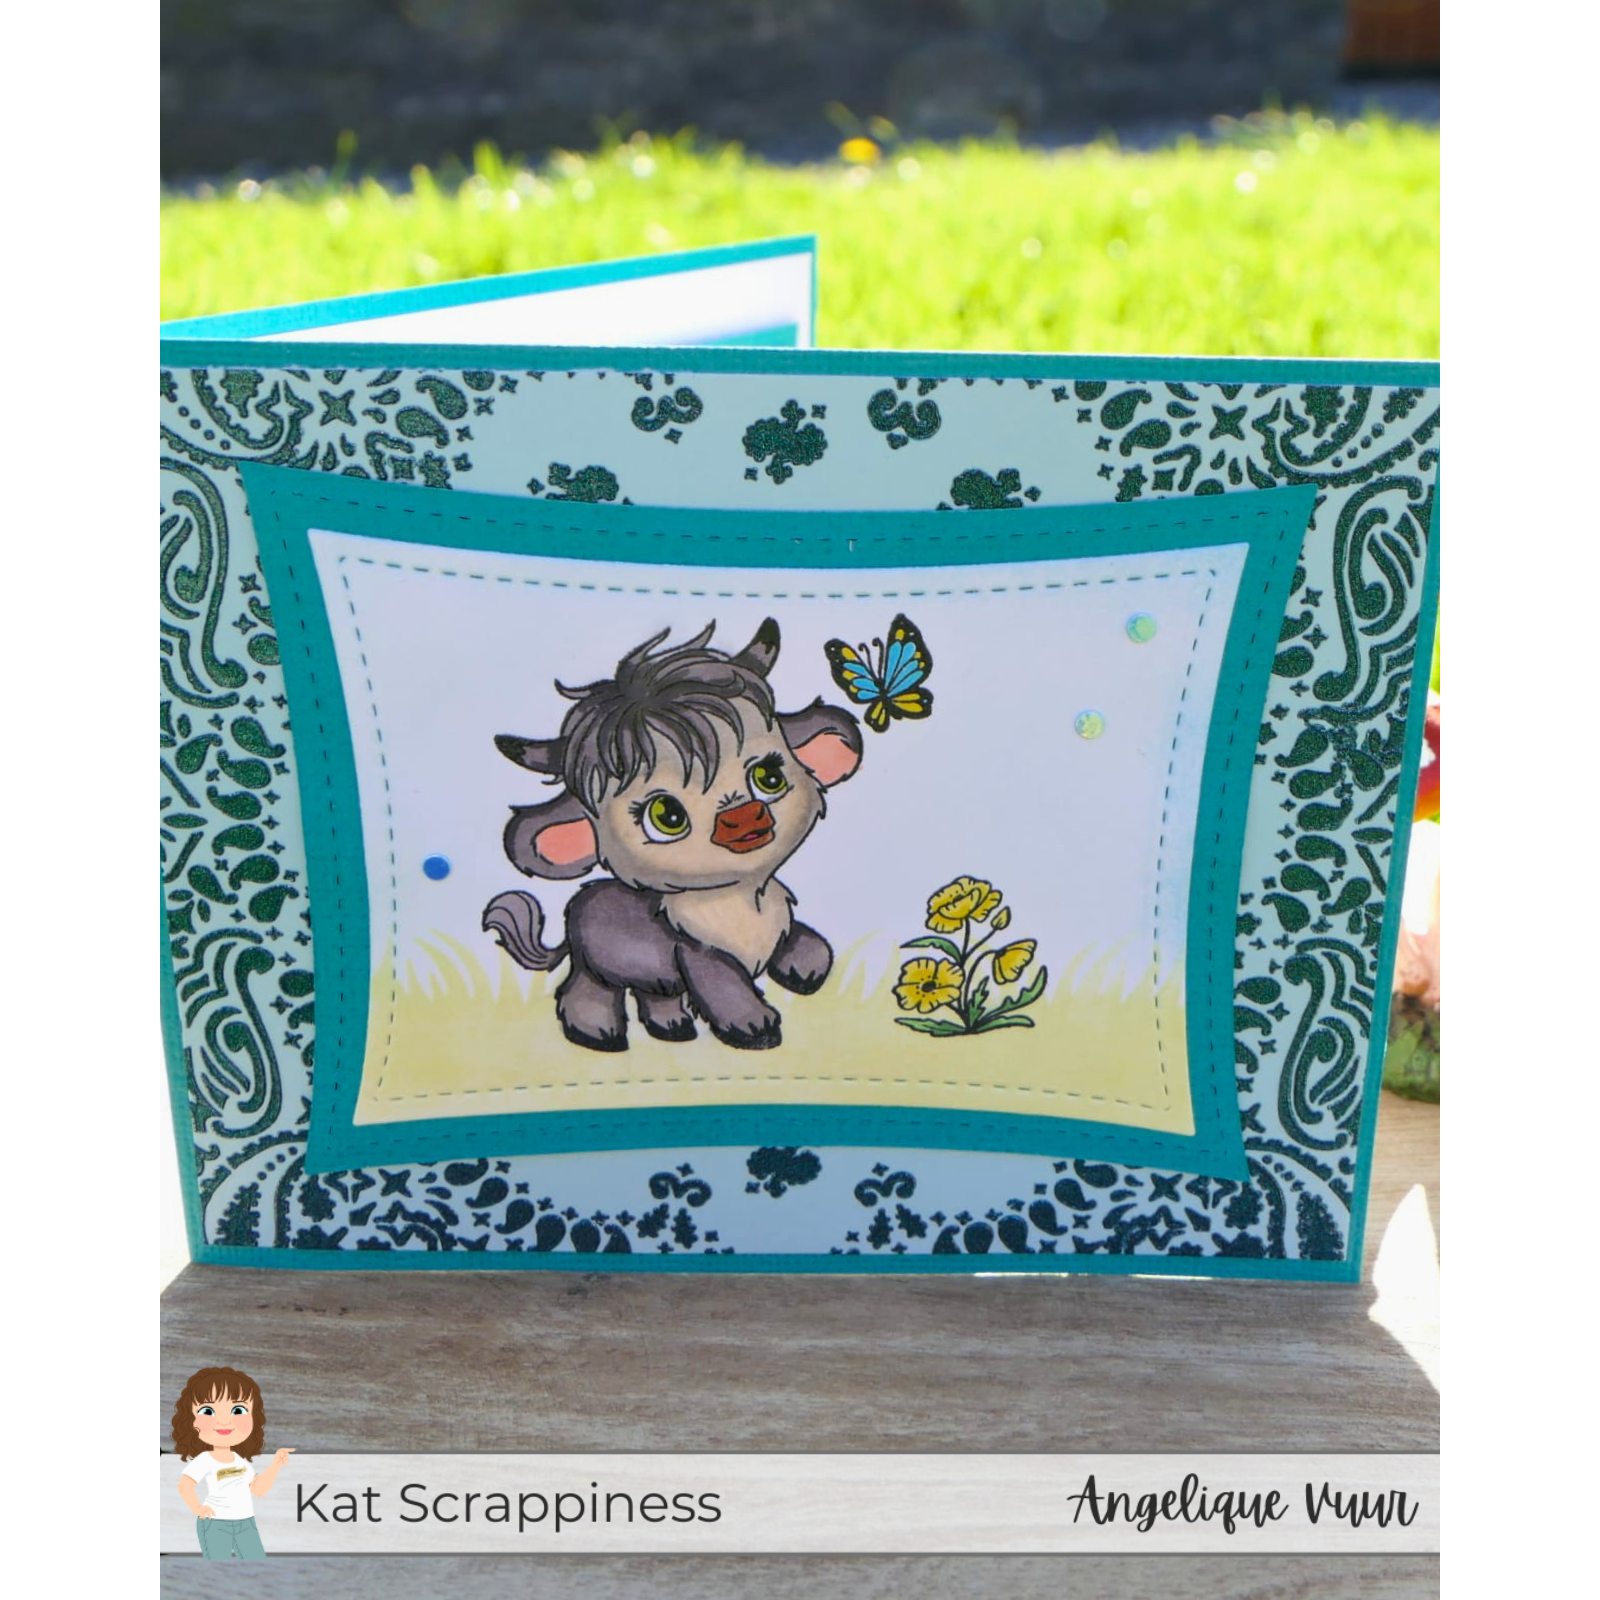
For the front white panel (stitched frame):
- Stamp one of the Mini Moos with butterflies and flowers
- Color and softly ink blend the background
2. Build the inside of the card
Adhere the two large white panels inside your card base.
Take the fold strip and decide where you want it to sit.
👉 Tip: If you want to stamp a sentiment inside, do this before attaching the strip.
Adhere the strip to the white panels (not directly to the card base edges).
Now assemble your small panels:
- Glue white panels onto aqua panels
- Attach them to the strip
- Place them at slightly different heights for a playful look
Attach the mini card on the right side so it can easily open for a personal message
3. Create the front of the card
Adhere:
- The stenciled light blue panel
- The aqua stitched frame
- The white stitched frame
I chose not to add a sentiment on the front to keep the design soft and clean, but you can absolutely add one if you like.
4. Finishing touches
Add the Brilliant Sky Blue Confetti Dot Sequins across the panels for a little sparkle and movement.
And that’s it — your fold card is finished!
Final Thoughts
This card was such a joy to make.
It’s playful, interactive and full of sweet little details — exactly the kind of card that makes me smile while creating.
I love how the Mini Moos really shine in these little windows, each with their own tiny scene.
I hope this card inspires you to try a fold card like this — simple, fun and full of charm!
Thank you so much for stopping by, and don’t forget to check out the new Highland Mini Moos Release at Kat Scrappiness for more inspiration.
Don't forget to visit Kat Scrappiness on Instagram for a fun hop where one lucky winner will receive a $15 gift card to the Kat Scrappiness shop!
Until next time and happy crafting!
With love and creative joy,
Angelique 🤍
Add comment
Comments