Hello crafty friends!
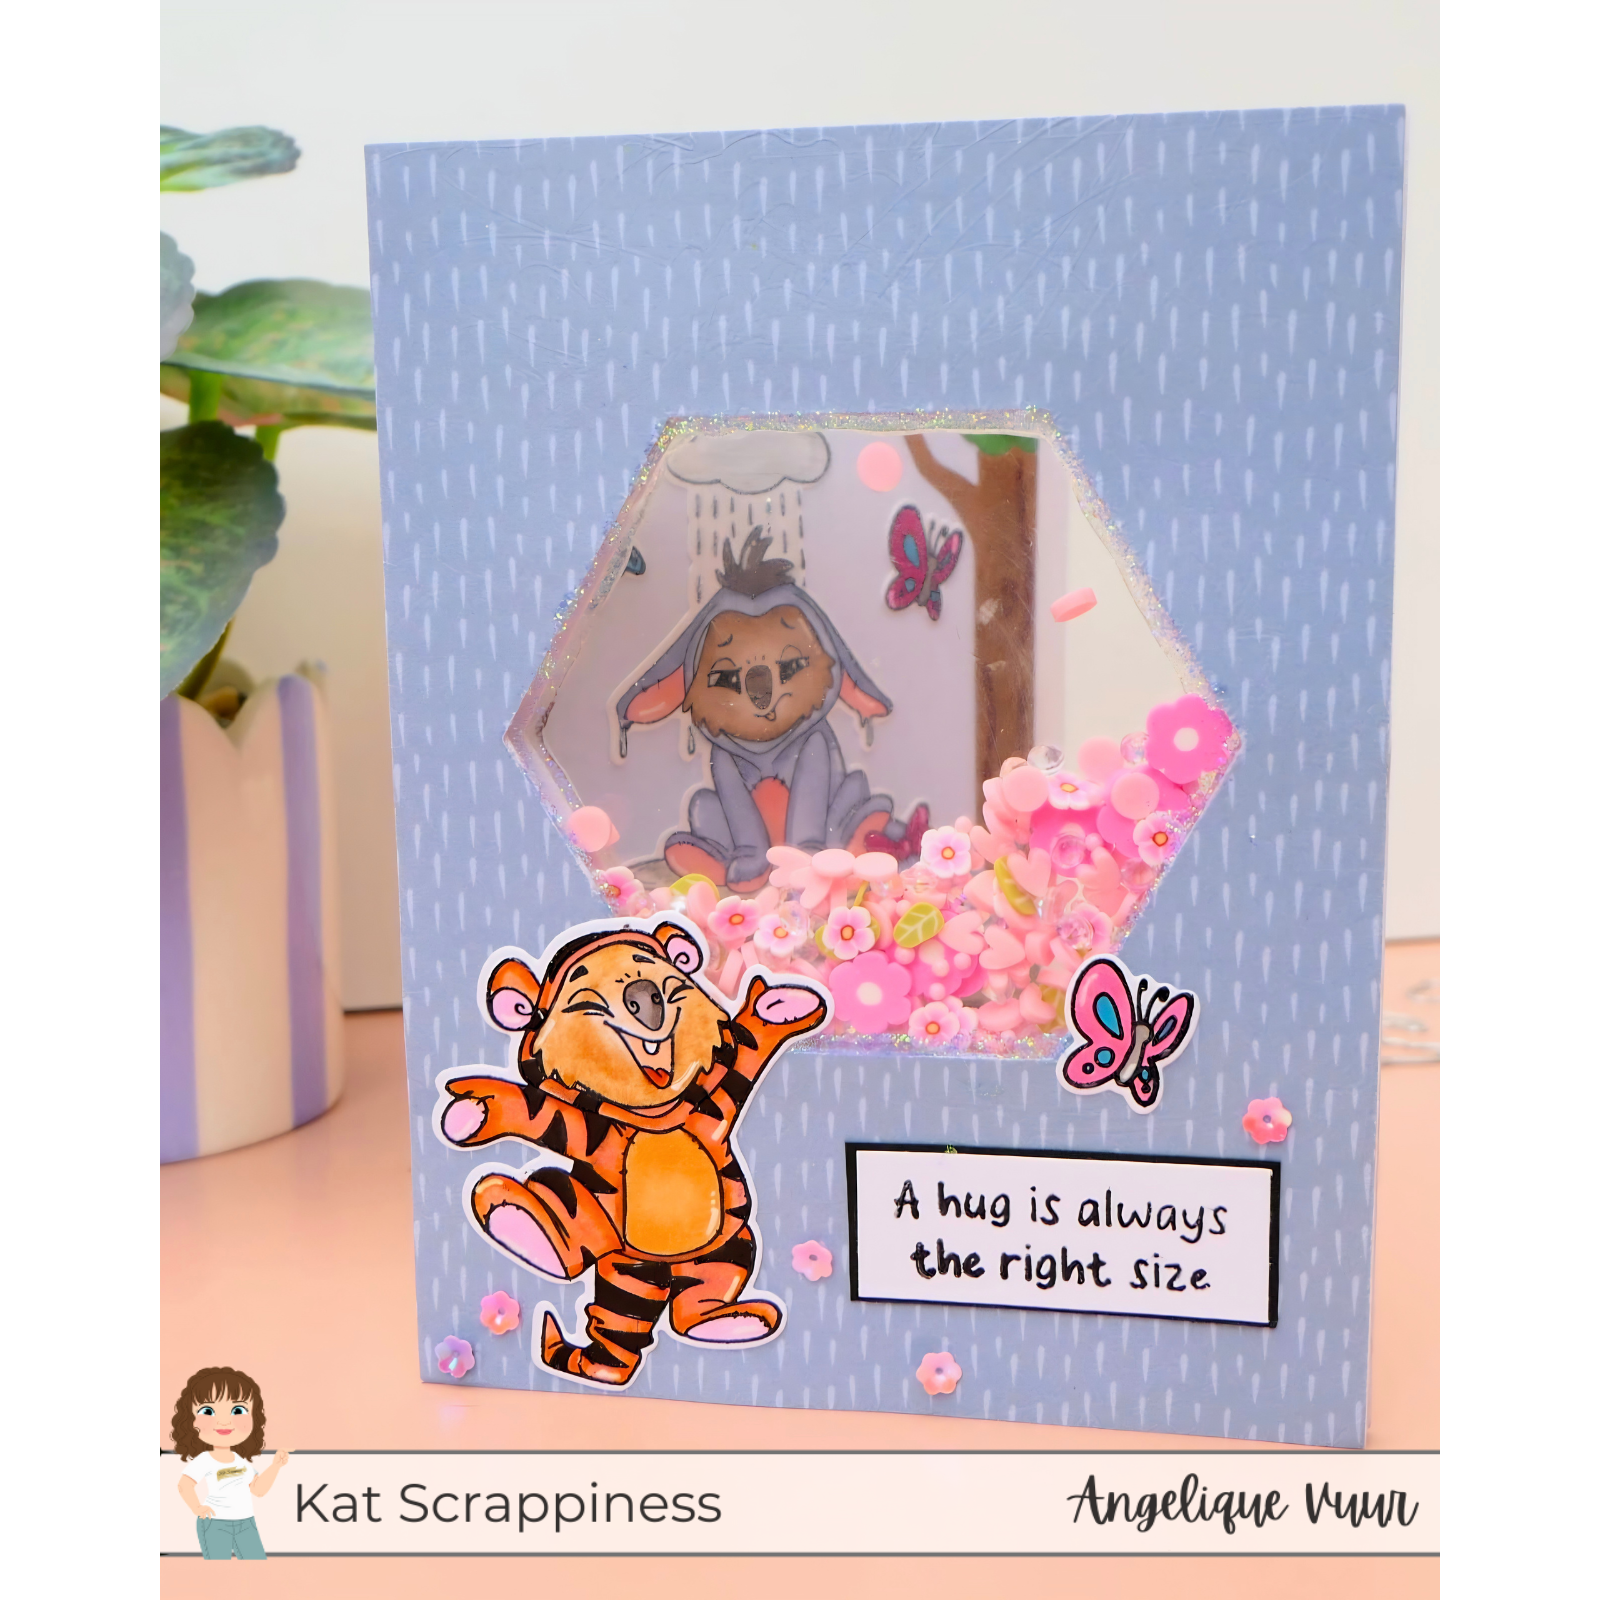
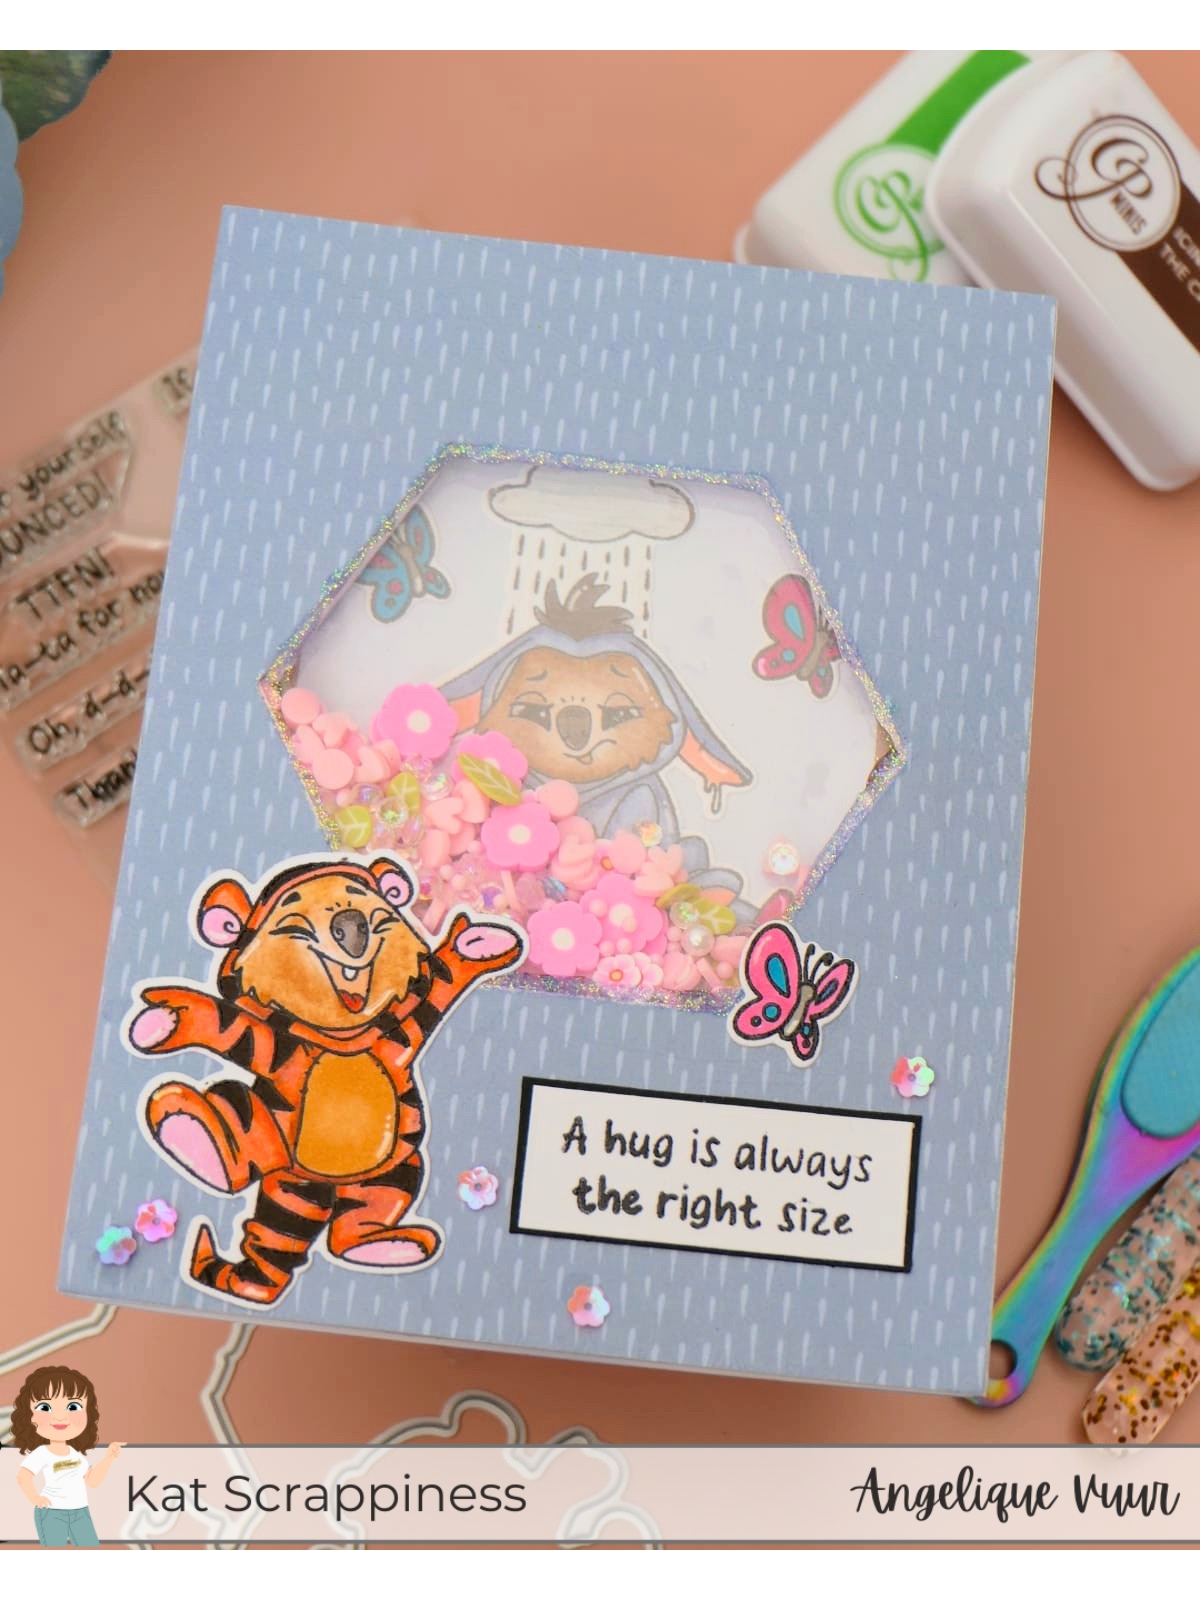
Today I am sharing a fun and interactive see-through shaker card featuring the adorable Hundred Acre Quokka collection. For my final Kat Scrappiness blog project, I really wanted to create something playful and special with lots of soft details, sparkle and movement.
This shaker card may look complicated, but once you understand the steps, you can easily recreate this design with any theme or shape you like. That is exactly what I love most about this technique — the possibilities are endless!
Used Products:
- Hundred Acre Bridge Background Craft Die
- Hundred Acre Quokka Stamp Set
- Hundred Acre Quokka Coordinating Craft Dies
- Hundred Acre Quokka Paper Pad
- Hundred Acre Sentiments
- Sentiment Shoppe – Within the Fold: Sentiment Sampler 6x6 Stamp Set
- Stitched Nesting Hexagon Dies
- Card Shoppe Essentials Clear Acetate Sheets 8.5 x 11 - 10Pkg by Spellbinders
- Spring Fling Sprinkle Mix
- 4mm Pastel Flower Blossom Sequins
- Stickles Glitter Glue - Twinkle
Measurements:
- A2 card base
- 2x white cardstock panels: 4.25 x 5.50 inches
- 1x patterned paper panel: 4.25 x 5.50 inches
- 1x die cut from the Hundred Acre Bridge Background Craft Die
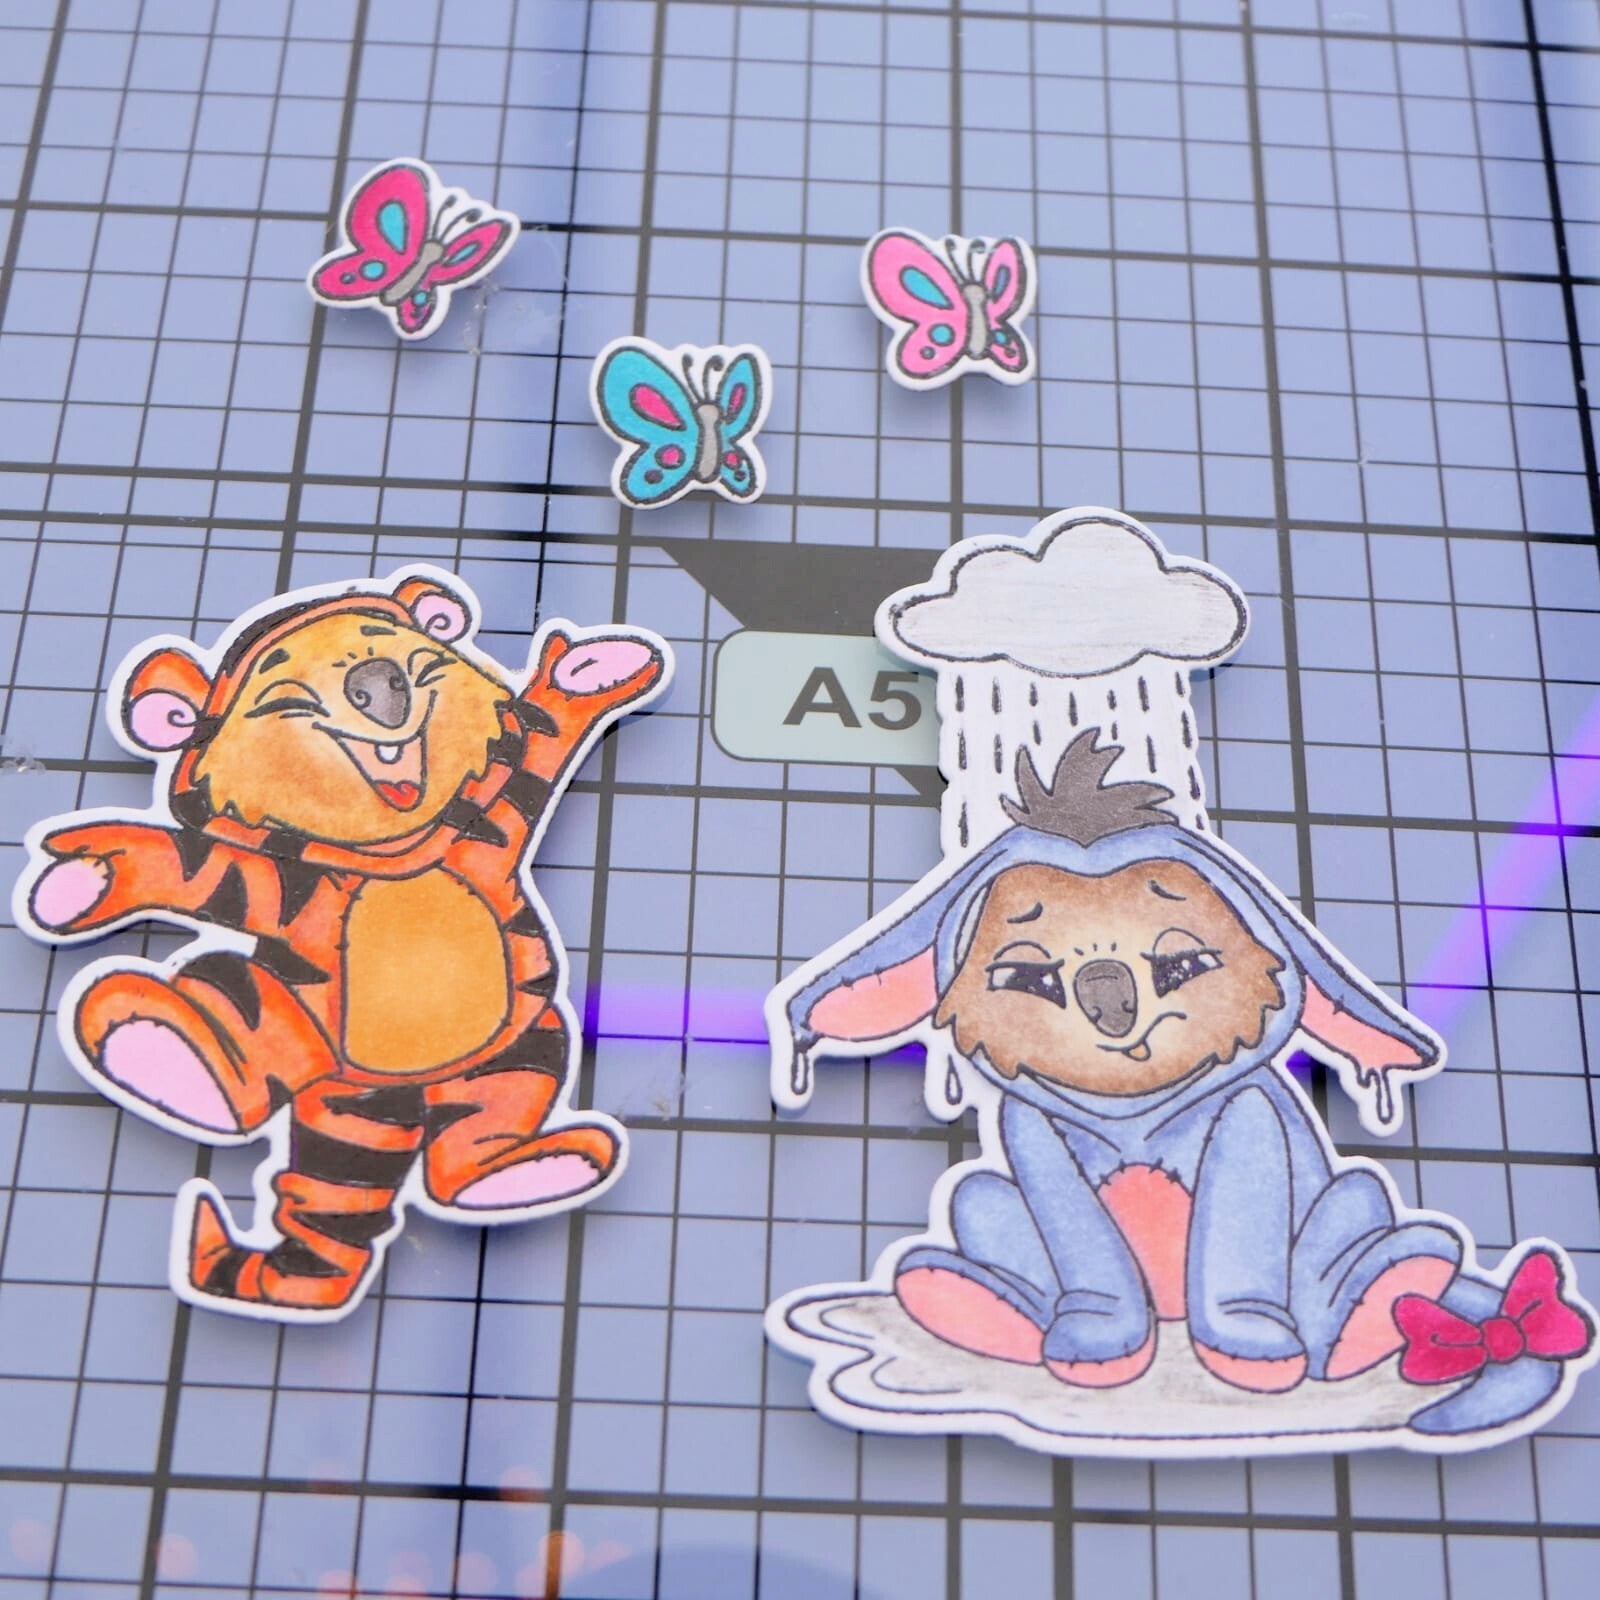
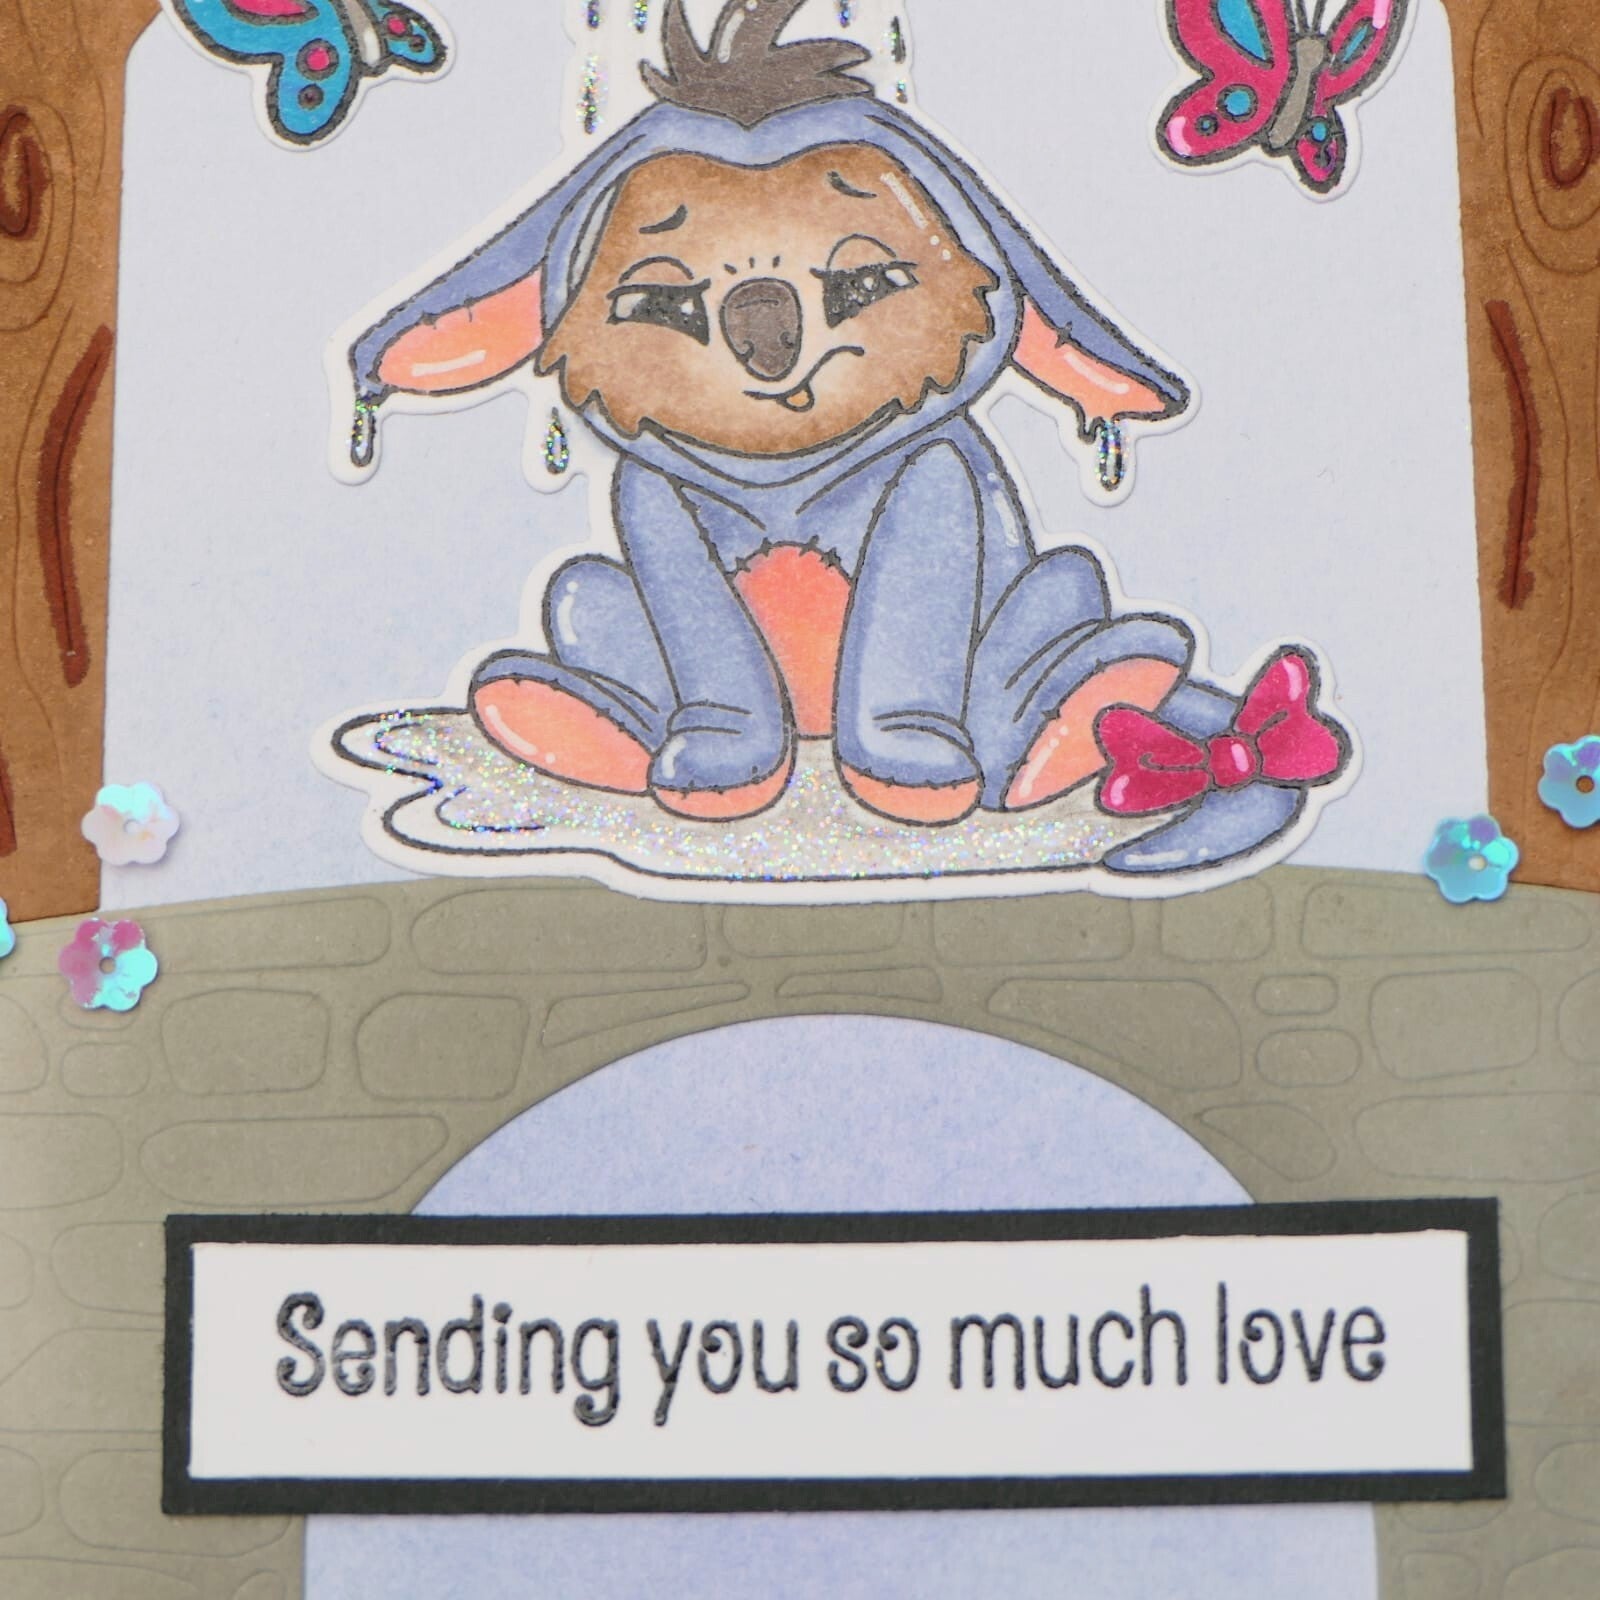
I started by stamping the adorable quokkas dressed as Tigger and Eeyore from the Hundred Acre Quokka Stamp Set, together with three butterflies. I colored everything with alcohol markers and cut them out using the coordinating dies. I also stamped two sentiments — one for the front and one for the inside of the card. I heat embossed all the stamped images and sentiments for a more finished look.
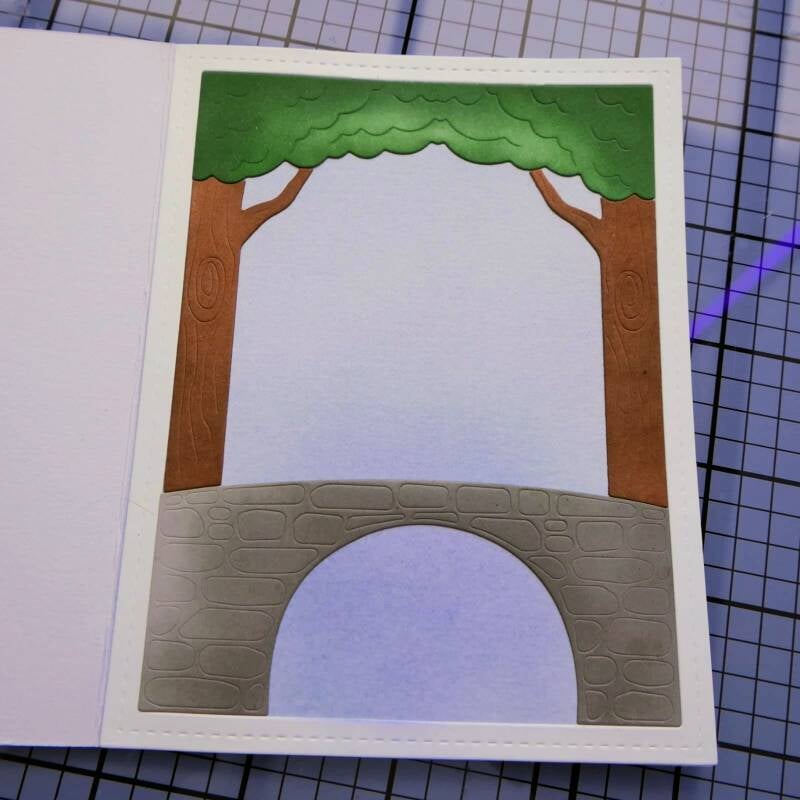
Next, I colored the pieces from the bridge background die mostly with ink blending and added some extra details with alcohol markers. At the end, I also used a white gel pen and Stickles for extra highlights and sparkle.
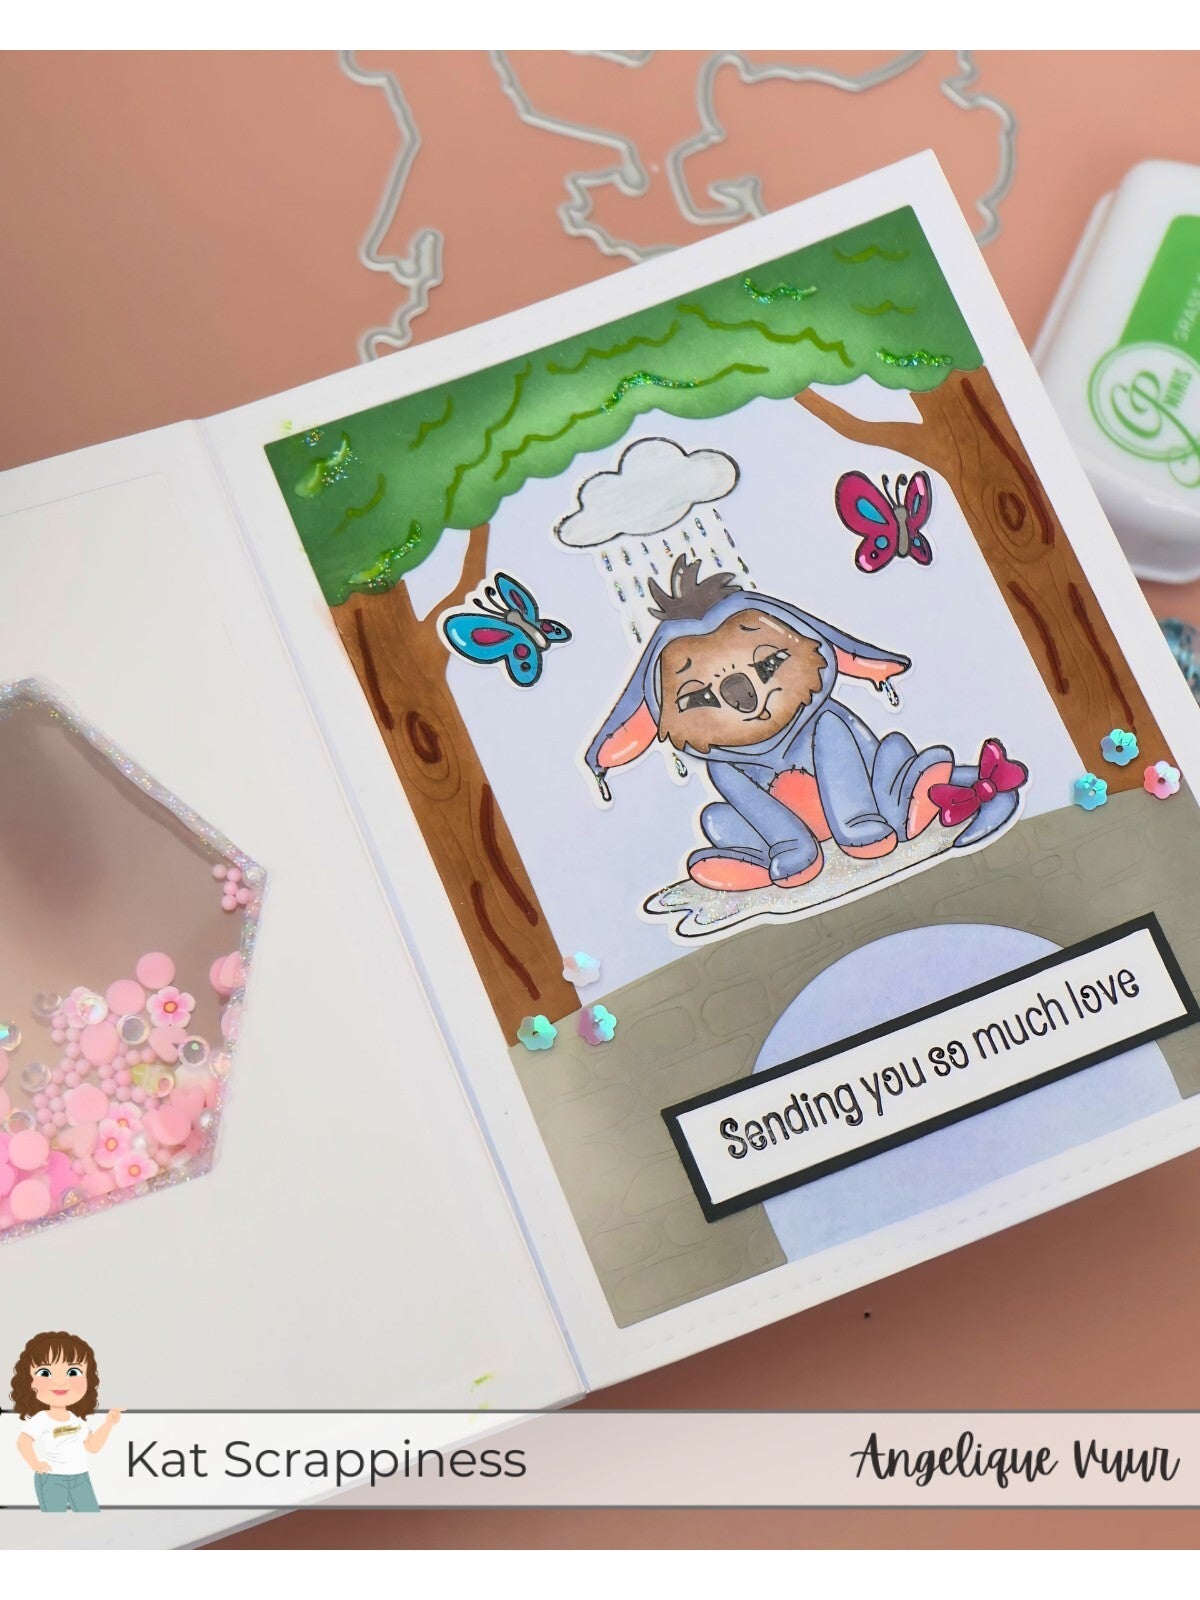
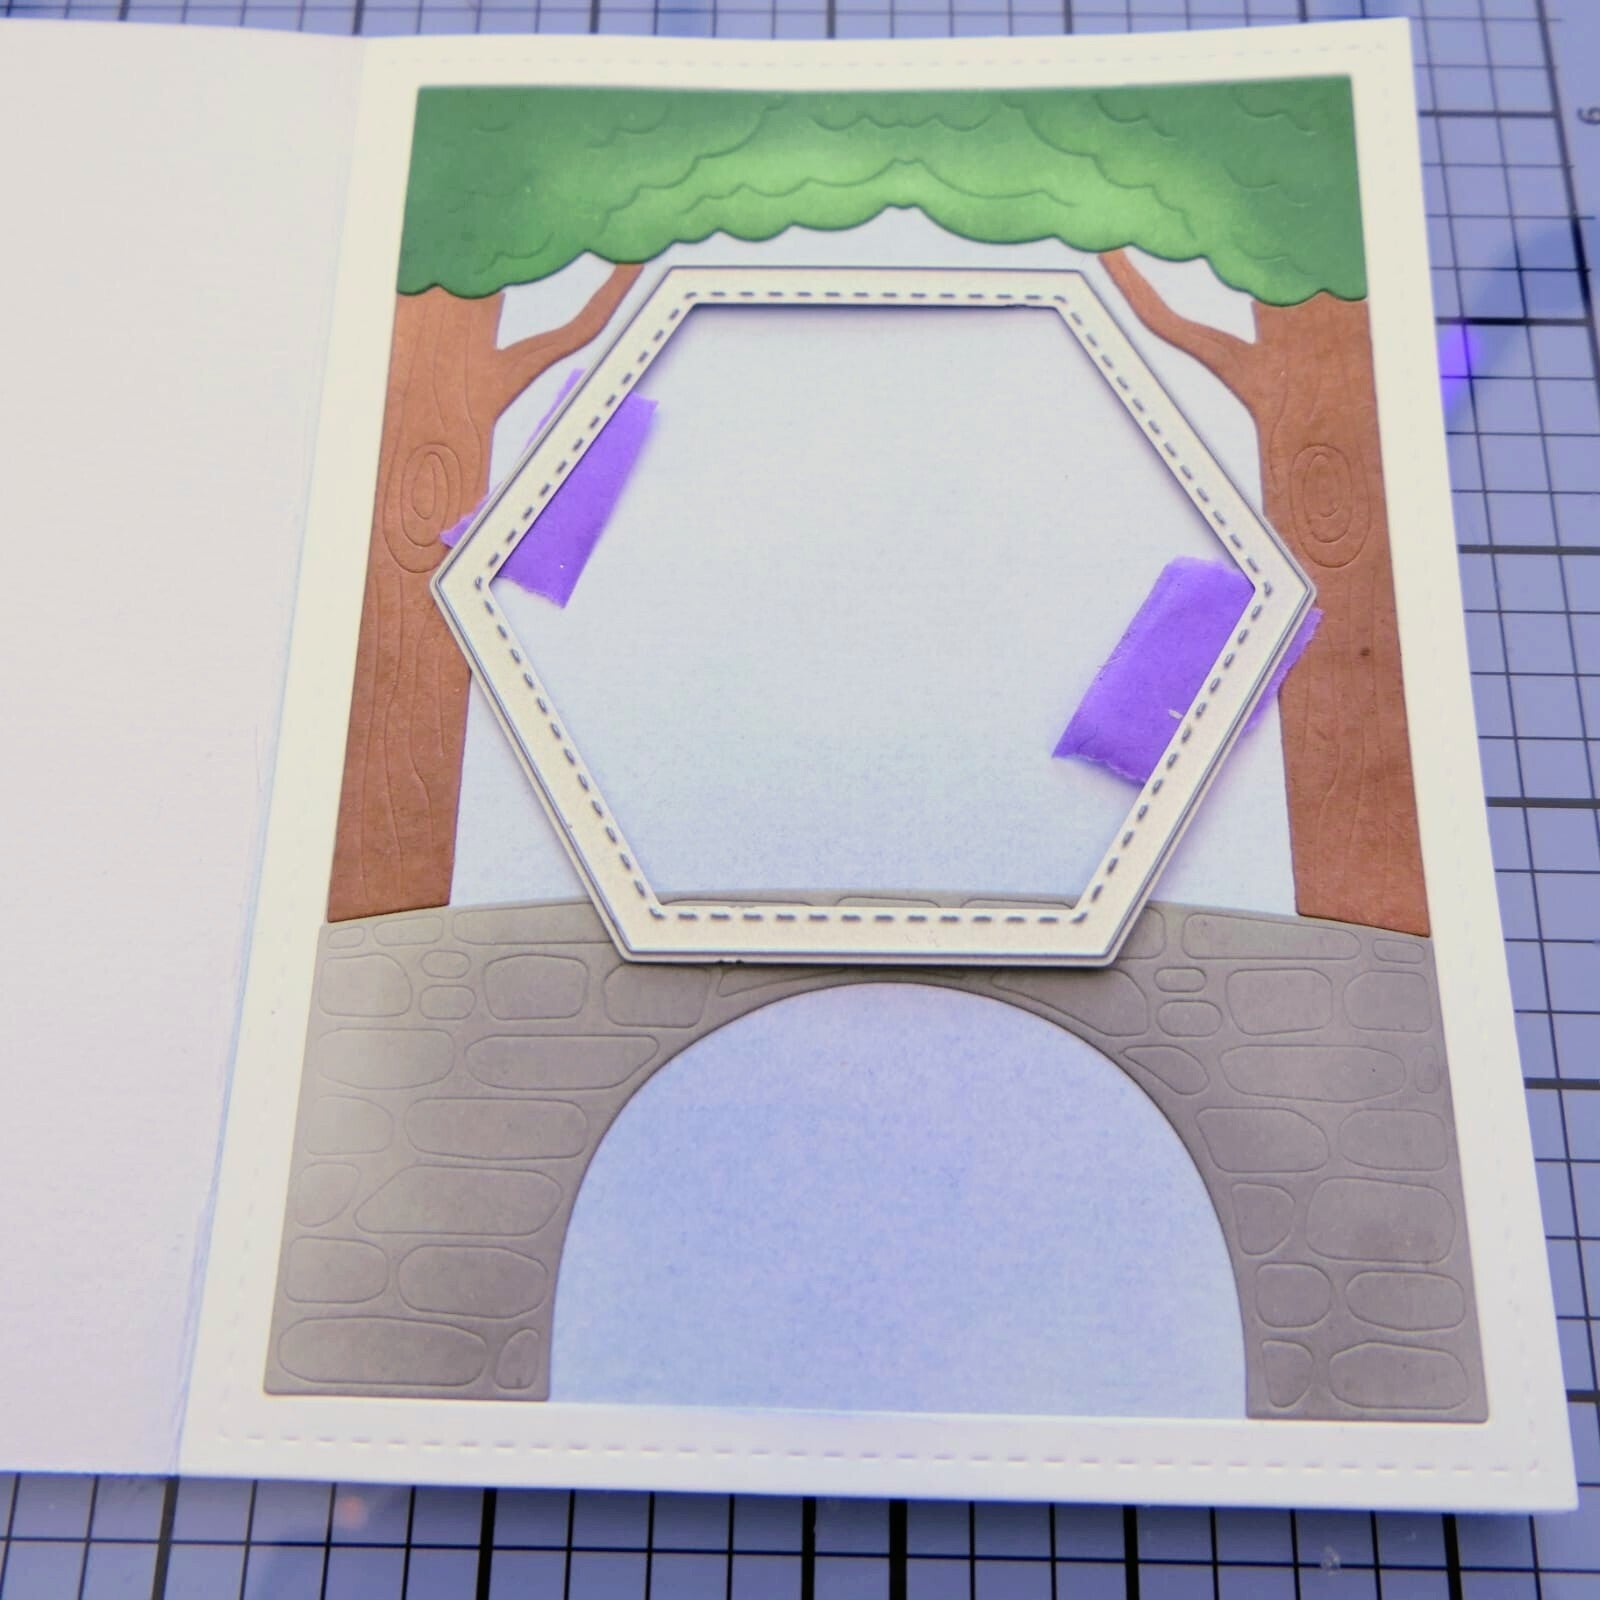
I started with the inside of the card. I softly ink blended the right side with light blue ink to create the sky. Towards the bottom, I blended slightly darker blue tones underneath the bridge area. After that, I adhered all the colored die cut pieces to create the little scene inside the card.
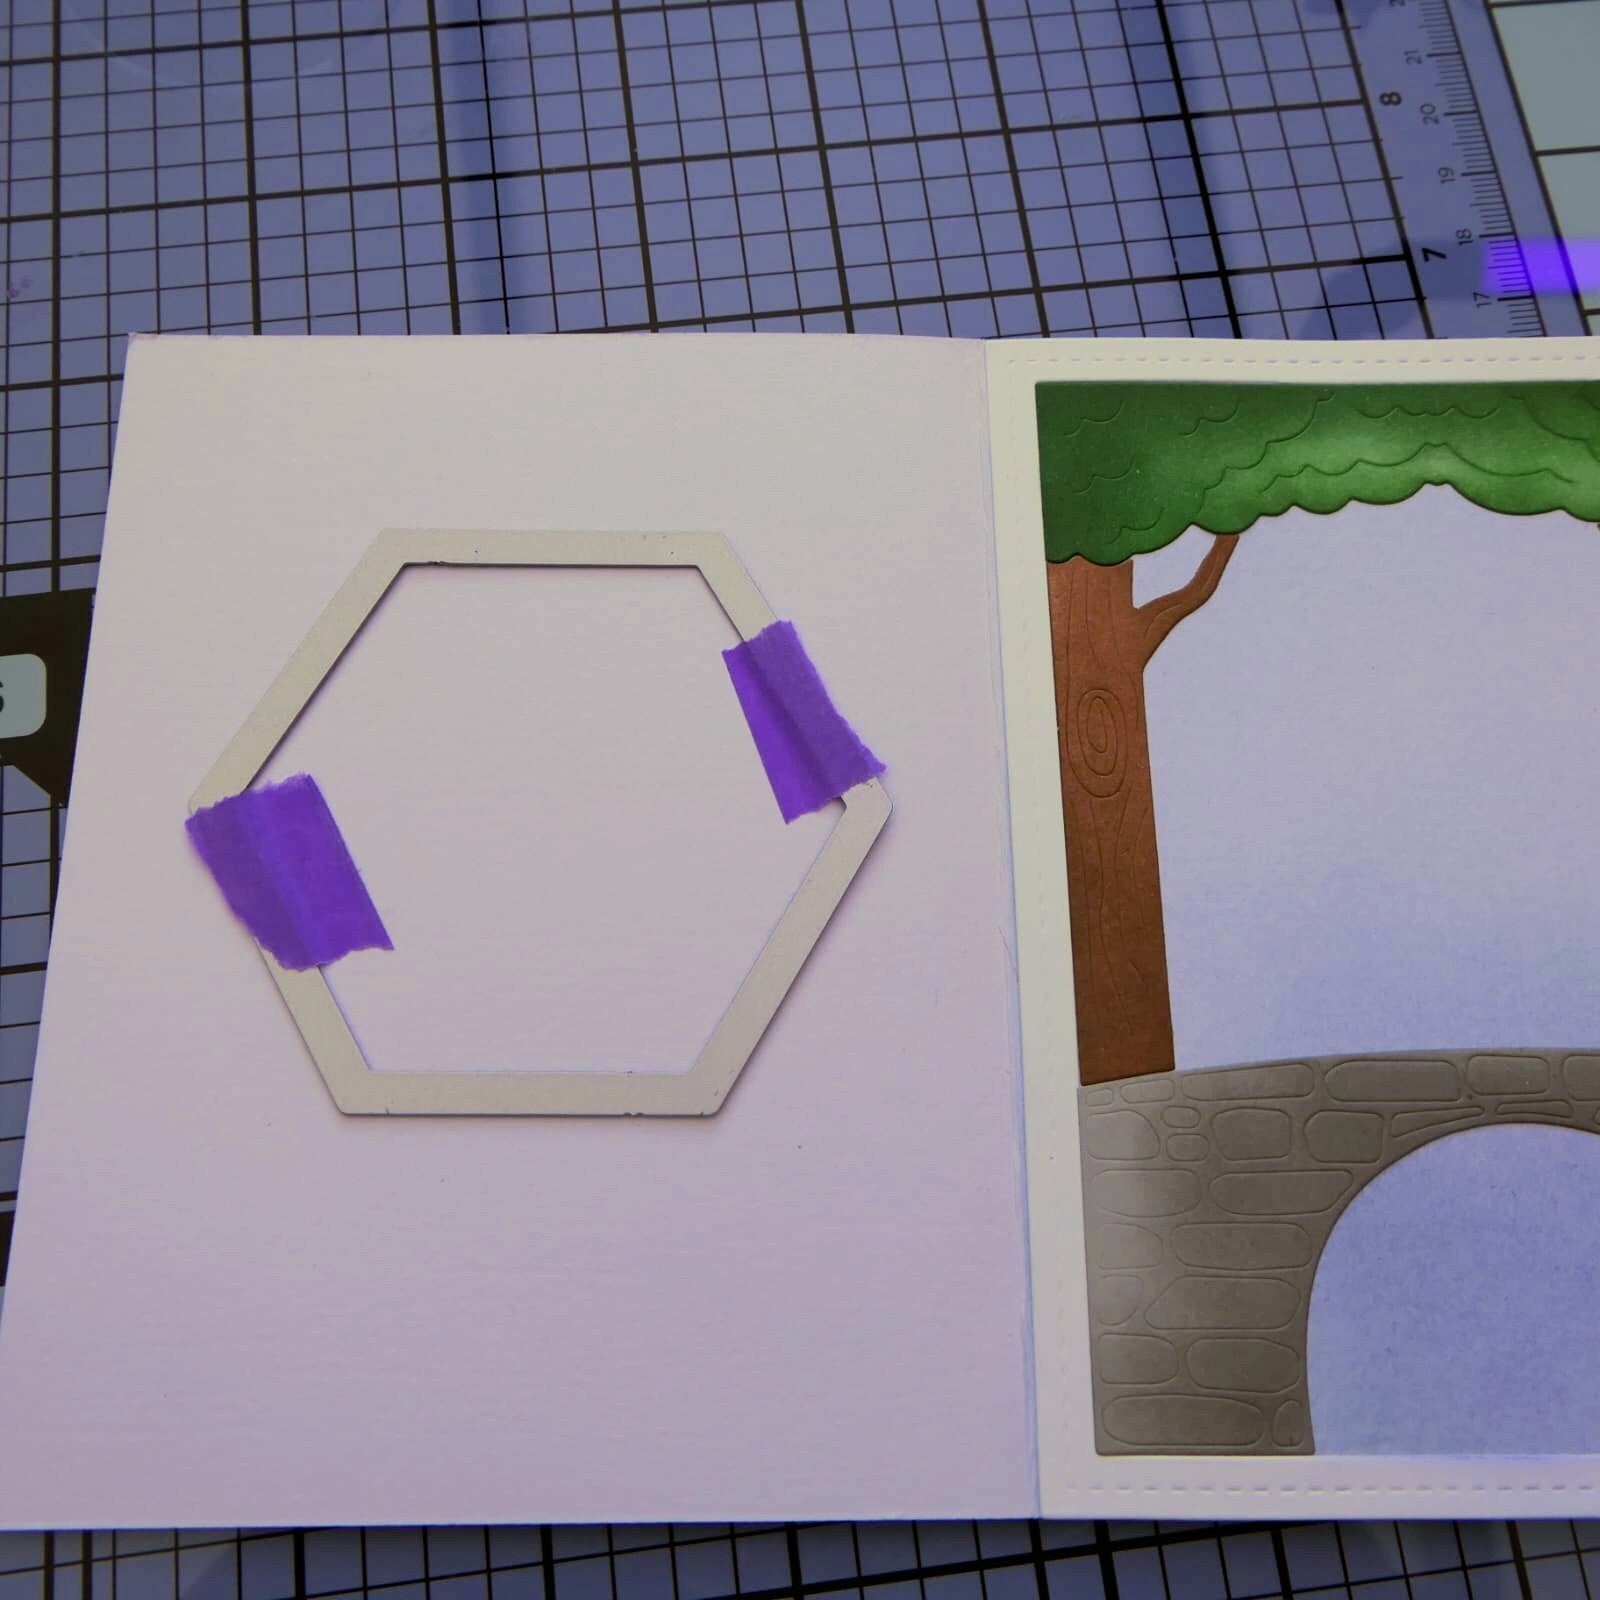
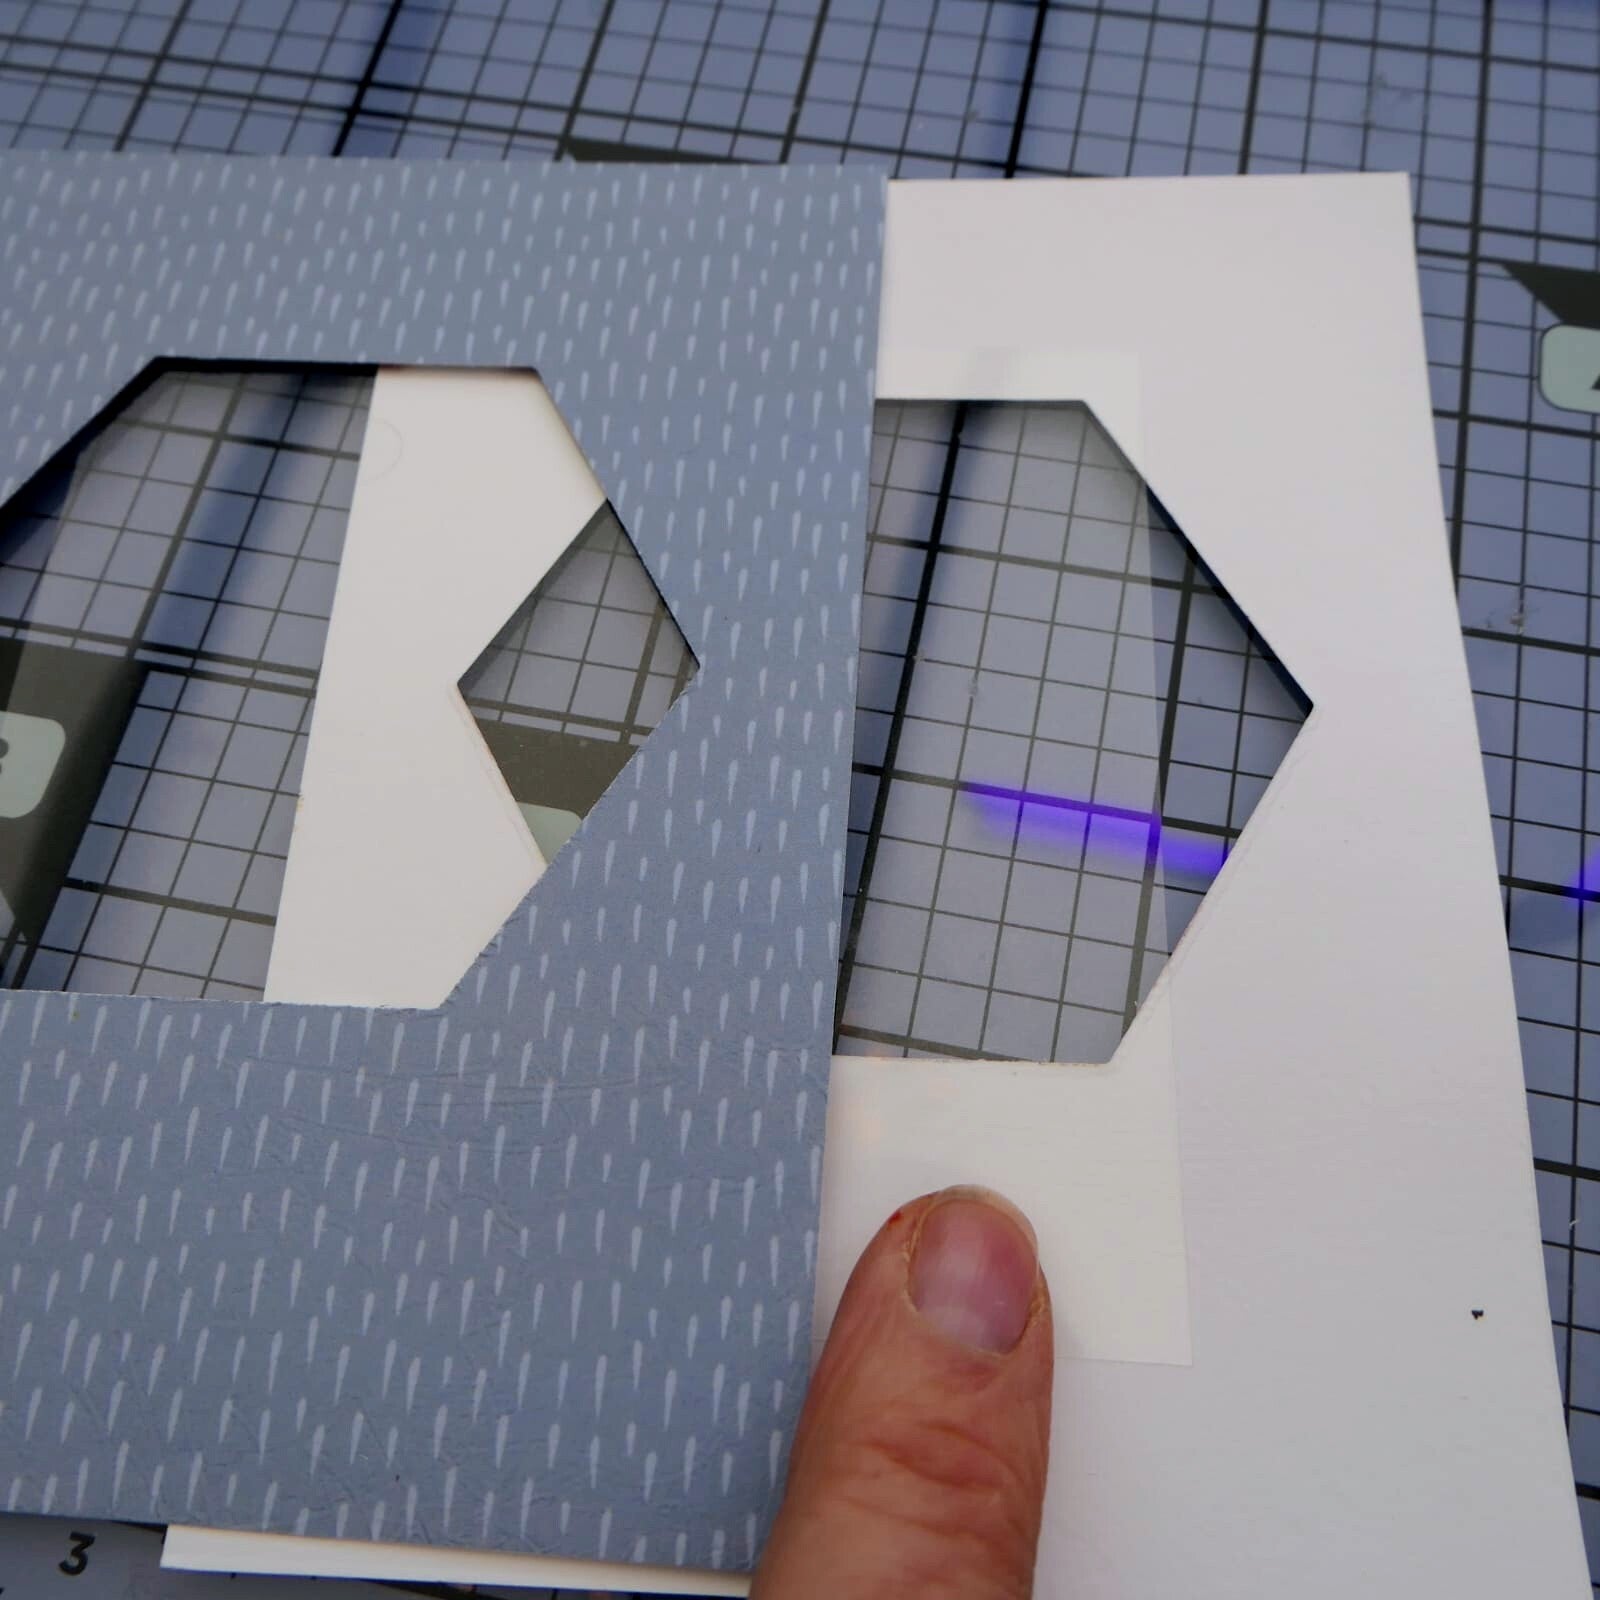
Now it is time to create the shaker window. Place the middle Hexagon die over your design and move it around until you are happy with the placement. Once positioned, secure the die with low-tack tape to the left part of the cardbase and run both the card base and one white cardstock panel (lined perfectly with the front of the cardbase) through your die cutting machine.
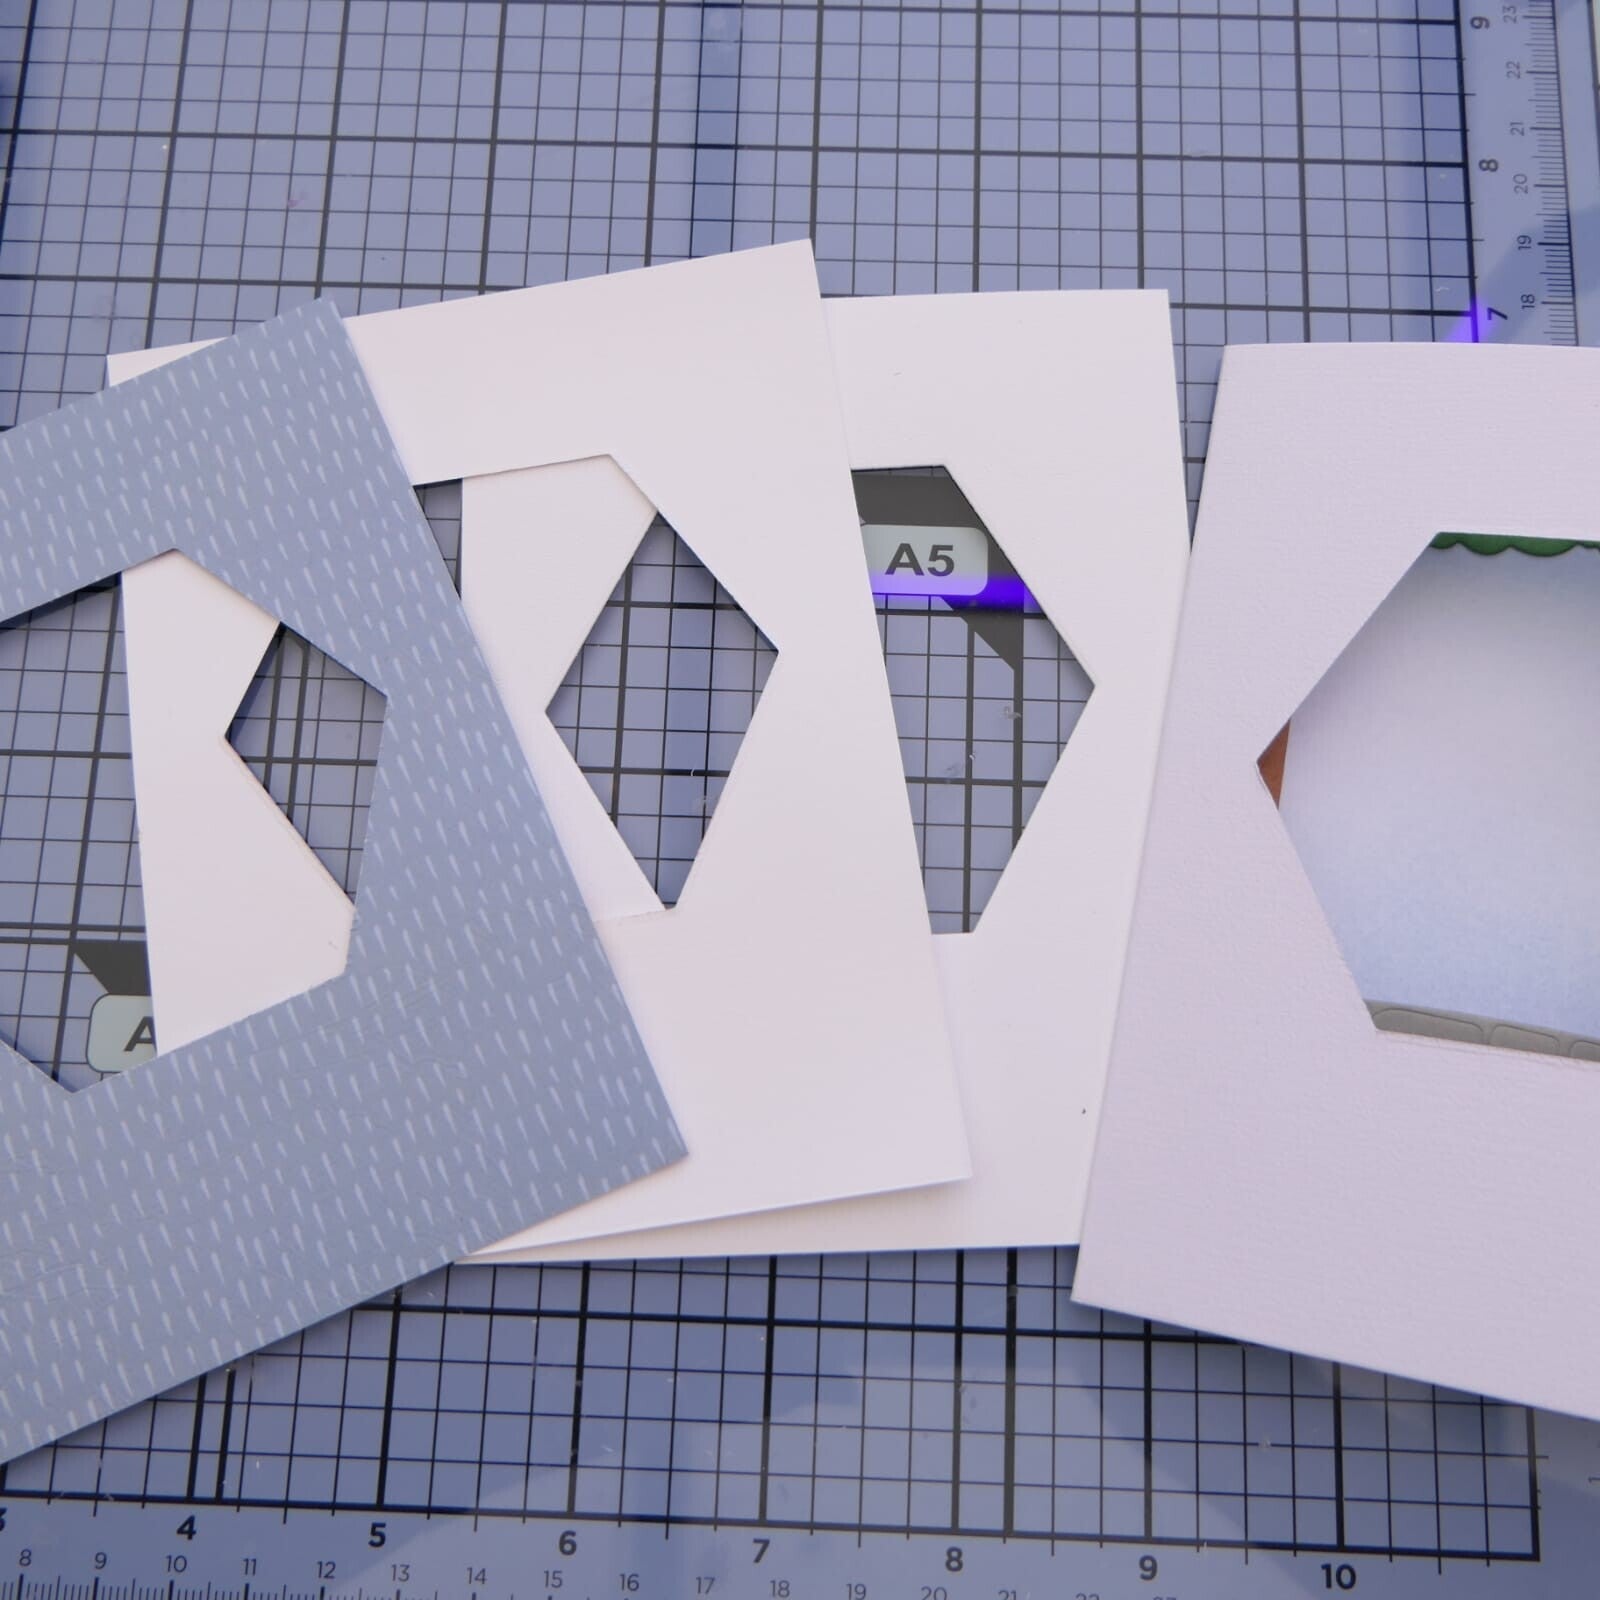
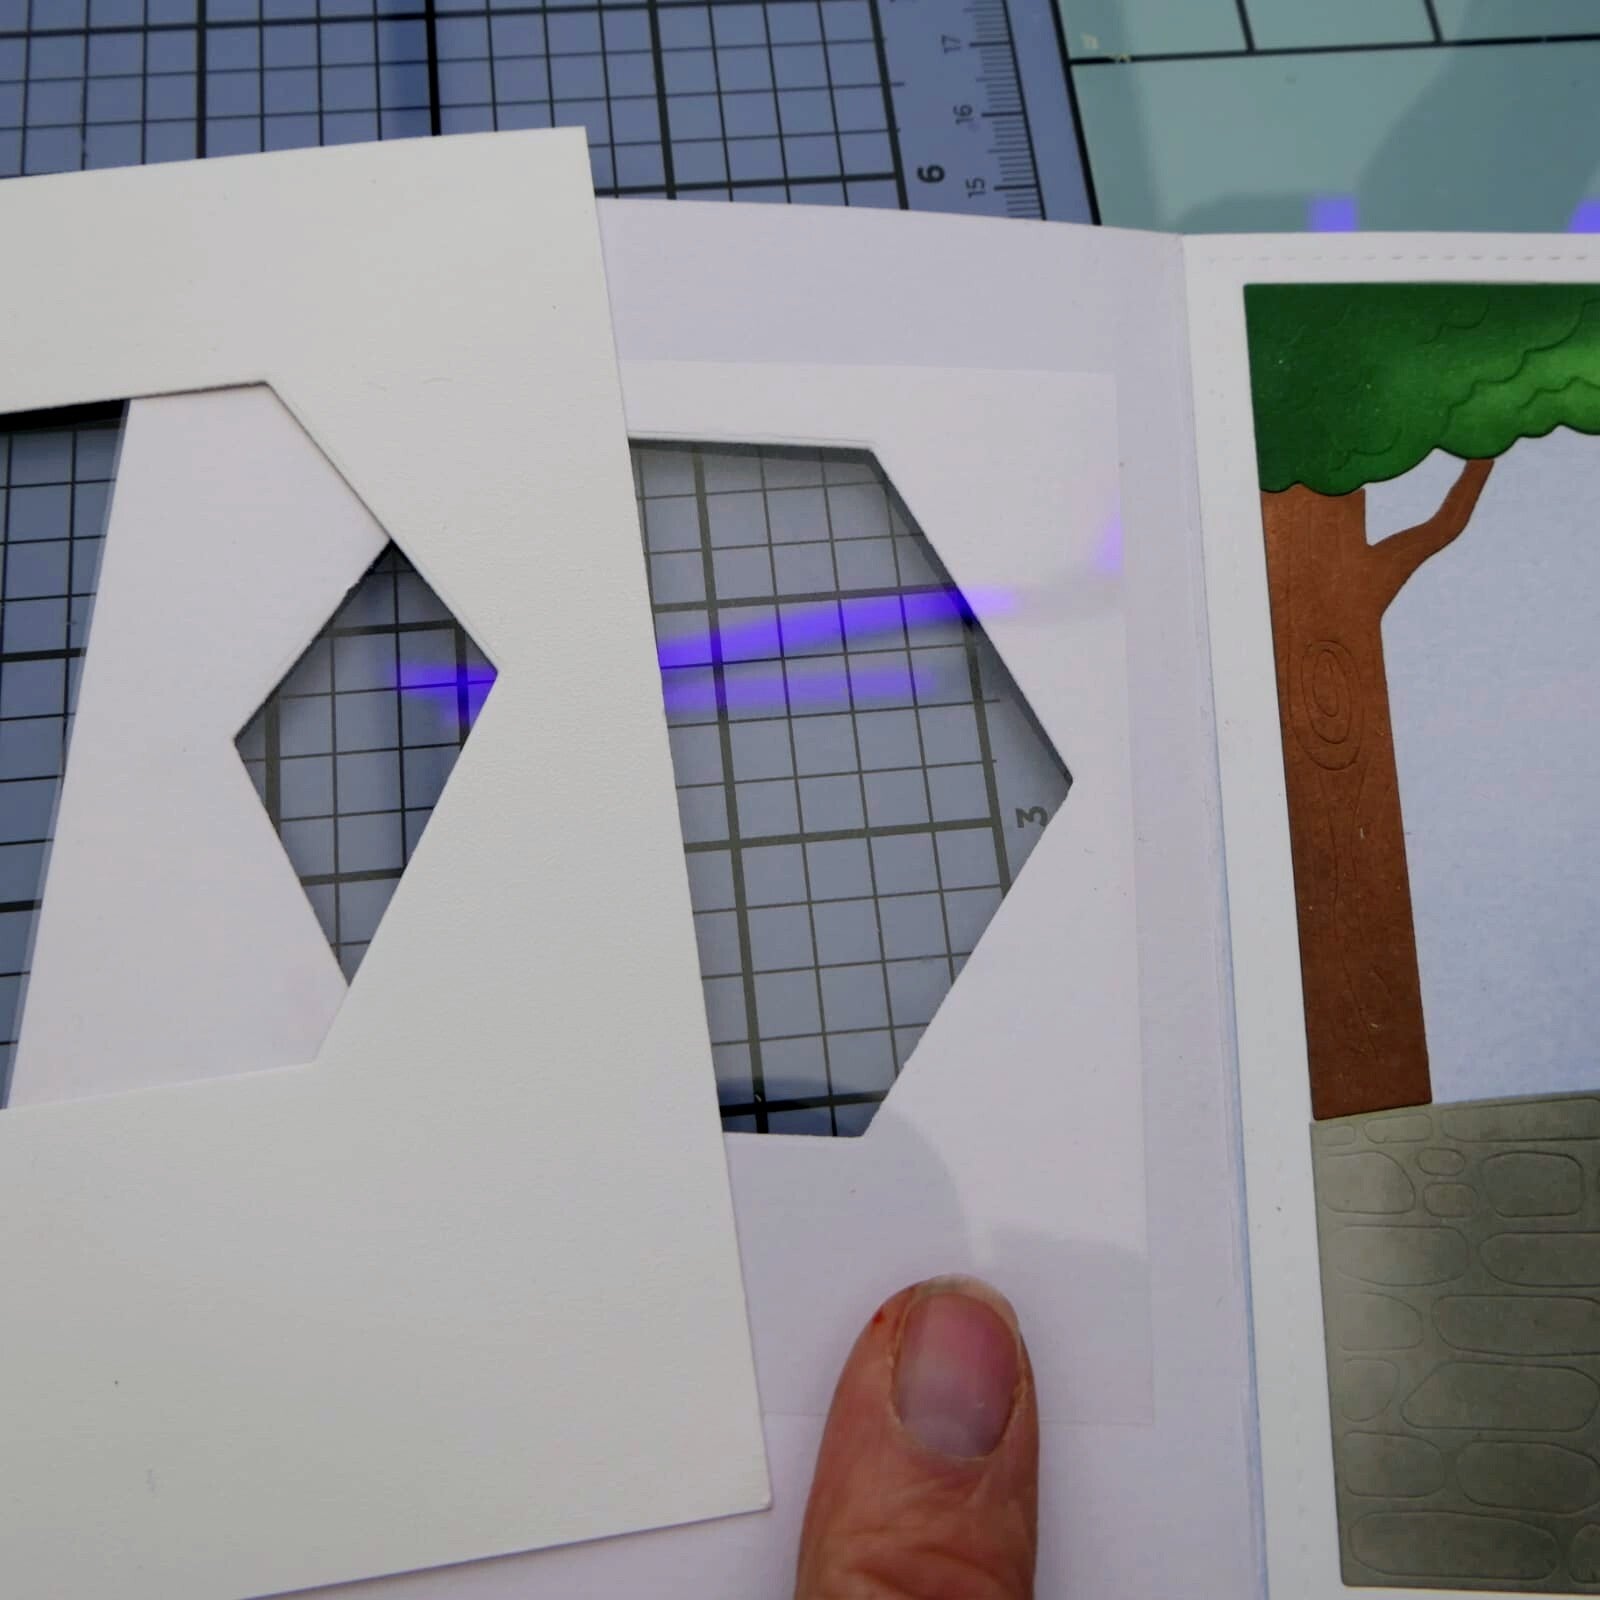
Repeat this step for the second white cardstock panel and the patterned paper layer so all hexagon openings line up perfectly. These two last ones form the front of the shaker.
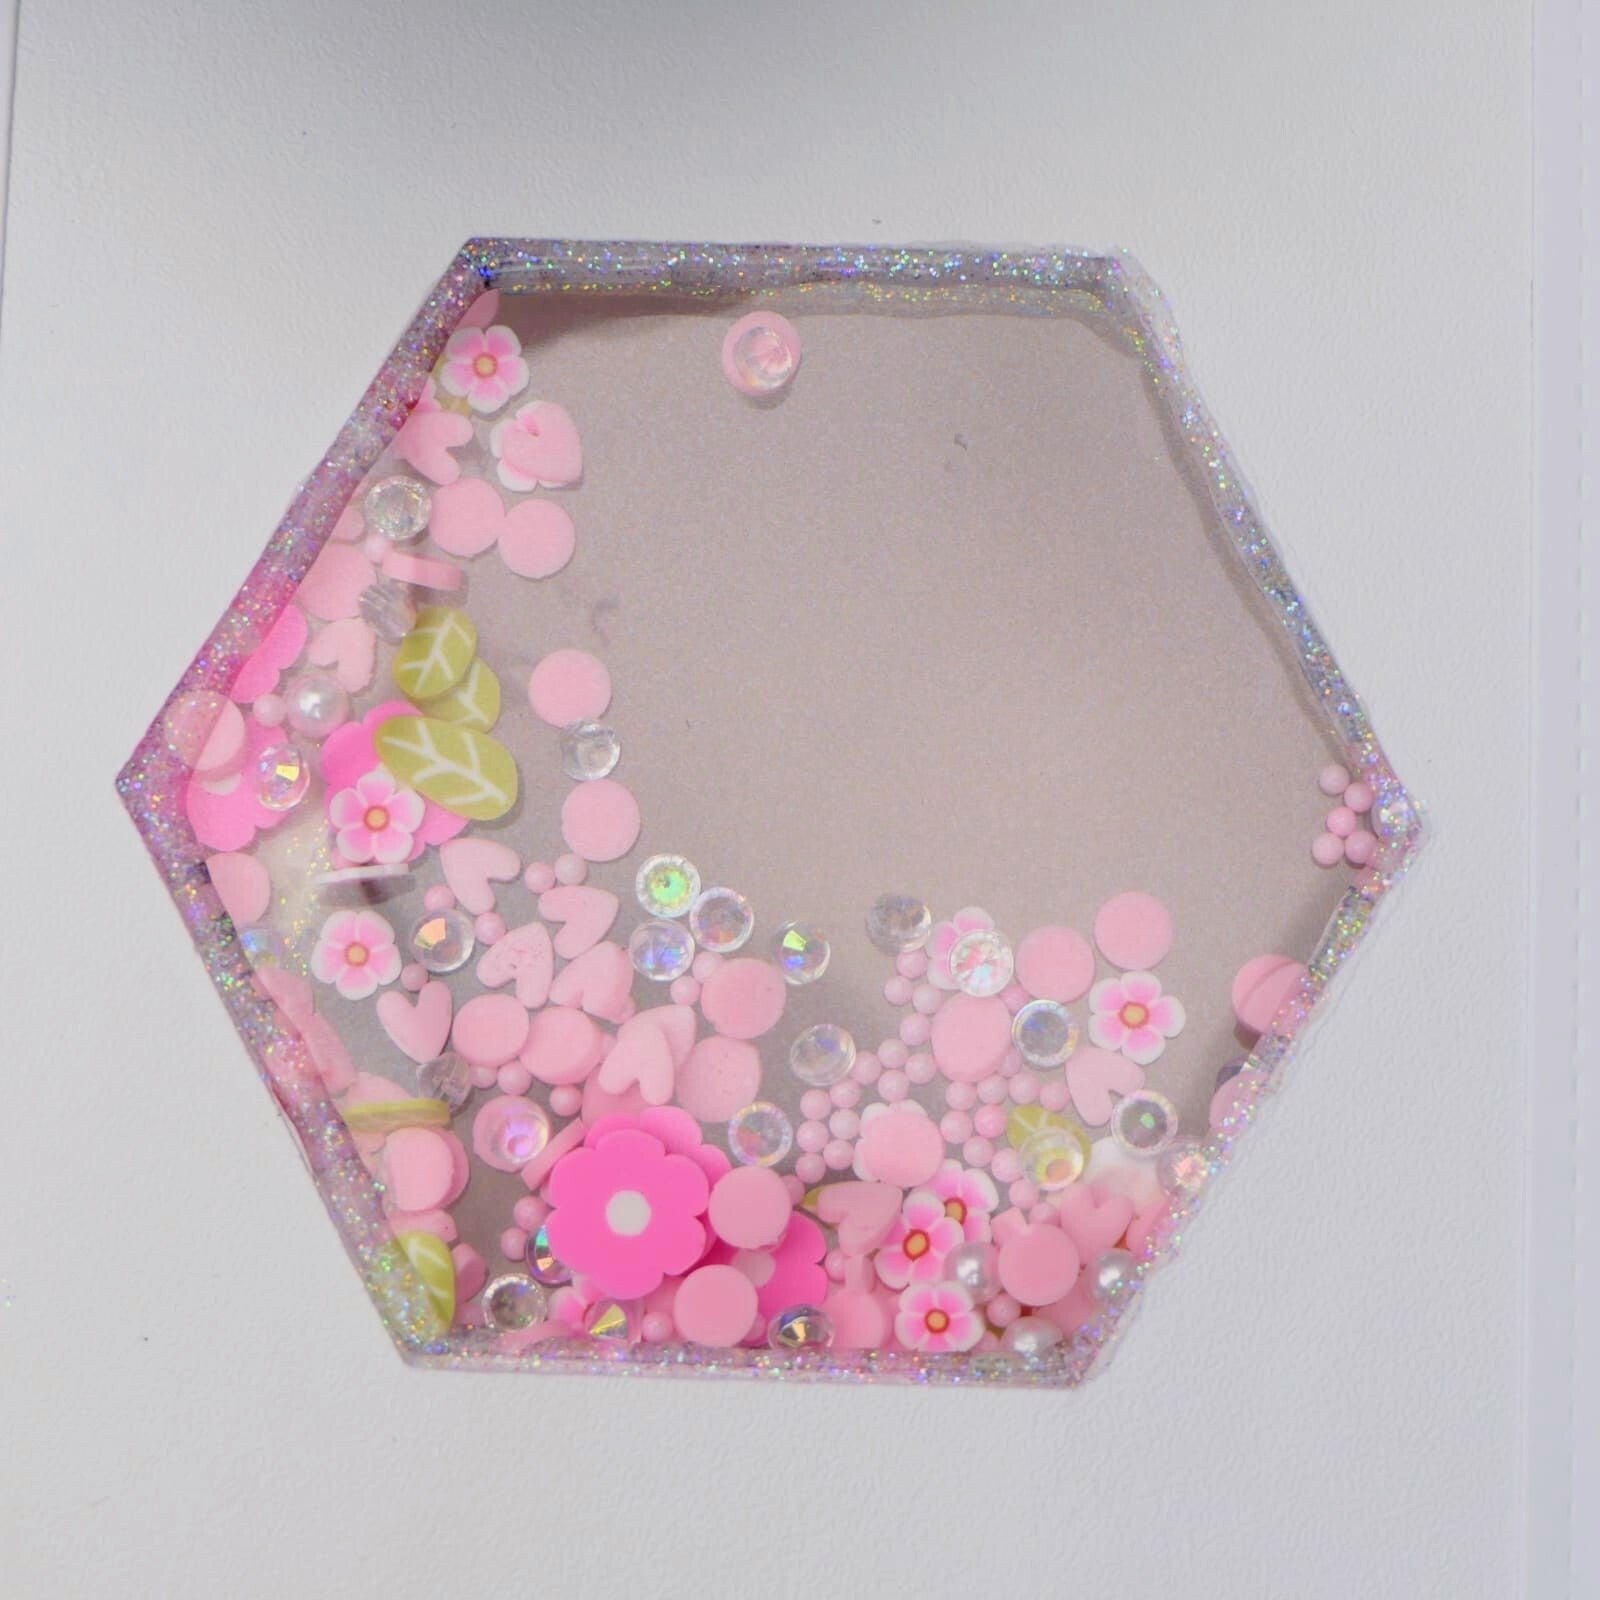
To create the shaker element, place acetate between the layers and adhere everything securely together so no shaker pieces can escape.
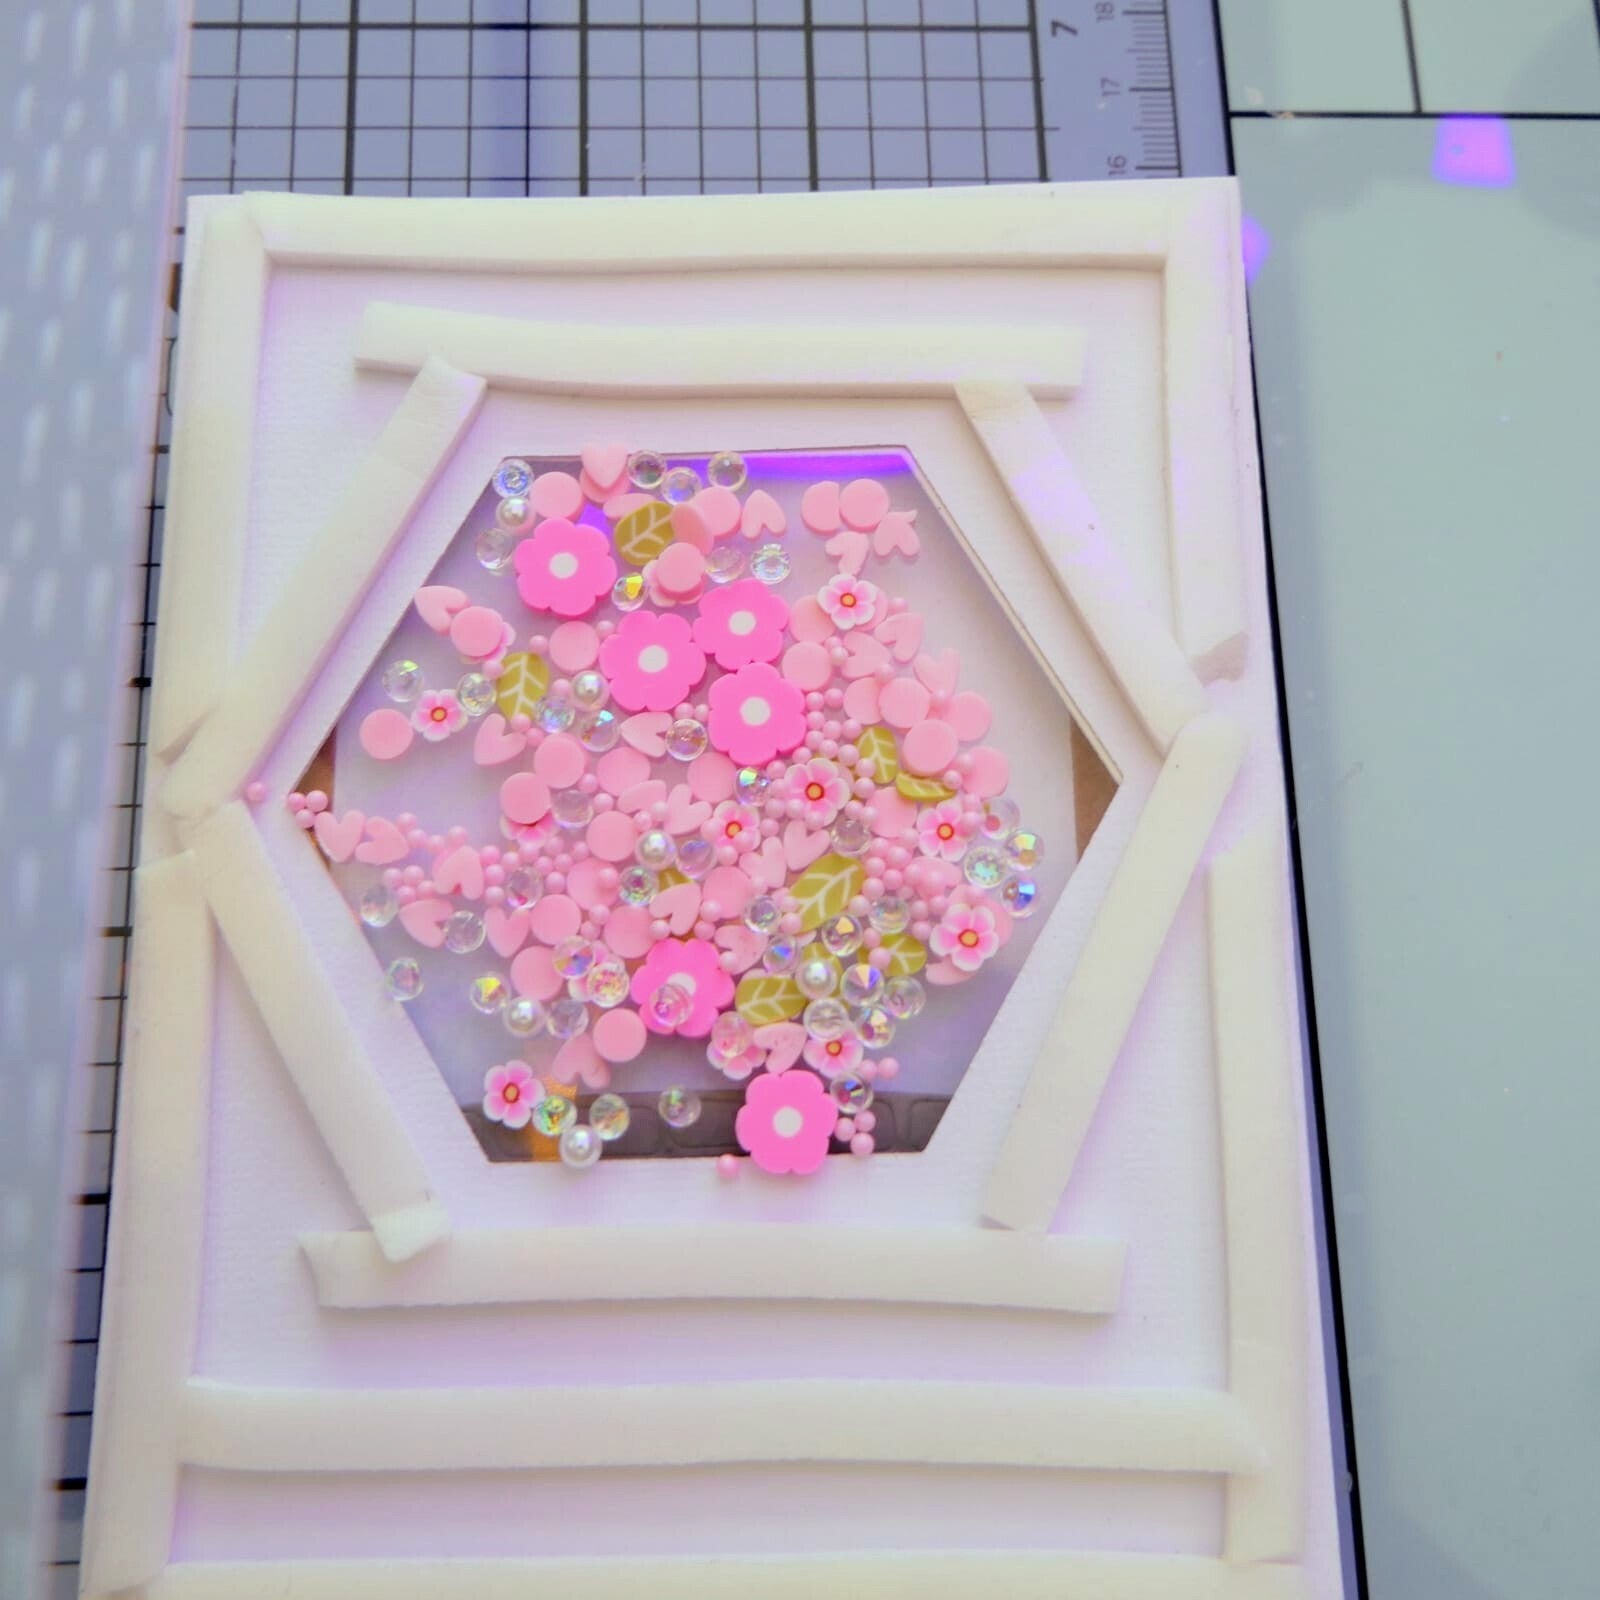
Lay the card base flat and place double-sided foam tape around the hexagon opening and around the edges of the card. Use anti-static powder on both the acetate and foam tape to prevent the shaker elements from sticking.
Fill the shaker with the Spring Fling Sprinkle Mix and carefully place the front panel on top, designpaper on top.
Once the shaker was finished, I decorated the front and inside of the card with the colored images and sentiments. I added black mats behind the sentiments for extra contrast and finished the card with tiny flower sequins and touches of Stickles Glitter Glue around the shaker window and inside the scene.
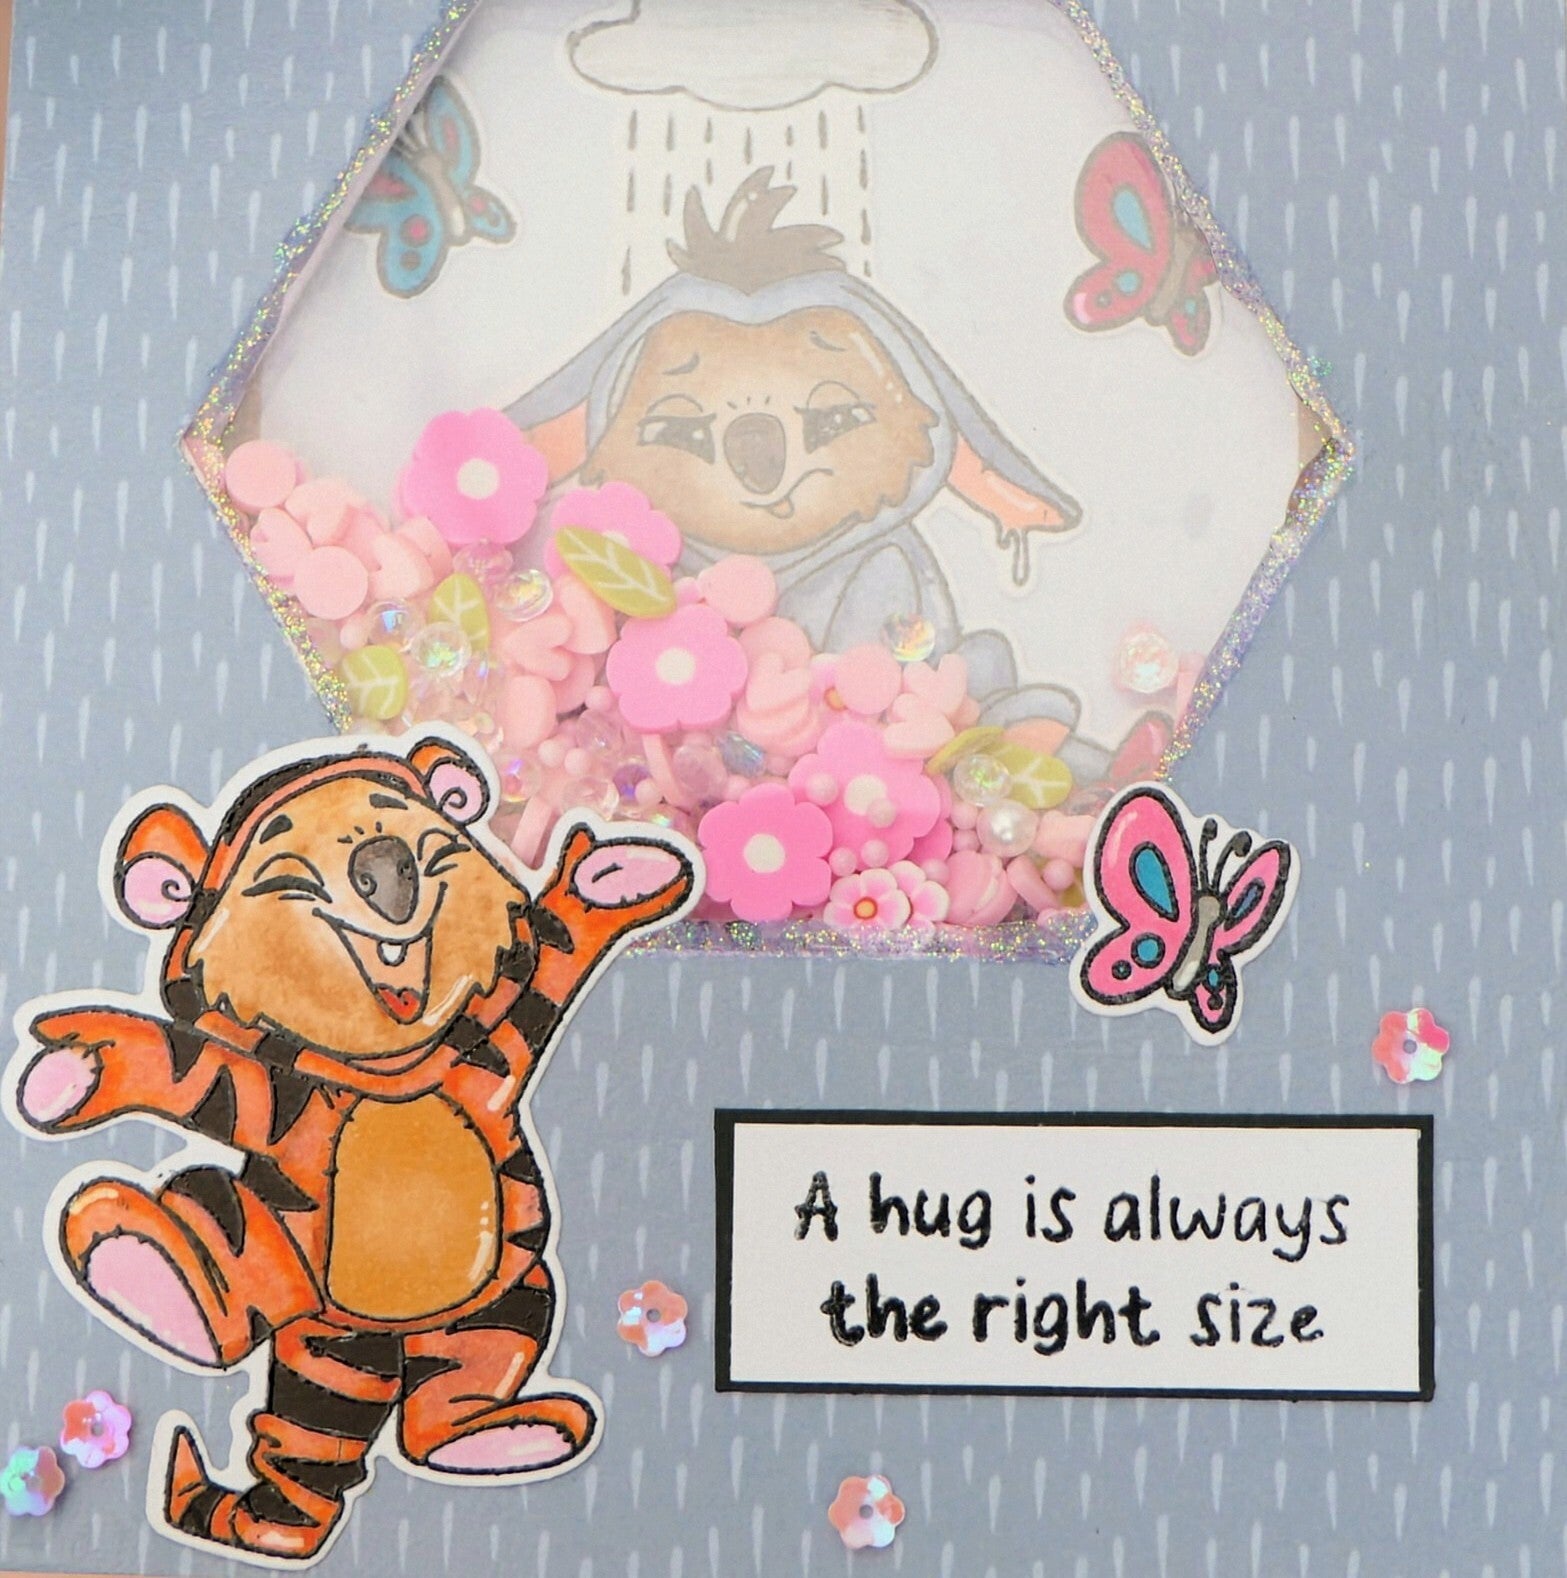
And that finishes today’s card!
With this project, I also close my series of blogs for the Kat Scrappiness Design Team. I truly enjoyed creating projects for the team and sharing them with all of you. During this journey I learned so much — especially about blogging and creating tutorials — and I am incredibly grateful for that experience.
A special thank you to Kathleen for giving me this opportunity and for all the support along the way. I loved being part of the team and I will definitely keep creating with my Kat Scrappiness products in the future.
Thank you so much for visiting my blog today and for all the kindness and support during my time at KatScrappiness!
Don’t forget to check out What’s New at Kat Scrappiness for even more crafty inspiration and please subscribe to the Kat Scrappiness newsletter.
Stay crafting!
With love and creative joy,
Angelique 🤍
Add comment
Comments