Hello everyone!
Class 6, Let it shine was a great class to follow! Carissa Wiley is a passionate teacher and I think I love shine on cards and other projects just as much as Carissa does. In this class I learned so many extra things. Not only about adding glitter and shine to your work, but also great tips on how to build up your card, where to place the different elements.
I always love to use embellishments like sequins and enamel dots, and although I was on the right track, some extra tips like forming a triangle and try to place them all in a floating diagonal were very welcome.
There are many ways to add shine and glitter to your projects, from sequins to selfmade glitterpaper and from heat embossing to glitterglue. Too many ways to mention them all!
Now to the cards! I made a few cards with different gradations of shine. I start with the least bit of shine and end with a card with a lot of shine. This way I show that a little bit can be just enough and a lot sometimes look great too. But everyone has a different taste and that is how it must be.

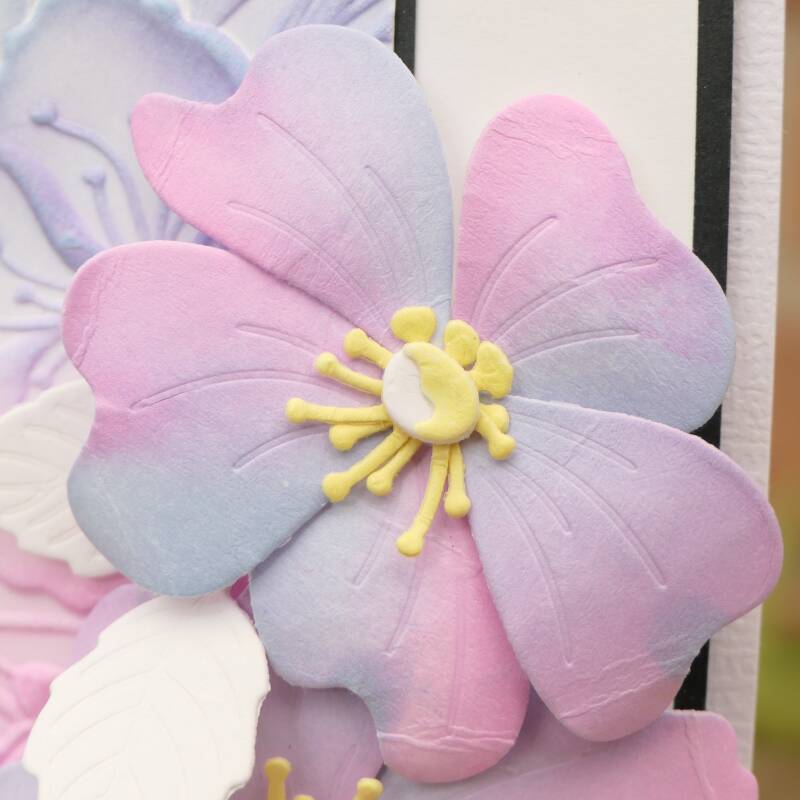
Card number 1, a 5 by 7 card. I embossed a piece of white cardstock. After that I inkblended it ombre style. I only used blue and pink for the background, on the flowers I took yellow as extra color. The only shine on this card is the black border you see twice, this is black glimmer paper and the "Hello" is from blue mirror cardstock. I didn't use any embellishments. That would not make the card more special in my eyes. I love to hear what you all think.


Card number 2, also a 5 by 7 card. I really had a lot of fun making this card. I wanted to show more shine than the first card, but I also wanted to show different ways.
The first is the sentiment, made with the hotfoil. I used the satin enchanted gold foil. I choose the satin, I love this one!
The second one is easy, the three small enamel dots on the butterfly. In the matching color of the orange ink I used.
The third one is the birdcage. I brought some Shimmer relief paste very thin on a piece of cardstock with a palette knife and let it dry. After it was nice and dry, I die cut out the birdcage. A great way to add a bit of shine to your project, don't you think?
The fourth and last one, the "golden" flowers. For this I also used the Shimmer relief paste. But this time I did the paste in an embossing folder with the palette knife. Much thicker than I did on the cardstock. It dried overnight and the next day I could remove the dry paste very carefully out of the embossing folder. I fussy cut the flowers so I had a beautiful arrangement.
This for card number two!
Card numer 3, a slimline card, and the final card. As you see, this card has more then enough shine!
I used the brush gold metallic cardstock for this card. I embossed it to give the cardstock more texture. I had to emboss it in two parts, because the embossings folder is smaller than my cardstock was. But with a pattern like this that wasn't a problem. When the card was almost finished I had the feeling that it still missed something. I attached three gem sparkles and that was my final card.


I loved this class and I certainly am going to use the things I learned here. But knowing myself, I will definitely color outside the lines sometimes to try new things. And that is ok too.
Thank you so much for reading my blog and I love to hear if you are on team less shine or if it is never enough shine for you. Or if you like it all! I love to read it in the comments. Until the next time!
All of the products used on these cards are from Altenew
Add comment
Comments
GORGEOUS GORGEOUS GORGEOUS!!
Thanks so much, Erum! Now I know that I am still on the right track. 🫶